Summer favourites

Today is the the day when autumn commences. Leaves begin to effloresce into a warm autumny welcome. It is one of my favourite seasons when it comes to colour and transformation.

This is not a fashion blogger, lifestyle, make-up favourites, but something quite different! In this post I’ll take you through my summer hobby related favourites. It is all about little projects and pieces of inspiration, creation try-outs and costumes I have finished. Things that succeeded and things that went horribly wrong during this sunny vacation season.
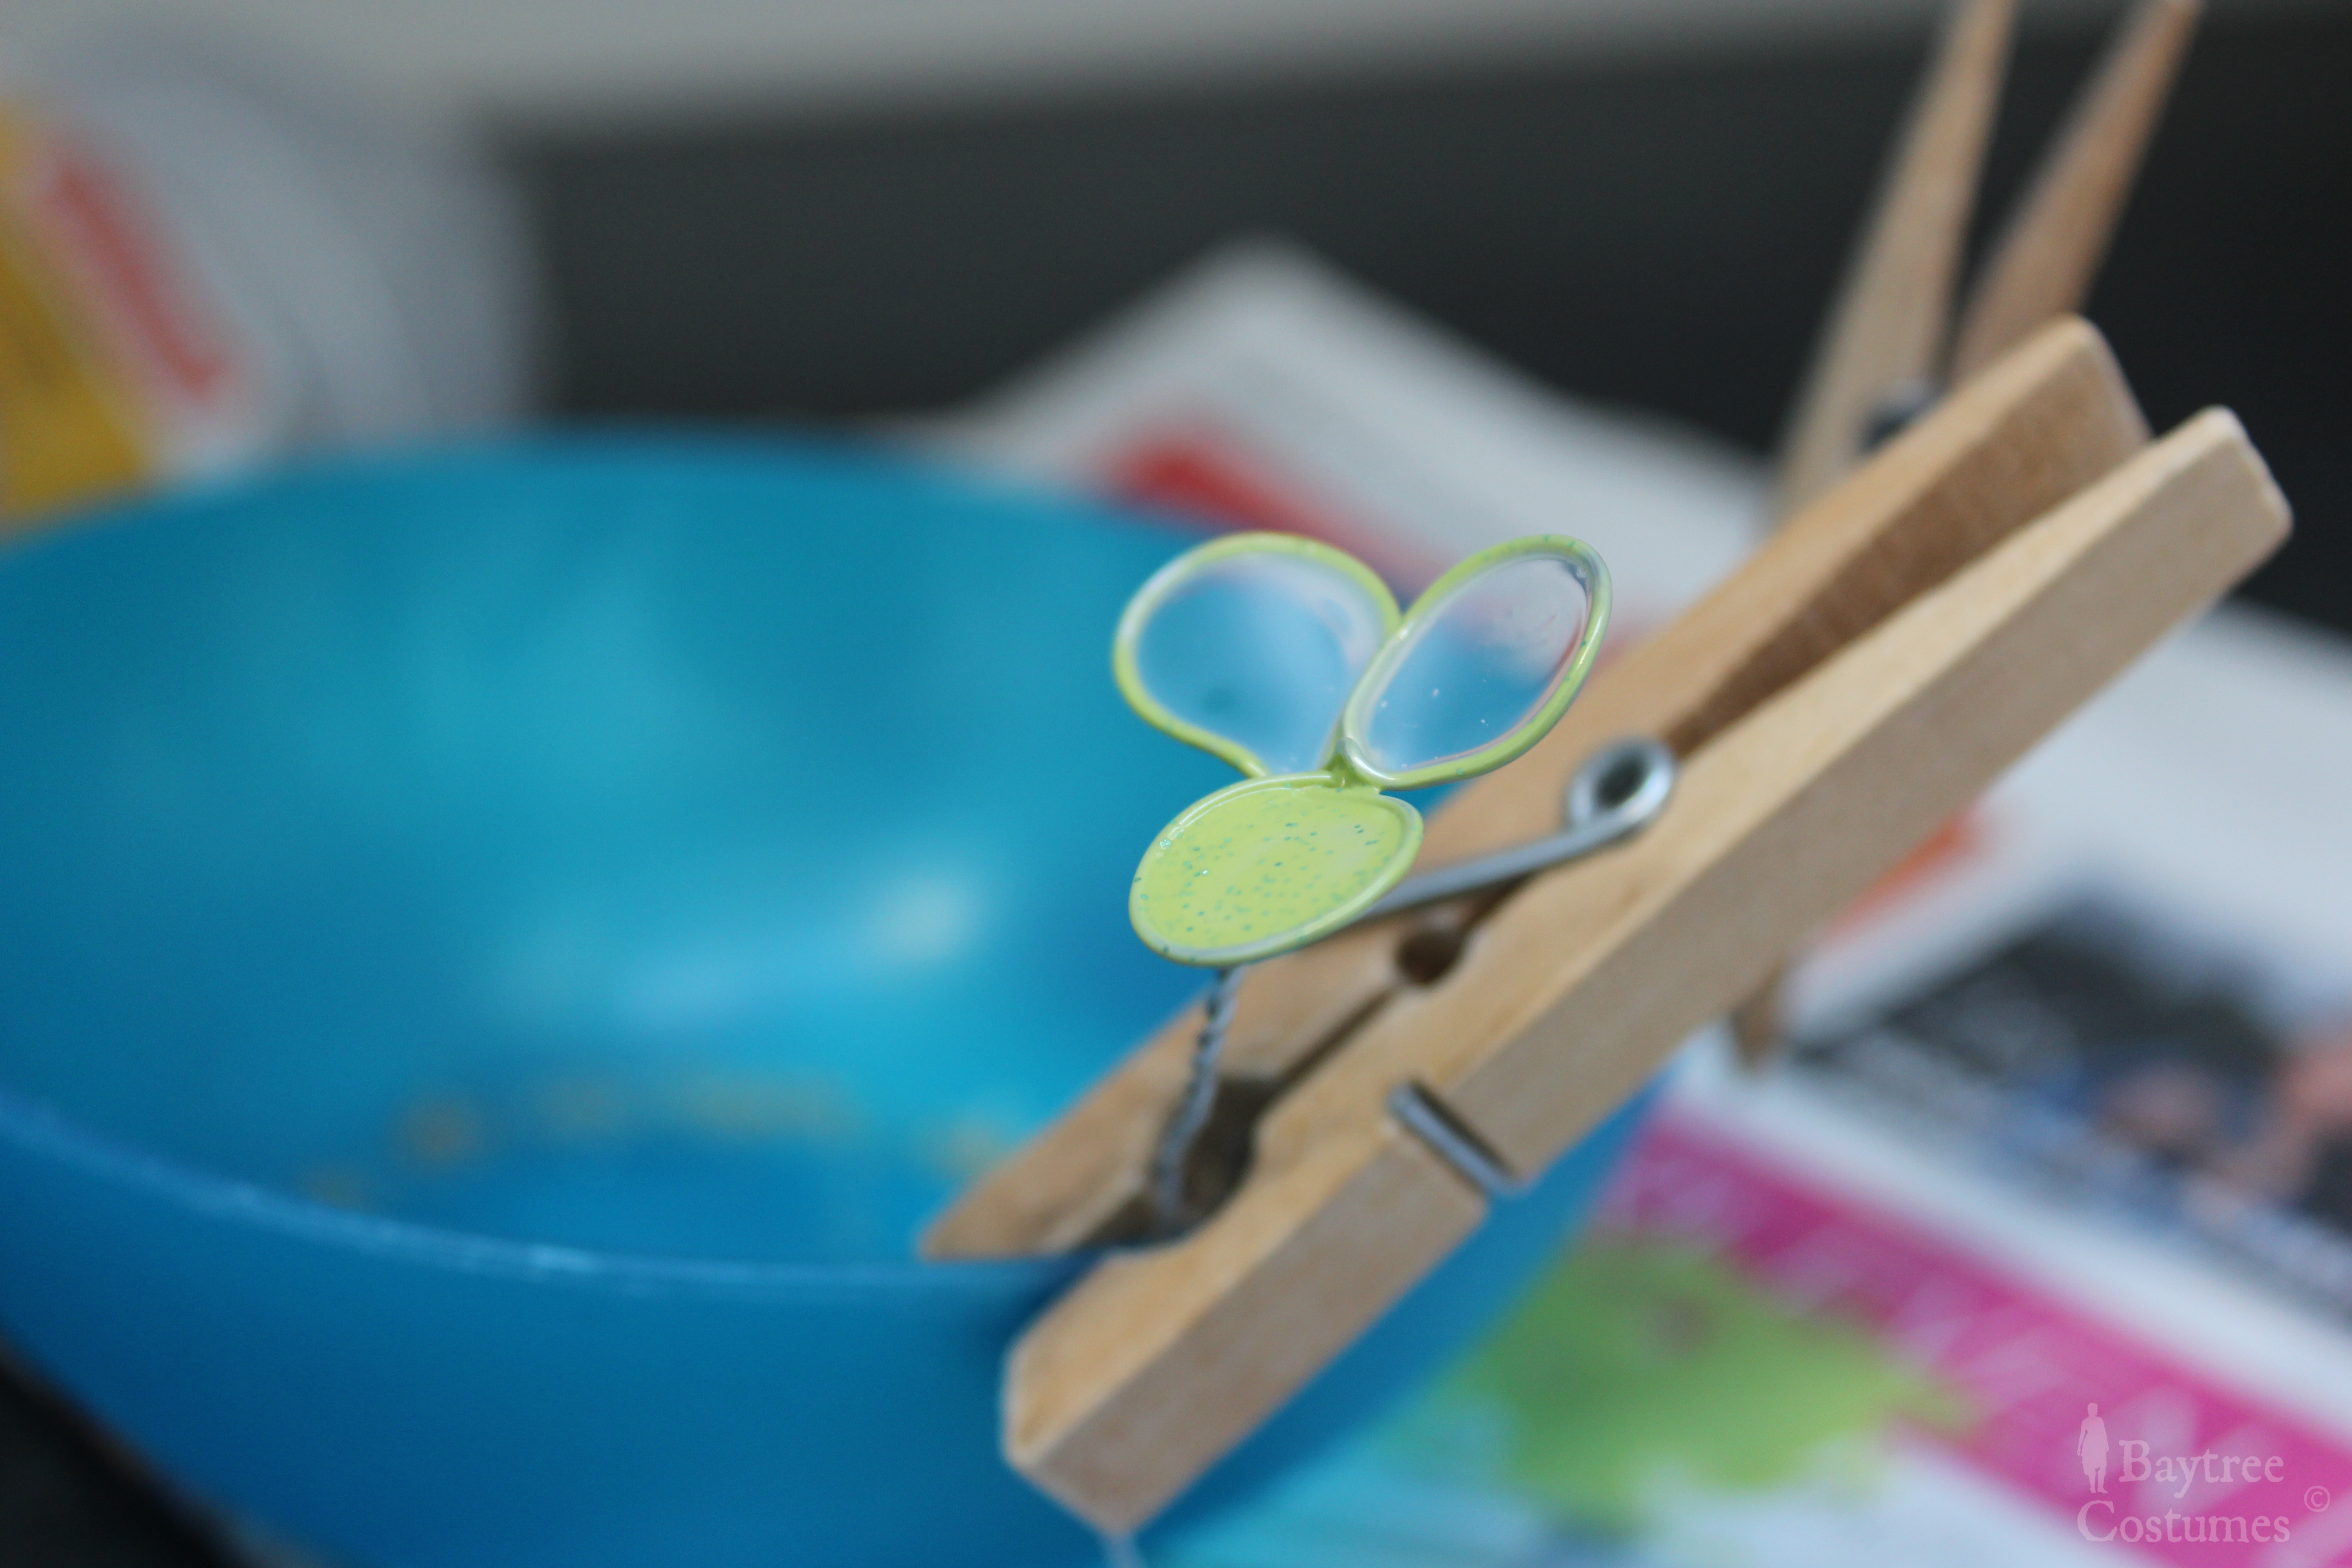
Flower and petals
When I first heard about the awesome tutorials you can find on Pinterest I thought: “Nah, probably much harder then they make it look”. Most of those tutorials I never really have the time for anyway. UNTIL this DIY beauty came along. The tutorial pictures looked amazing and not that difficult, so I made a few little flowers to try out this DIY idea. These little ones were my results and they are so cute – if I say so myself :).

Making flowers 2  Making flowers

Pinterest flowers2

My own chainmail
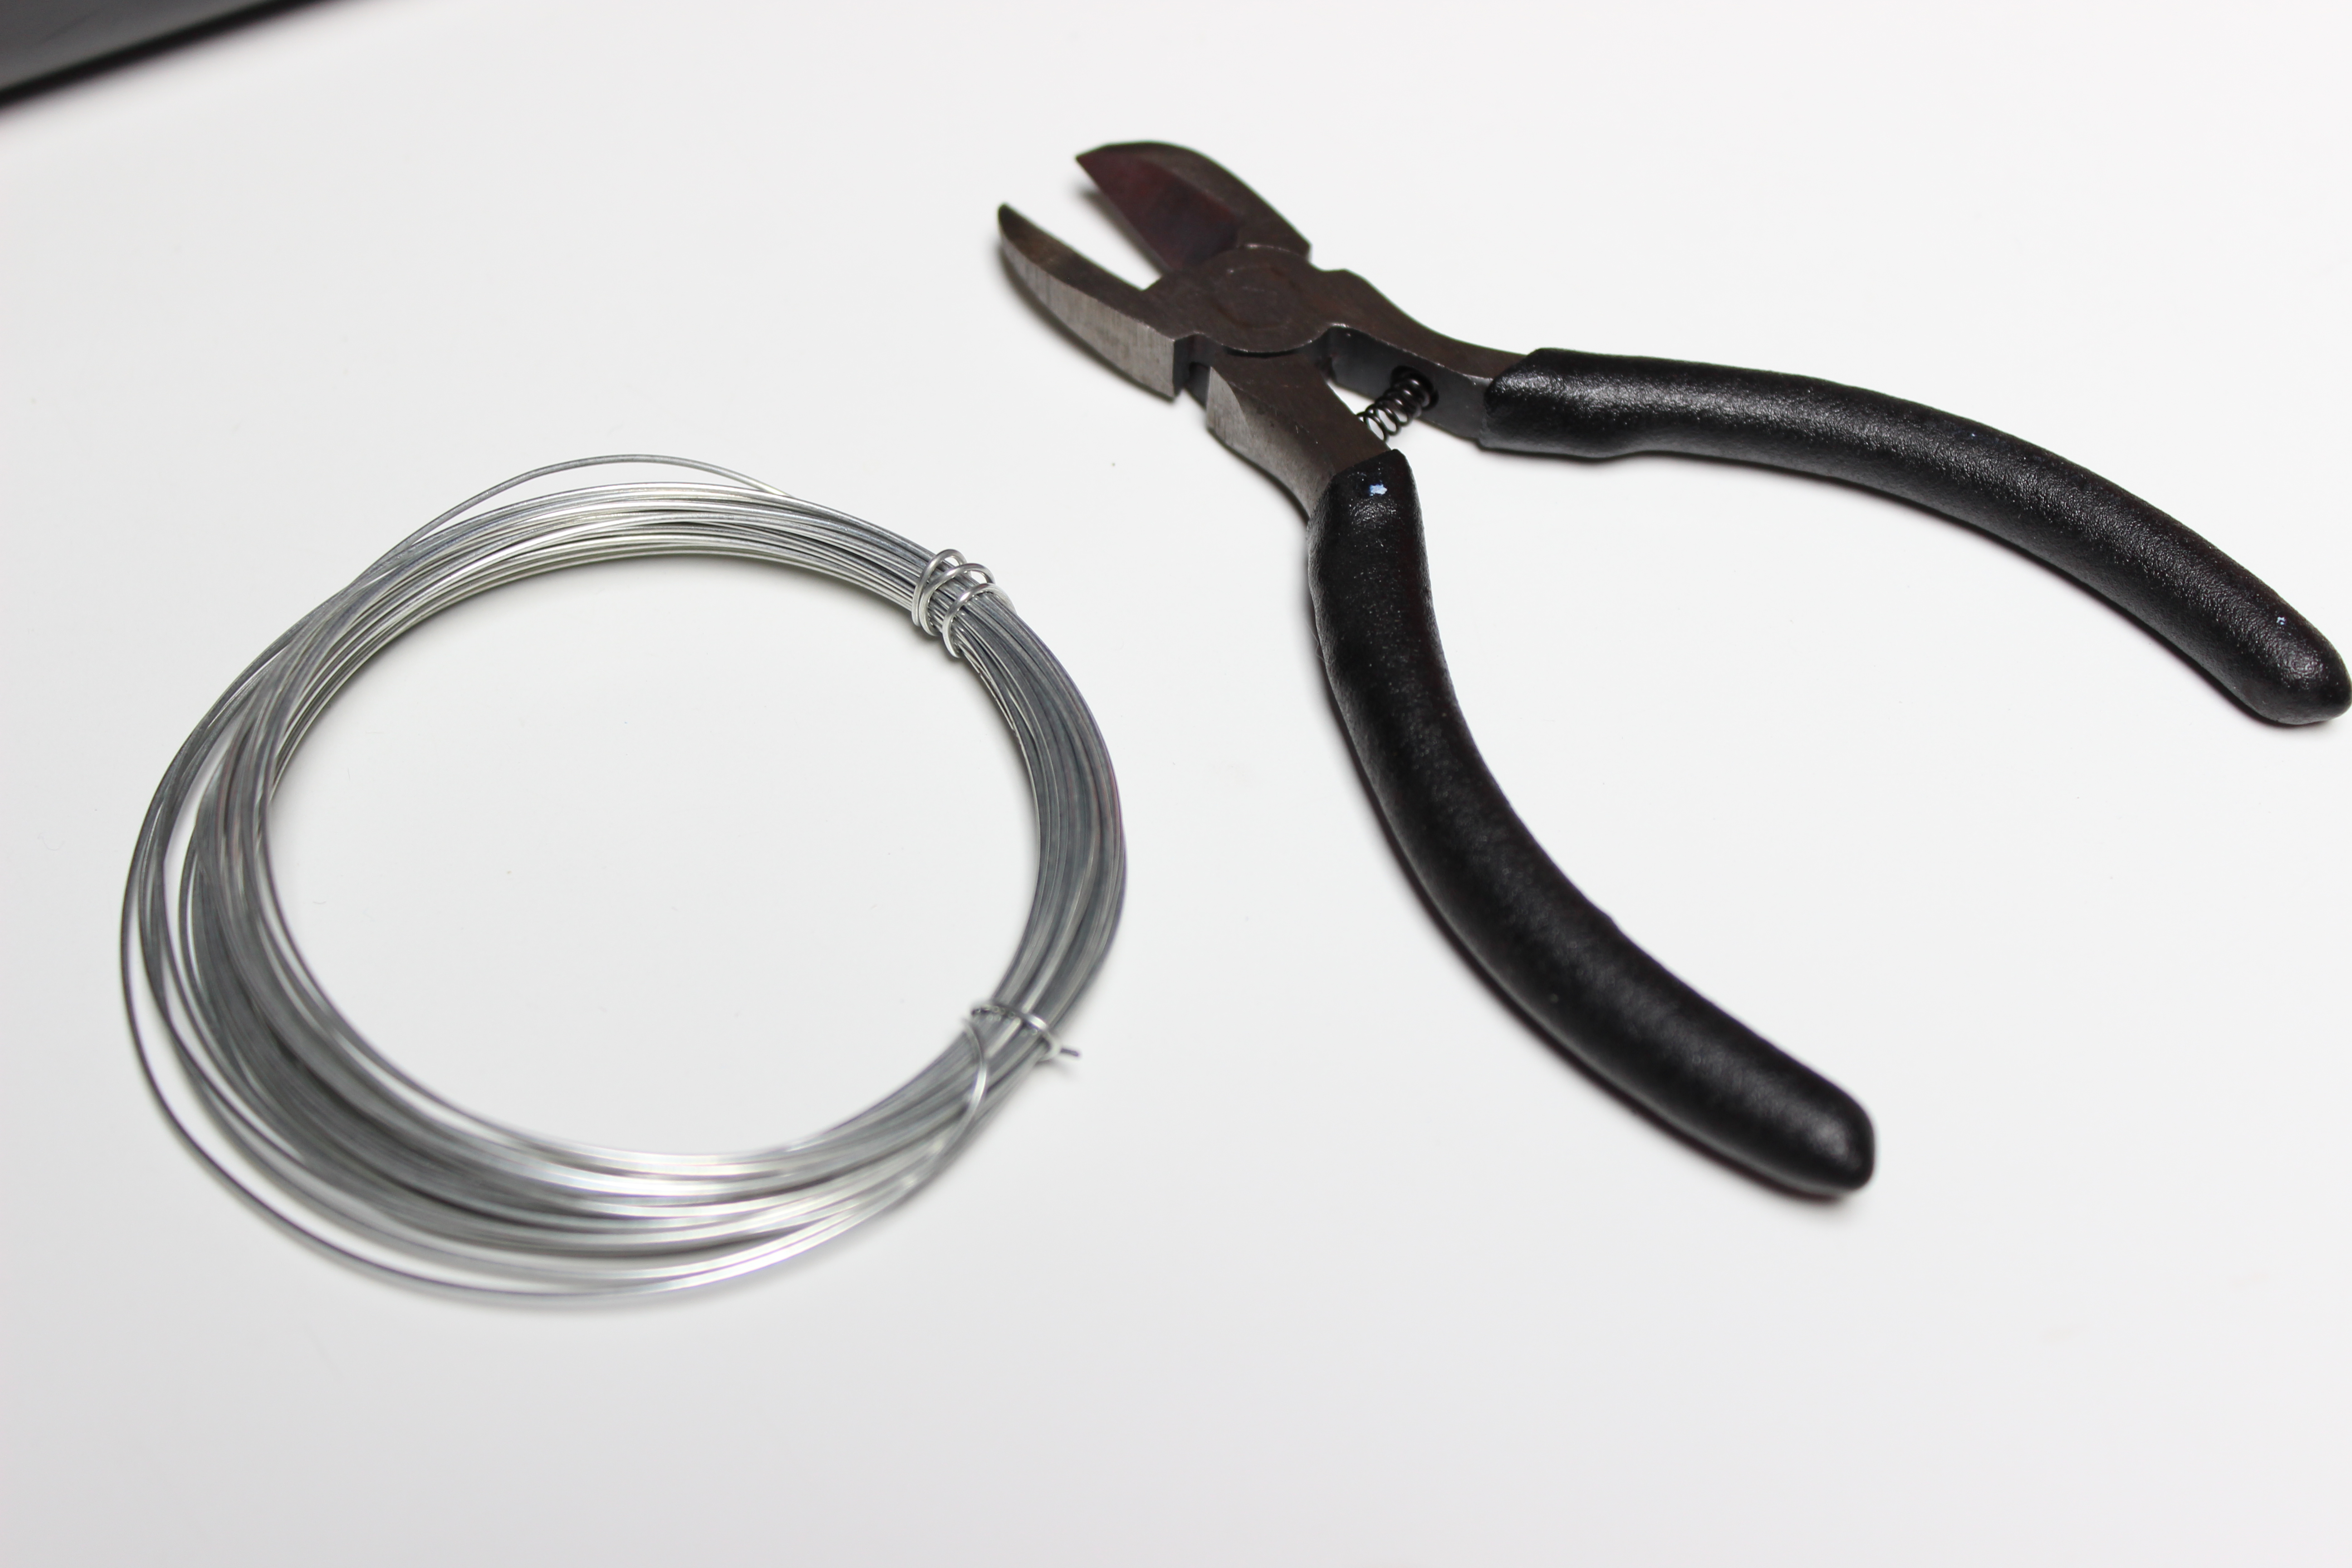
I started this a long time ago (since it is a long stretching little project), but I thought I would put it in this article anyway. I am making my own chainmail! Continue reading

Advertisement

DIY Duct tape dress form: Do’s and Don’ts

Let’s celebrate the last bits of august with a DIY project.

The duct tape dress form: the best outcome for any desperate sewer or seamstress who keeps using him or herself as a pincushion. And for all of us who just don’t want to spend a great deal of money on an adjustable dress form.

I wouldn’t want to bore you all with another long tutorial, and I wouldn’t have to! Since the whole internet is full of wonderful articles that teach you just how to get the duct tape dress form done nicely, I’ll only  and shortly break down my own process for you.

My own process for two dress forms
I used 2x 25 meter duct tape (which was not really enough), 2 cans of isolation foam (a small one and a big one), loads of used (news)paper, 3 pvc pipes (for two dress form stands) & some fittings, of course an old tee and microwave foil (where I first used extra fabric).

Necessities dress formI followed the tutorials I found online and within half an hour I already had the duct tape layout. I had it then cut out by someone who I could trust with scissors, which resulted in a piece cut of my bra :/.
But it was very much fun to do!

I then stuffed the first form loosely with paper, closed every hole with cardboard, stuck the stand in and began filling it with isolation foam. Two errors became clear afterwards: too fancy on the paper and too quick with the foam. It had way too many air pockets because of the big props of paper, so I noted that the second should have smaller paper props in it. I had to correct quite some bumps here and there when I became a little too impatient with the isolation foam, so I noted to reduce the stress a bit on that part. The next form I made was my revise-de-faux and it went much better than expected. I used fabric to cover up the shoulders and neck for the first form and then it became clear to me that microwave foil is much easier and cheaper. So I used that while making the second one. I now have two little sisters added to the family and they are awesome (and very quiet) ;). Continue reading