
Back with the costumes! This time a quick and easy go on the complicated look of Ren Faire costumes. Either way, you could also use these costume hacks for conventions, cosplays and even Halloween if you want to give your look a renaissance and fantasy flick. The looks are Scottish inspired, fairy inspired and strider / archer / badass / cloak inspired. And of course: super easy and quick to beat that last minute stress! Because.. We have all been there before ;).
 You might have noticed I’ve been away for a bit. With pain I have had to let go of my post-every-month resolution because of busy life outside and inside Baytree world. But now we are back with a very fresh post! Also, I do really want to thank Costume Yeti for featuring my Ygritte post on their site and giving it some love <3. I also want to thank the Guardian for featuring my Outlander tutorials. And I want to thank a certain customer for whom I am designing a custom costume (aha!). You are so lovely. Oh and: welcome to baytreecostumes.com!! So much excitement and new stuffs.
But now: This post highlights the problem of a lifetime. A cosplay / costumer lifetime of course ;). What do you wear when you are going to a ren(aissance) fair last minute? I’ll teach you how to make a Legolas or elf inspired costume, a strider or Aragorn inspired costume, an Elf or mage or witch inspired costume, a fairy inspired costume and how to go Scot with as little materials and time as possible! Excited yet? 😉
Fast forward to:
I’ve got you covered with a few quickies that are possible if you have got some leftover fabric and crafty stuffs. The three ideas are all individually better for three different reasons. It will point its own way!
1. Scot: Great Kilt / Arisaid
(√: non-sew, super quick, great covering, unisex, goes with normal clothes, done within an hour, foldable-coat-skirt-dress-in-one)
(x: only con: you need quite a length of fabric for this)


A bit of inspiration! More in my article
You’ll need:
1. Minimum of about 3 ½ yard long and 60 inches wide “Scottish” enough fabric (or as the Guardian taught me from my own article: you could even use a blanket)
2. A belt
3. Loose shirt + big boots
4. Optional: corset or something you can wrap around your waist
A GREAT KILT, some big boots or small shoes with high socks, a bit of knit, a little brooch, a big shirt, loose hair / beachy curls, any of this and you are good to go. Female? Leave the great kilt in its first position – the dress. Warm? Pull it into the great kilt. Literally just a bit of folding and there are SO many possibilities. These two tutorial articles (this one & this one) of mine show just a few, but at the same time – so many ways to wear this amazing thing. GO GO click it! The corset in the pictures can easily be replaced by for instance an extra belt. Leave me a link to a photo of your interpretation in the comment section below!
By the way, if you want to know how to make the corset – go here, and if you want to know how to make the skirt – scroll down to the fairy part in this article.

Great kilt with only a shirt. The great kilt has got you covered… … .. …. 😉
2. Ren Fairey 🌸
(√: optional sew or non-sew, less fabric then going Scot, semi quick, great covering, goes with normal clothes, done within two hours)
(x: you need some more bits and pieces. And flowers. Plus it’s less masculine so maybe less for men – But you never know!)


You’ll need:
1. About 1 ½ yards of “Elfy” fabric to make an easy handkerchief skirt, or: a skirt
2. Things to make a flower crown (wire and flowers) or you could buy one (at Claire’s for example – even though they are insanely and unnecessarily expensive)
3. (Crop) Top
4. Optional: ribbons
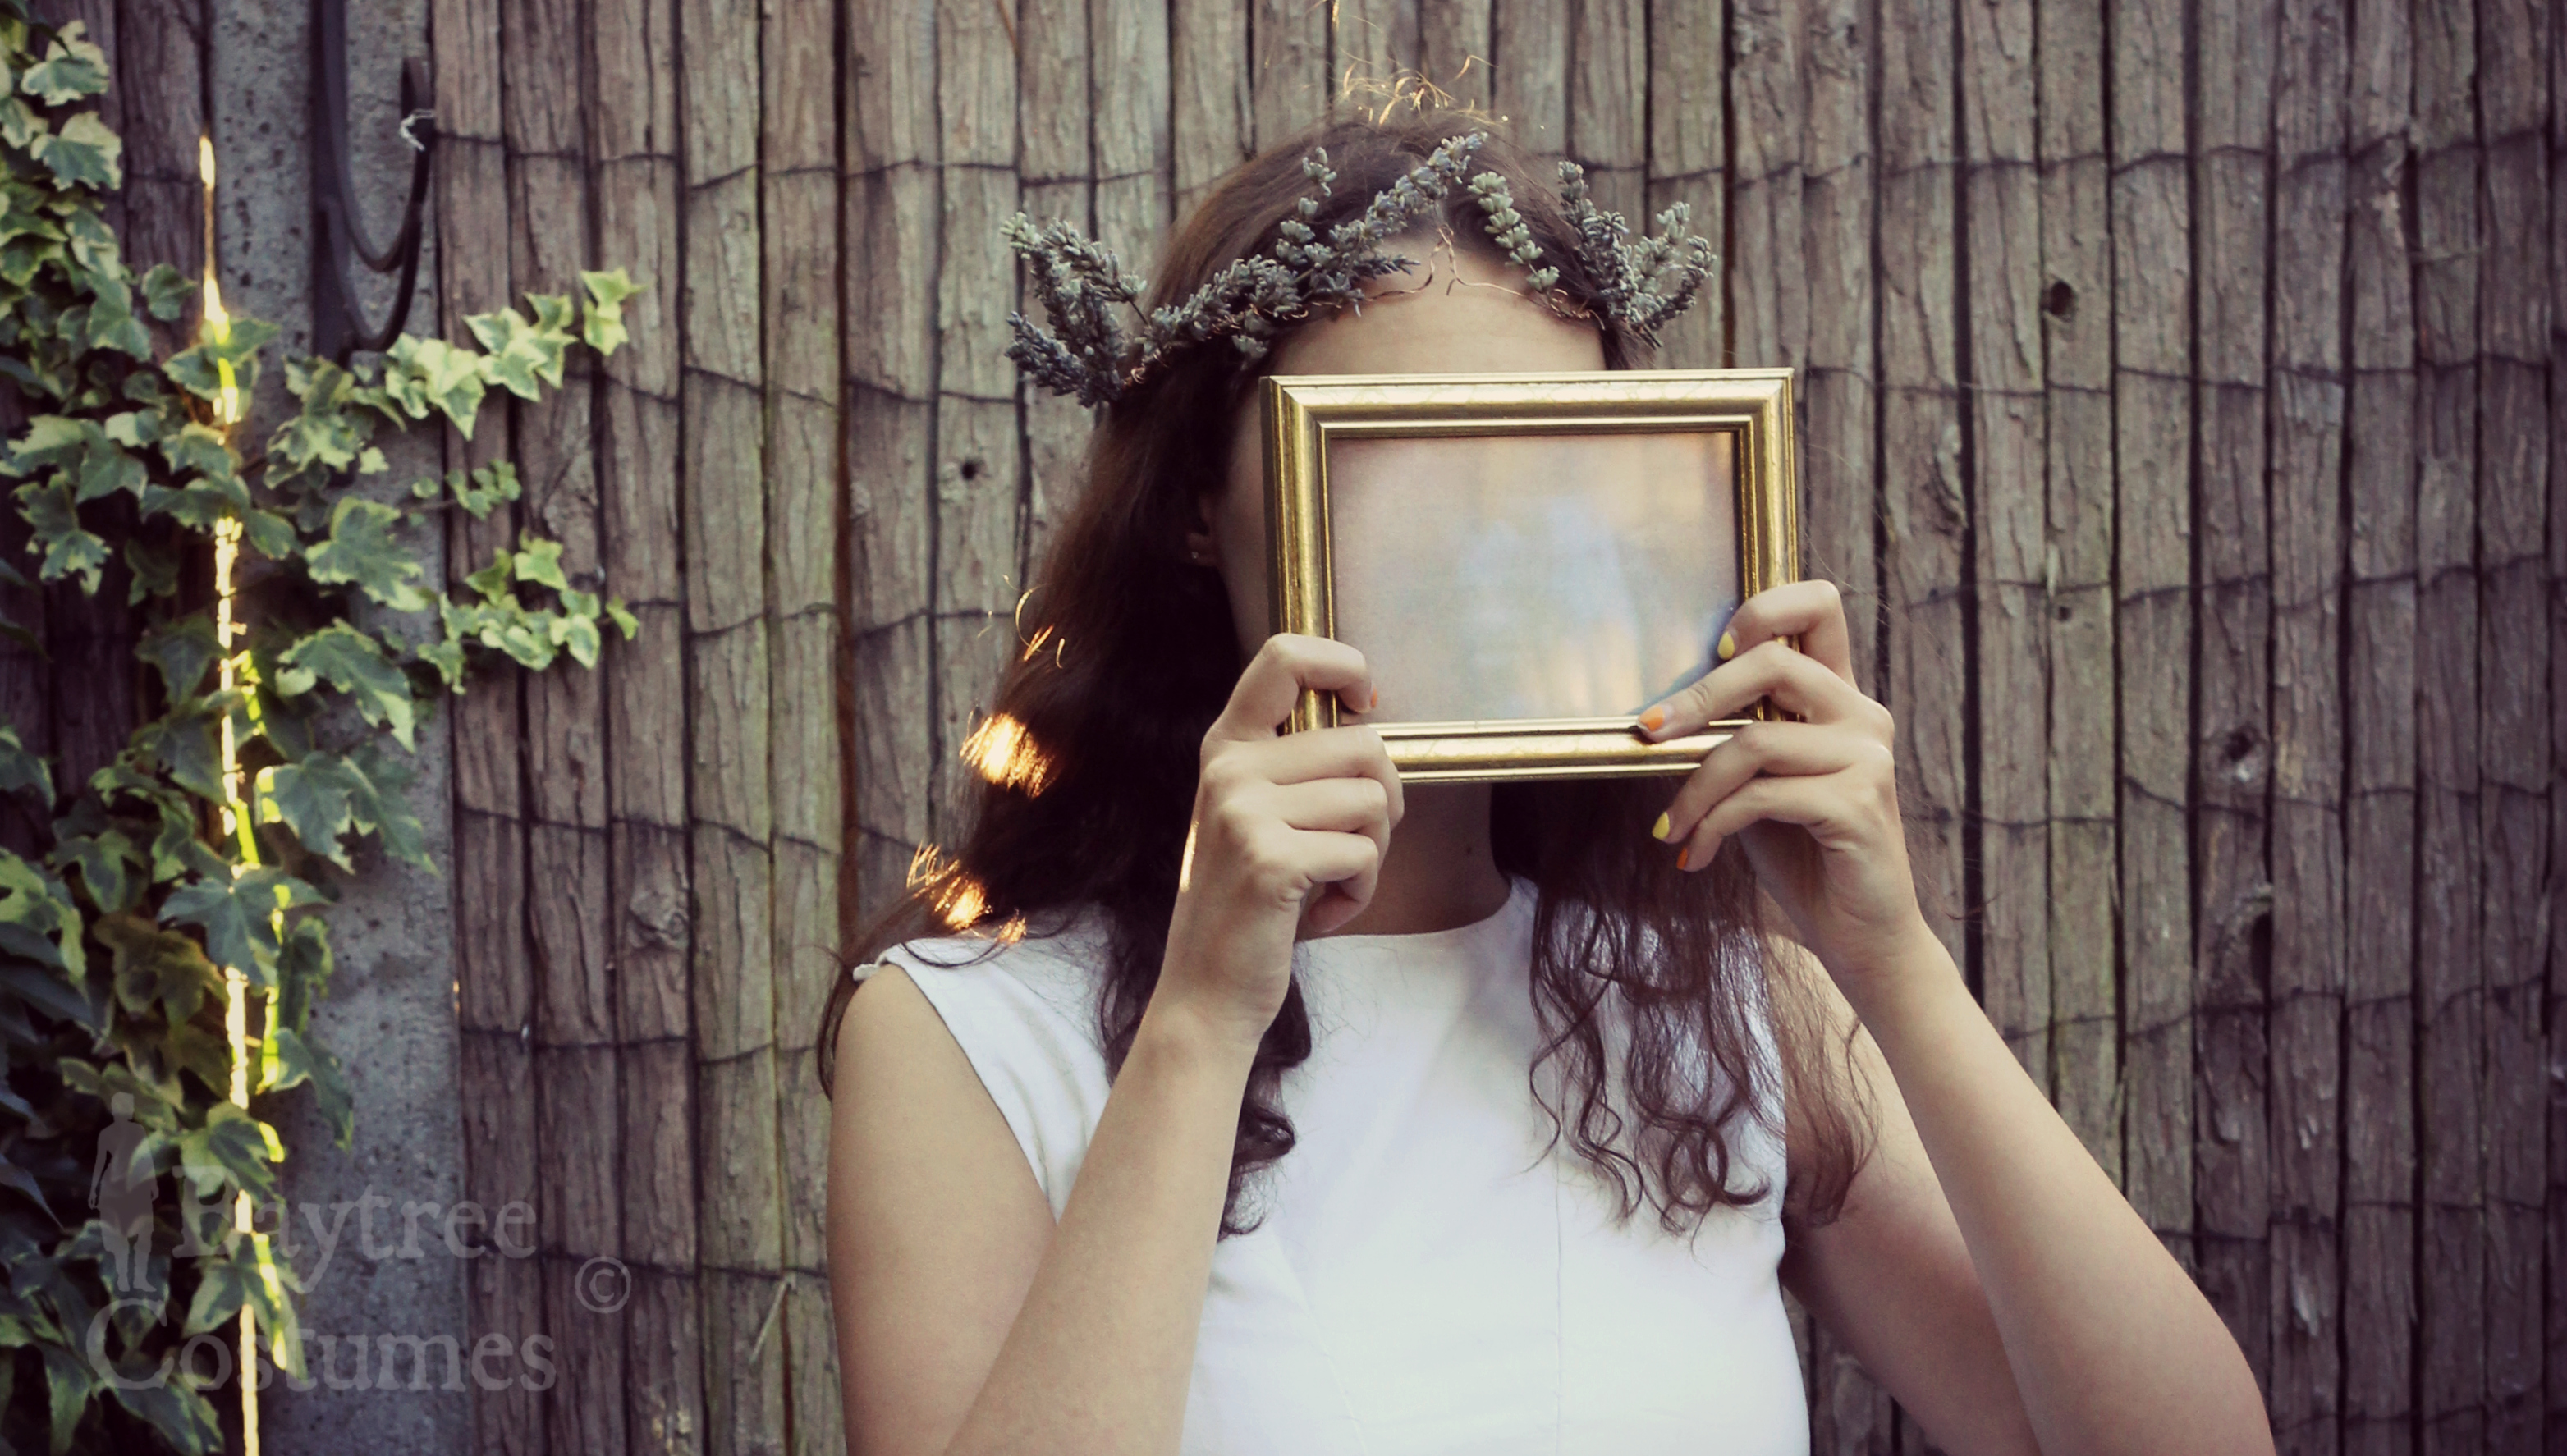
Flower crown made from dried lavender and copper coloured wire
This outfit is all about putting things together. A white crop top and a long skirt, flowy or stiffer like my skirt – ribbons and a flower crown: instant fairy. You almost need not to make anything fort this look. However; if you do not know how to make the flower crown and / or have got no skirt. Don’t worry! I’ve got you covered.
Get a piece of nice falling summery but subtle fabric that matches a top or shirt you have and let’s start working! In the photos I use a handkerchief skirt which I put together from a bedsheet and an elastic band within an hour quite some time ago. And it was one of the first things I ever made! So believe me; you can do this. A handkerchief skirt quite explains itself: it basically is a square of fabric with a hole in the middle. It gives this hippie vibe with the flaps that fall down in points. You can twist the skirt around to find the right way you want to wear it. I just love it and it can be used in combination with so many costumes (seen the Scot photos above??).
How to make the handkerchief skirt
*skip through this if you already have a skirt*
So this is how you make your handkerchief skirt with fabric and an elastic band in words: measure your (1) hip/waist circumference (the measurement that is the largest because the skirt will have to fit over it, and leave a little extra allowance) and the (2) length you would like the skirt to be from waist to desired length. Keep in mind that that length will be the shortest length of your skirt (the skirts will have flaps as you can see in the photos).
Now: take your waist circumference as a circle circumference and calculate the radius of that circle using this formula: radius = waist circumference/2pi. I know; mathematics :o. Now that you have the radius, we got to step 2.
Get your fabric and start from the very left (or right) of the fabric you have and measure the length of your skirt straight to the right (or left if you start on the right). Mark a point there. Now do the same on the bottom (start at the bottom and measure length straight up). This last point tells you on which height you should mark the middle of the skirt. The first marked point tells you where on that line you should mark the point. If you combine these two, you will find the middle of the skirt. Mark that point with a nice dot! Measure the radius from that point to as many directions as possible (because this is going to be a circle!). Now draw a line to make the circle visible from all those points. Check again if you can measure the length you desire for the skirt from the edge of this circle to the left, right, bottom and top of the circle. Don’t worry if you panic when you find out that you don’t have this length in the diagonal direction of the fabric: that is what the handkerchief skirt is all about! The length is longer from the circle to the corners. Also don’t worry if the length is longer right and top (if you measured from left and bottom), because then you just draw a line to the desired length from the circle to the top and right of your fabric to make this an even rectangle. If all goes right: you have a square of fabric with a circle right in the middle!
Now measure about 5cm (or just the broadness of your elastic band plus a bit of allowance) from your circle to the middle. So basically, you are going to cut out a circle that is smaller than the previous drawn circle. Eventually you will have your circle when you later fold that 5cm inwards to make a tube for your elastic band.
Now; the elastic band! Take it and wrap it around your waist and pin it until it feels comfortable enough. Take off the elastic band, still pinned and cut off the excess band. Mark on the band where the pin is with some chalk. Now take the pin out so that you have the straight elastic band. Now cut out your skirt and the (smaller) circle. Fold the fabric of your circle inwards until the line of the bigger circle is on top and thus you now have your desired circle. Cut one slit in this extra fabric to the circle line at a point which will be where you push through the elastic band later. Now sew that tube down (I just went all in messy – no one will see any of that haha!). Take your elastic band and push one end through the entire tube while pinning another end to that beginning bit. Because losing your band inside that tube is just… Yeah. If you connect the band again, sew the ends of the band so that it now is a full circle elastic band. And wait… Wait.. WAS THAT IT? Jup. Behold your new project. I just left my skirt to fray in the bottom to give it an extra costume touch. And yeah; also because I was too lazy to finish it in a pro way.
–*Pfoooo! Tutorials are a mouth full. ;)*–
These steps are all from memory and I don’t remember exactly if I altered these steps at any point. So if it turns out this is wrong: please tell me in the comments down below!
 The ribbons
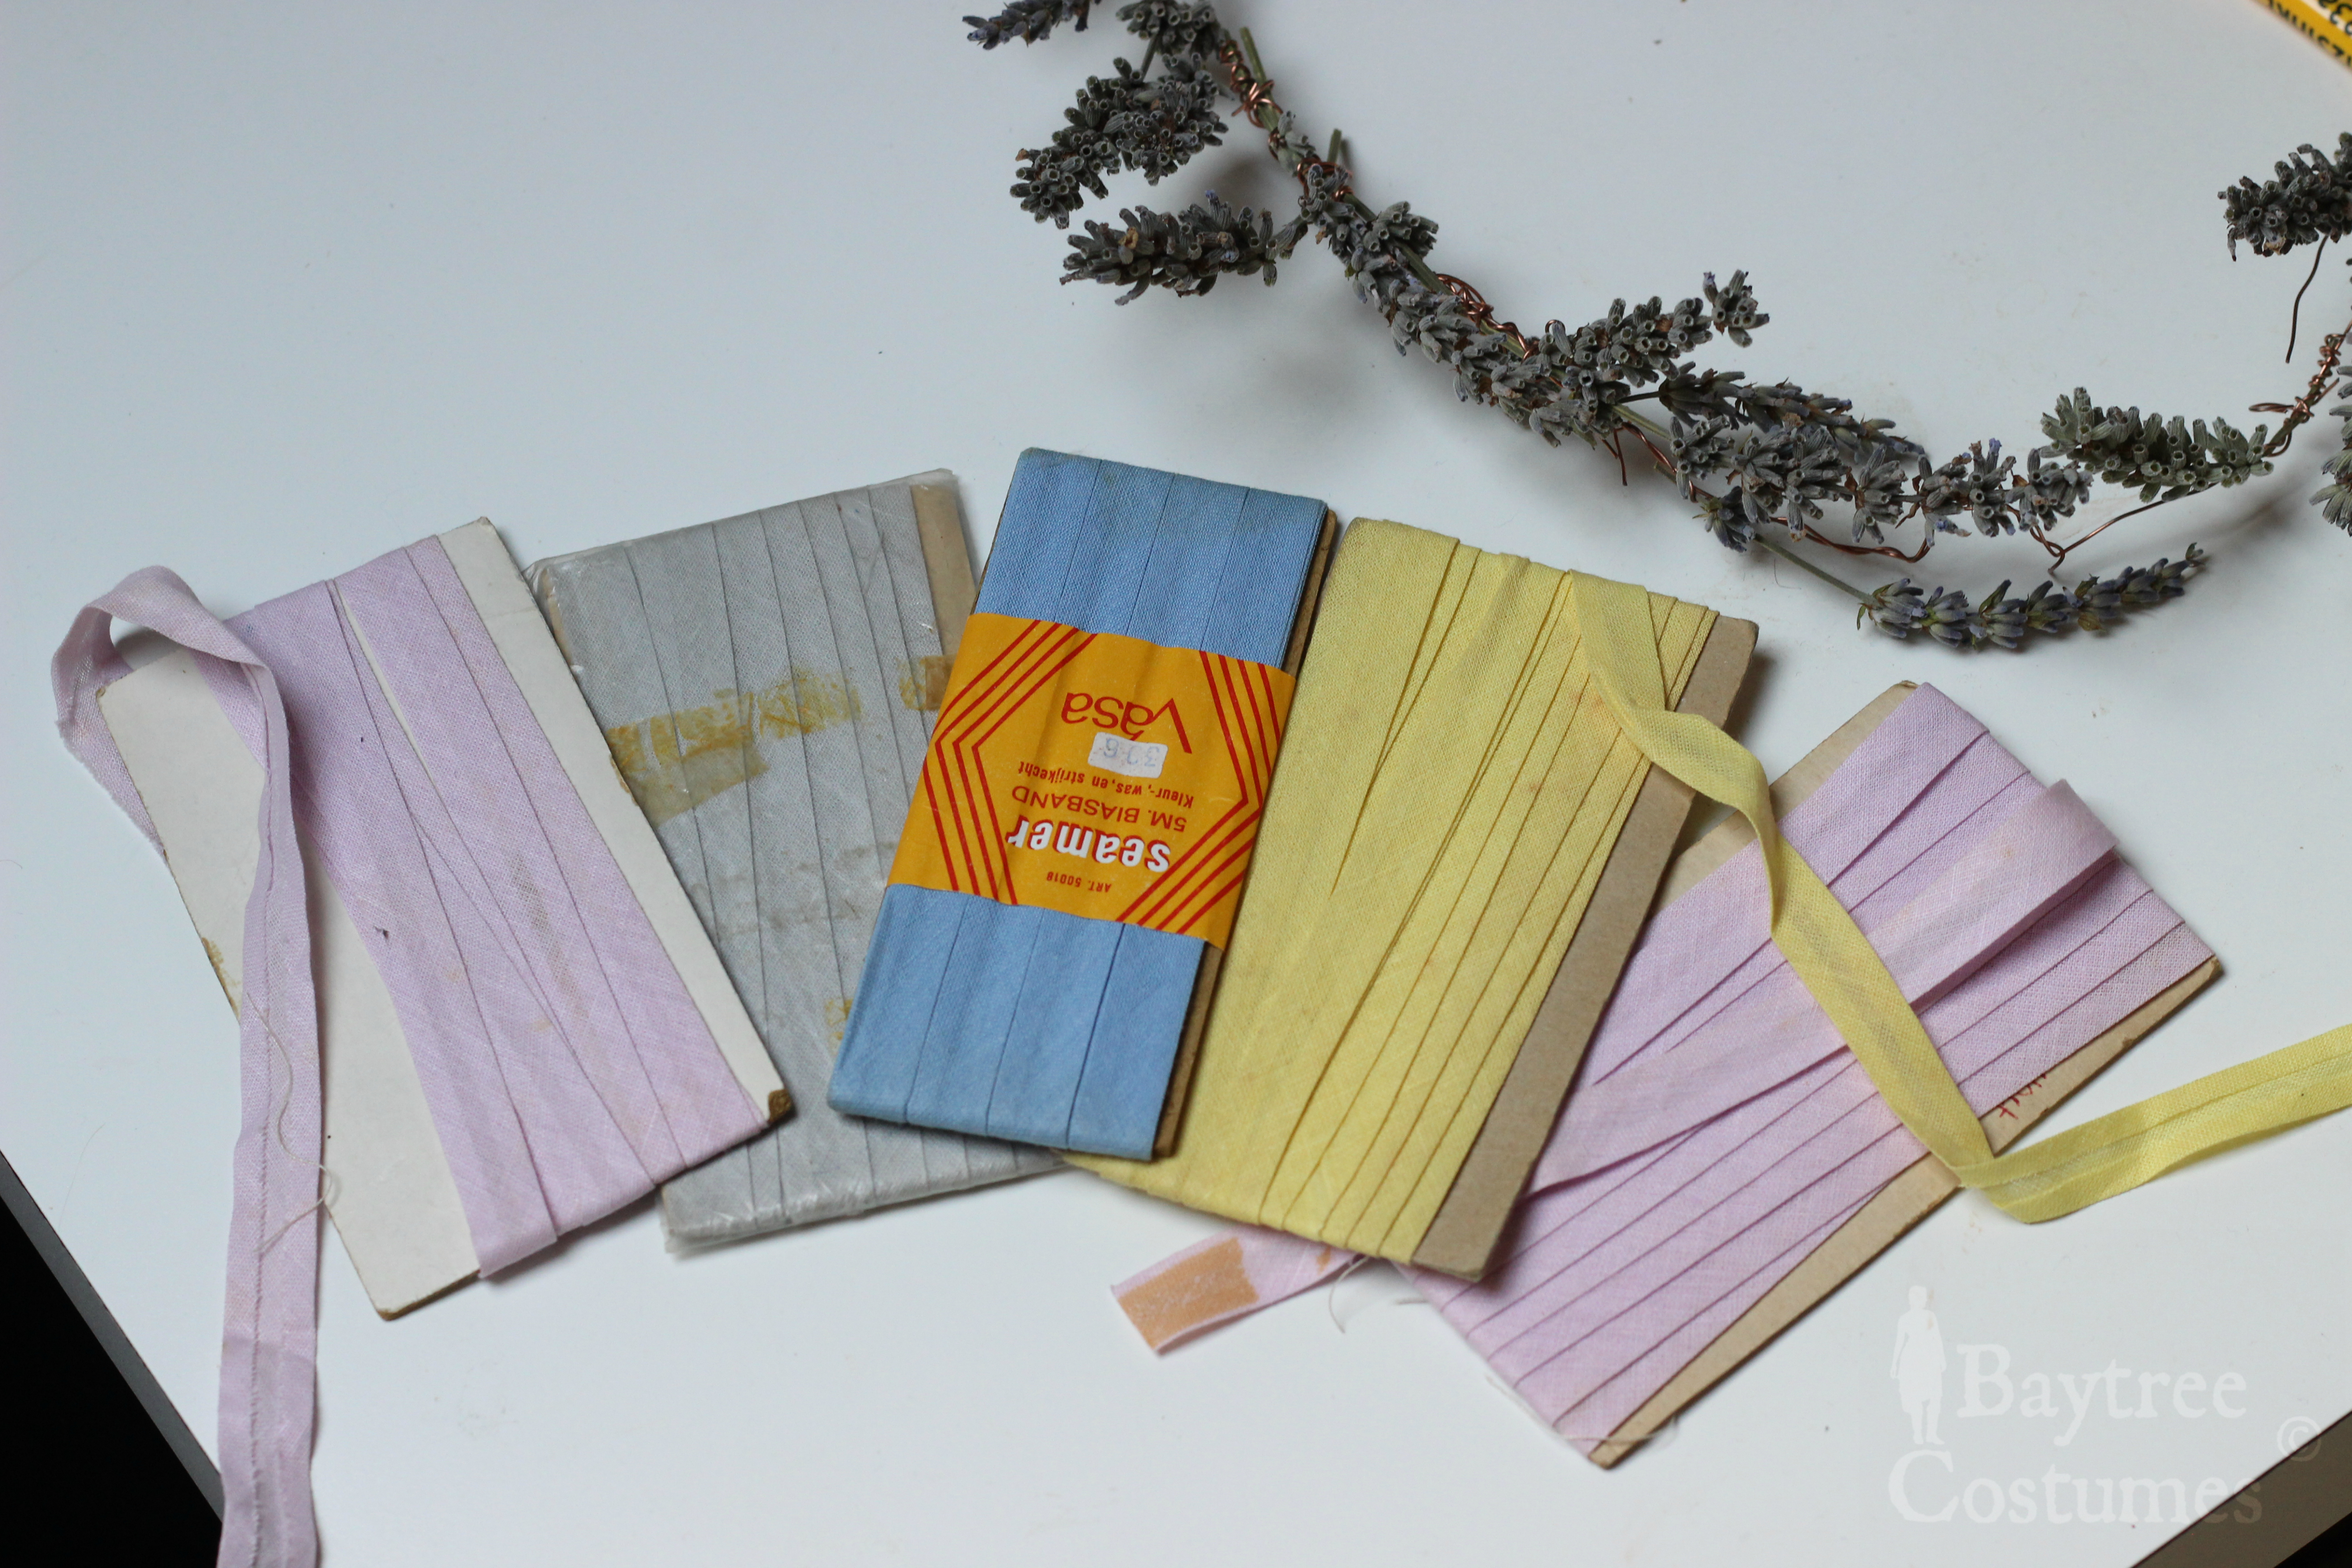
I once picked up some old but very useful bias tapes from a thrift market. They were very handy for this outfit! Ribbons give this outfit a little bit more life and texture. Cheap yet effective. 👌
For the flower crown; I have filmed the process of making mine, so I will put that up on my YouTube when I can make time to put it together. If you are interested in that video, please let me know in the comments down below! For my flower crown I used copper coloured wire for the base and measured it around my head to make it fit. I let the wire go around a few times and then twisted it all together. I then put the lavender strands into the spaces between the wire or in wire I wrapped around extra to make it all nice and sturdy. You could use any wire or even decorate an old crown with fresh / fake flowers. You could even twist all of the strings of the flowers together to make the base of the crown. Here is where I got my inspiration from: video from lovely SprinkleOfGlitter Louise for a fresh flower crown. Also take a look at this twist flowers no-floral tape version. More inspiration: different flower crowns.
[Flower crown up-close photo coming soon!]
Wrap up: make that flower crown, put some hippie sandals / slippers on and you are good to go. It’s all about matching. To give you some inspiration, I made all of these photos for you to see what it could look like. I could only go for a fresh lavender flower crown, so I went for a purple, white and pink colour palette. I also didn’t have any floral tape, I just let the lavender cover the copper wire. It works fine 😉
 You can rock this outfit even more in combination with a tiny cute instrument!
Leave me a link to a photo of your interpretation in the comment section below!
3. Make a Cloak – Badass Style ⚜
(√: little bit of (quick) sewing, semi-quick costume, great covering, goes with normal clothes. Good idea for masculine character! But could of course be both)
(x: You’ll need some bits and pieces, like boots, a belt and a loose shirt or a neutral dress. Cloak might be a bit warm inside! Quite some fabric needed)
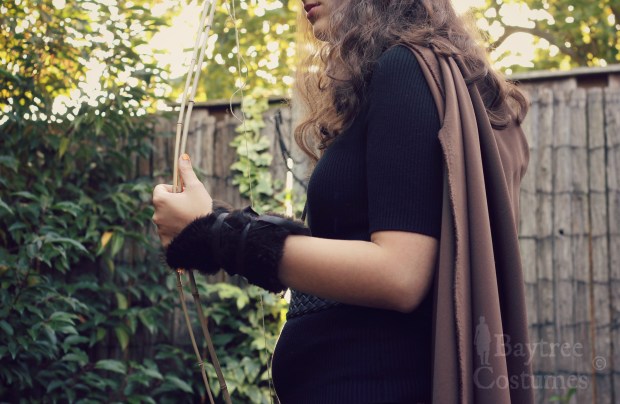
 I looove this picture. Cloak, bracers, ‘bow’, little sword and basic clothes
You’ll need:
1. About 4 ½ yards of suiting fabric
2. Sewing machine and little sewing skills
3. Shirt, trousers, boots or combine with dress and sandals / slippers.. A lot of possibilities! This is also a good time to get out that sword you once bought 😉
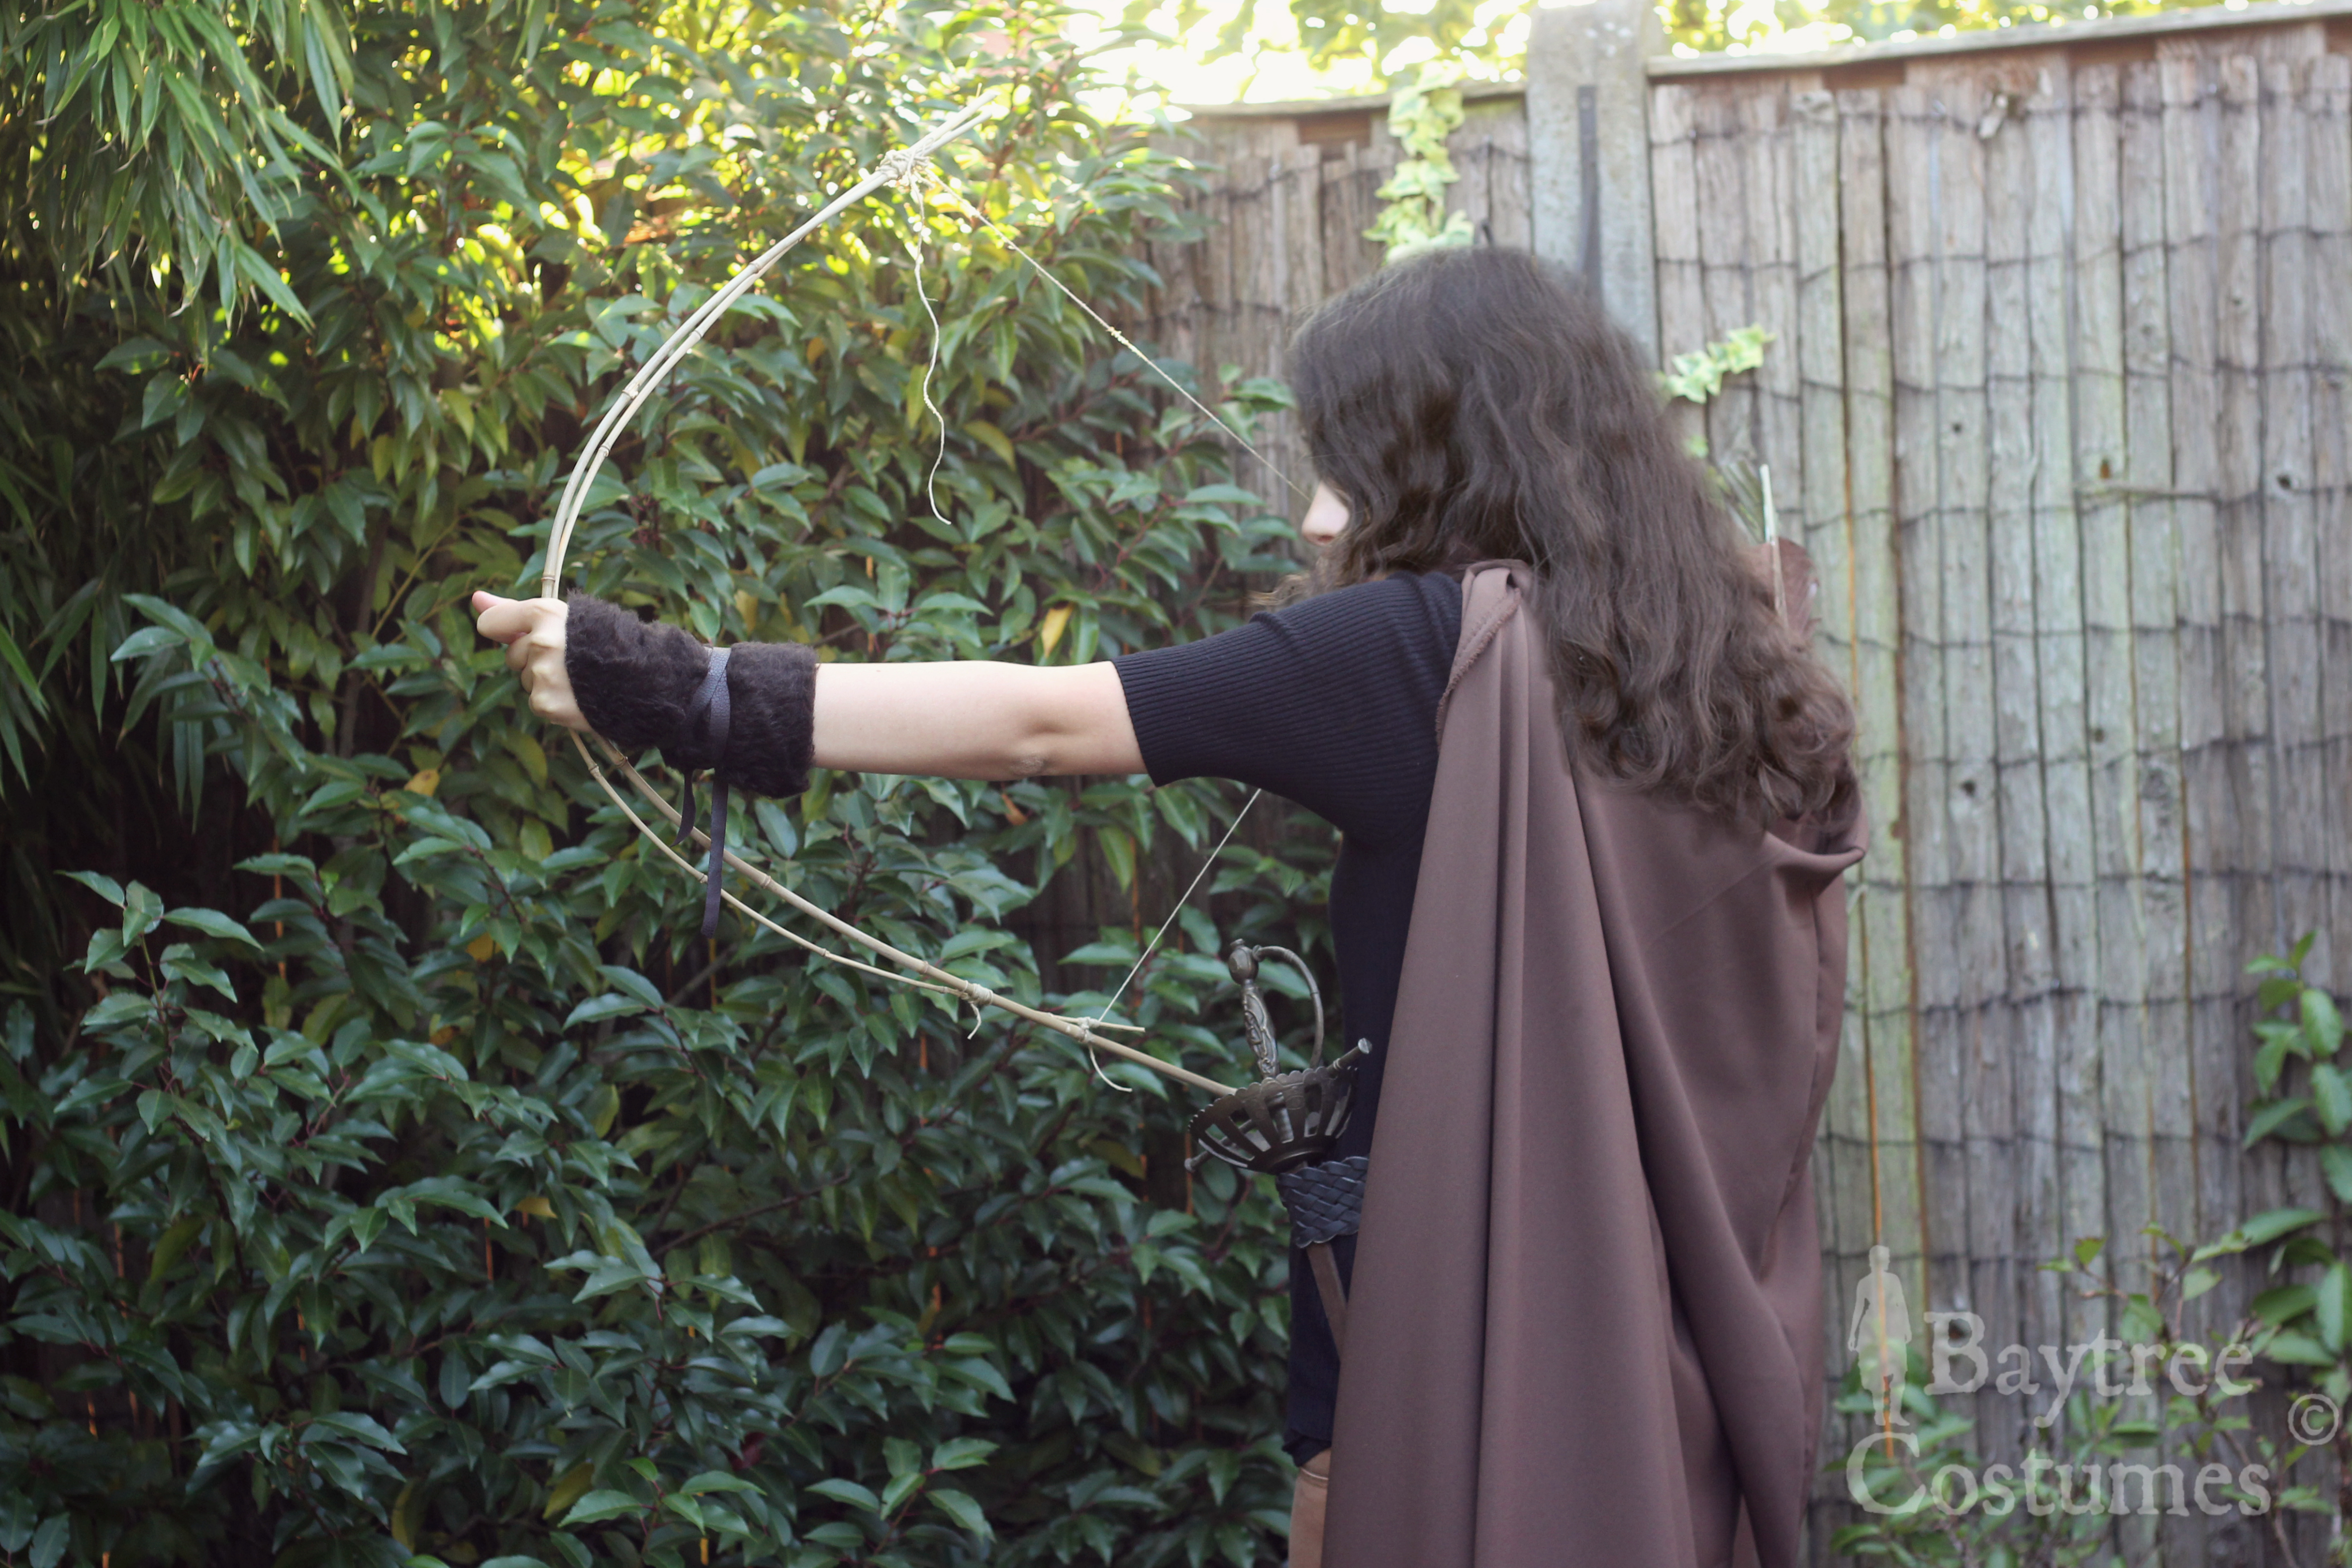
 Oh yeah, and some improvised bamboo and glued-on feather arrows! Notice it still looks cool even though there is no quiver and instead it is in the hood 😉
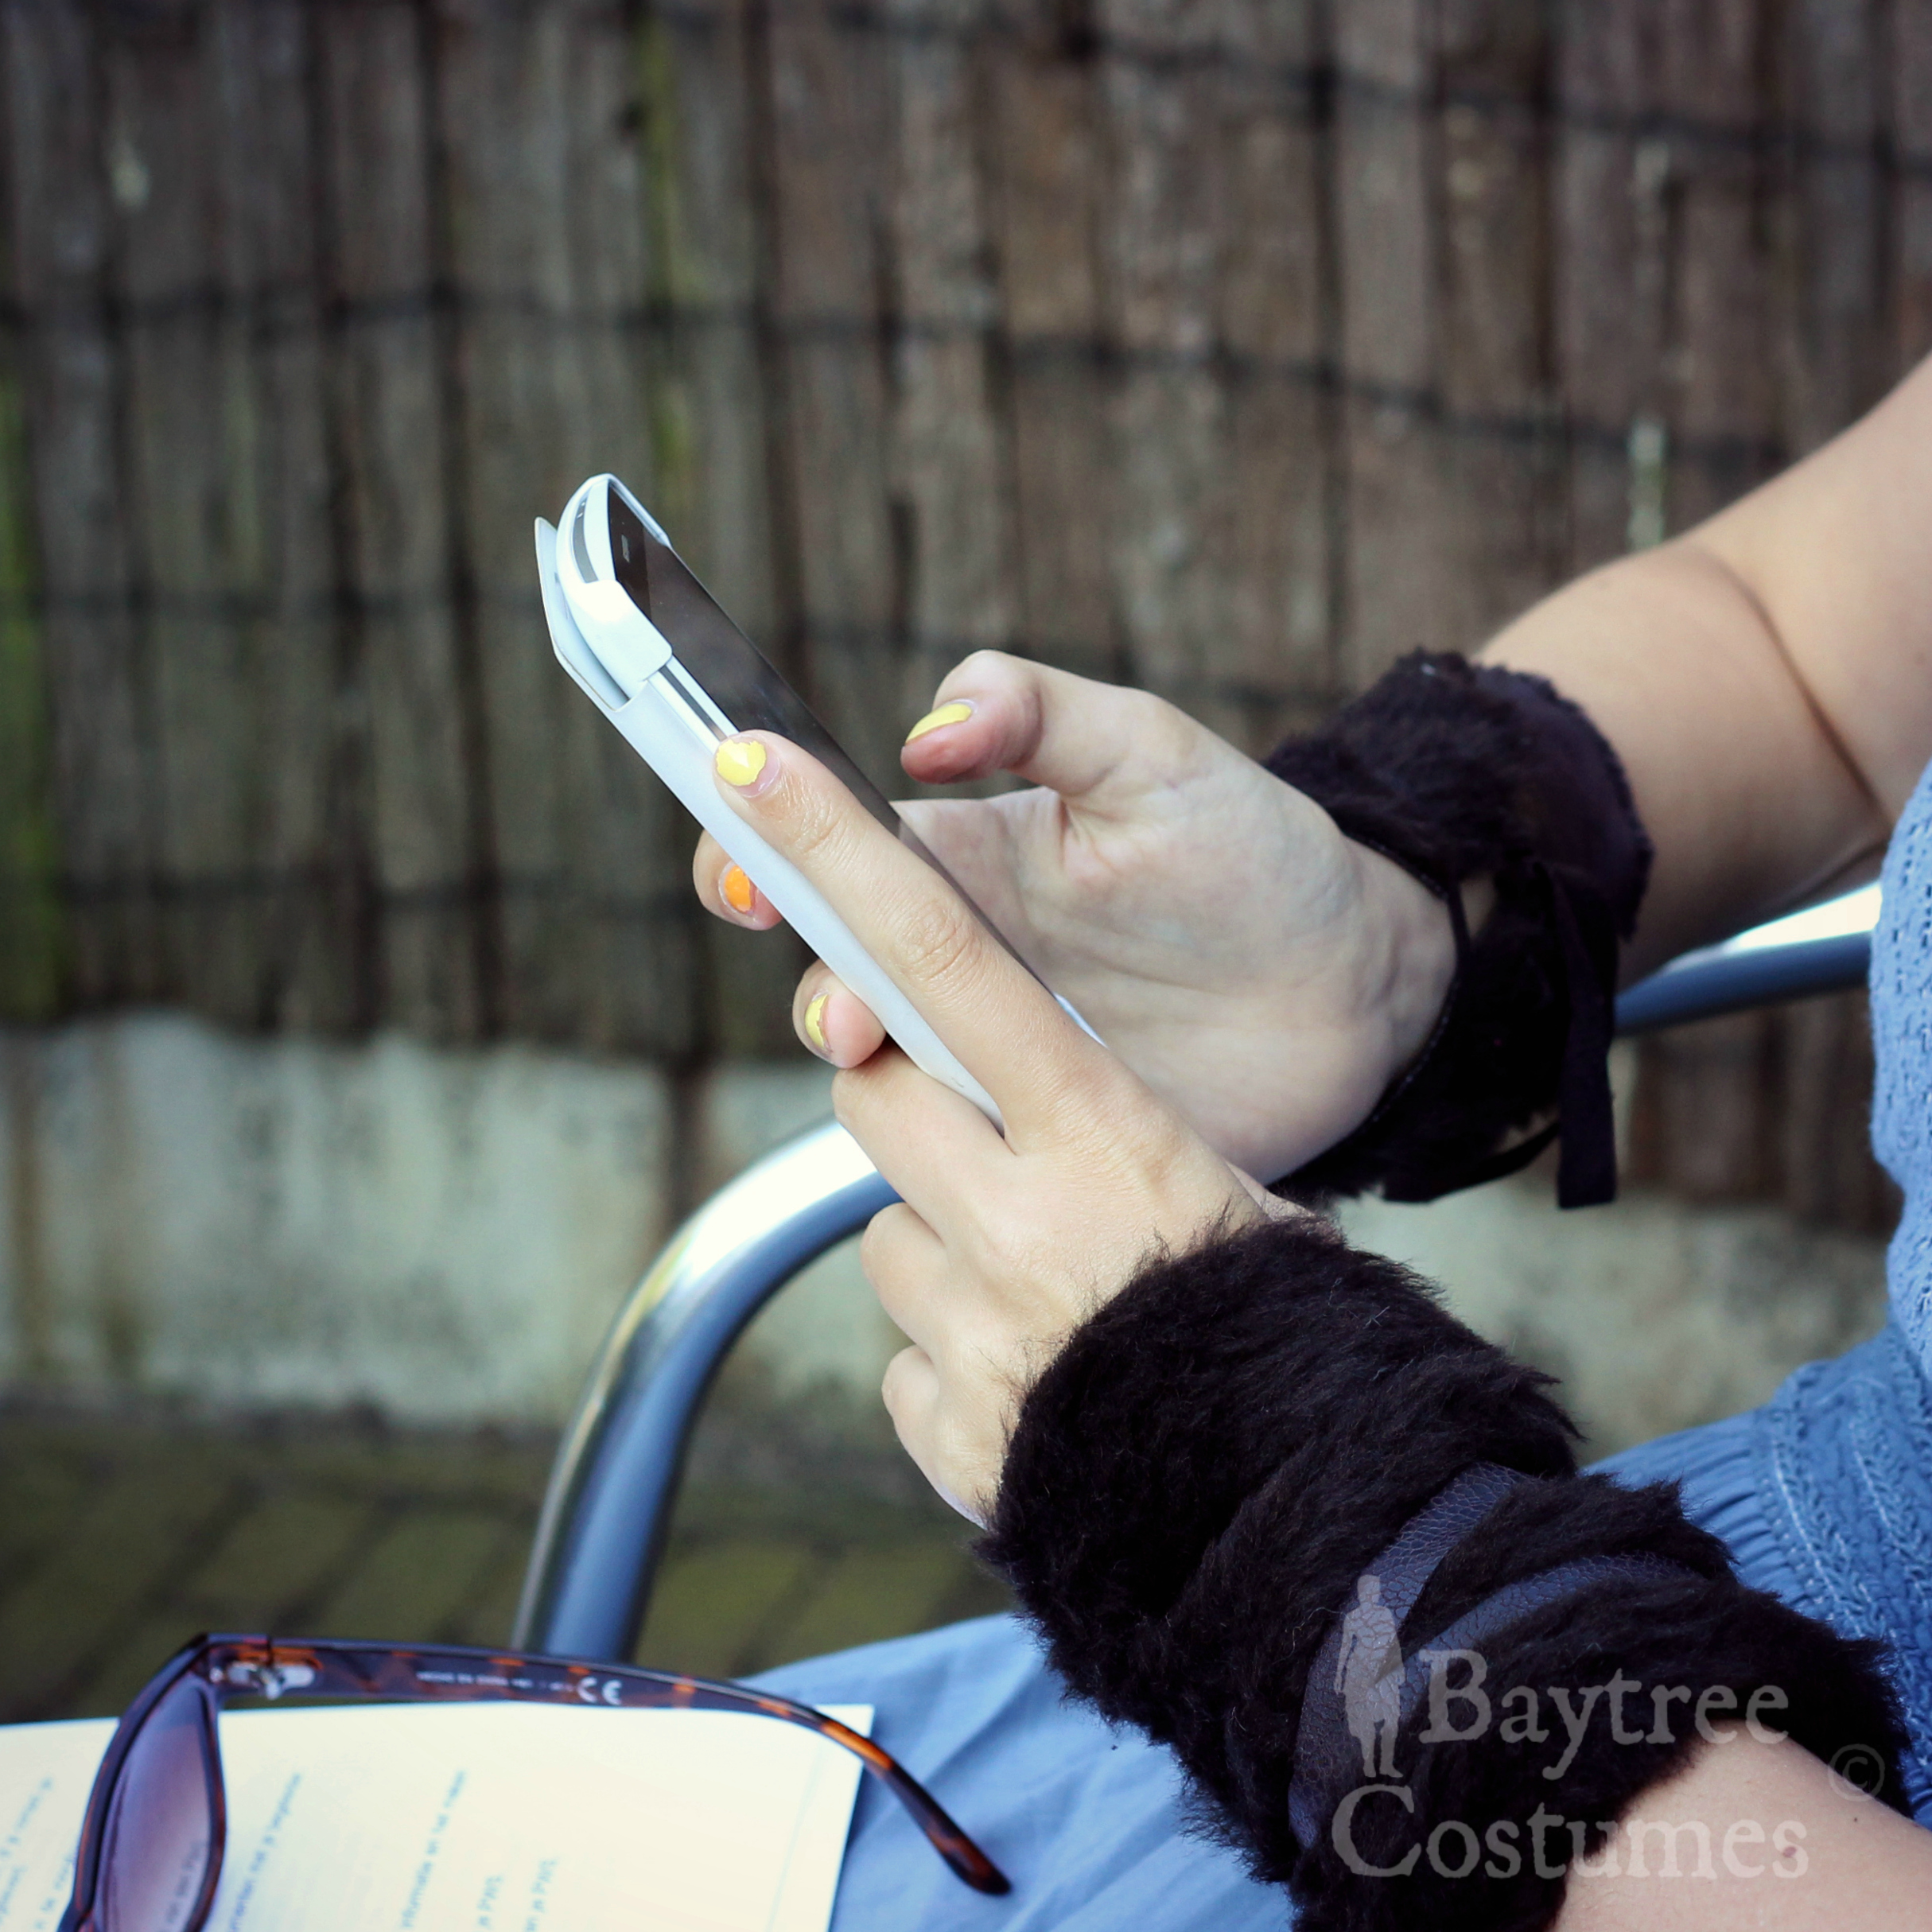
A cloak is the best for covering up badly sewn costume backs (I’m guilty), and to just add an entire new dimension to a dress or a loose shirt and some trousers. It looks so Lord of the Rings like, and if you happen to have a circlet (like mine in the pictures later on), you are immediately something like a LOTR Elf ready to shoot some arrows. If your fabric is lovely (lovelier than mine, which isn’t hard – mine was €1 per meter Terlenka), you can even wear this over your normal clothes and just pretend you are a legit strider. If you happen to have some fake leather or something like that lying around, make some bracers, put some fake fur under them and strap them around your arms. AMAZING :).
 For this quick terlenka brown cloak I used the pattern from the Lord of Rings inspired Hobbit cloaks from this amazing site: http://www.alleycatscratch.com/lotr/Things/FCloak/FCloak_pattern.htm. The hood is optional, without the hood the pattern is super easy. Otherwise, it needs a little more tweaking but a hood does give a nice touch. Leave me a link to a photo of your interpretation in the comment section below!
 The ‘bow’ is made from some string and two bamboo sticks – best flexible & useful twigs ever
Now as I always do – interpretation section! Because just look at what you could do with a ‘simple’ cloak.
Interpretation one – Dark
My first version of cloak interpretation is what you can achieve with black regular pants / tights and a simple black t-shirt or top. Dark Elf / Mage / Dark Witch! With some extra accessories you can make this version as crazy as you want. Perhaps a dark purple flower crown, perhaps a bow and arrow or a dagger, some (fake!) fur here and there.. But in a simple way, with just a cloak and dark normal clothes; this is what you could achieve:
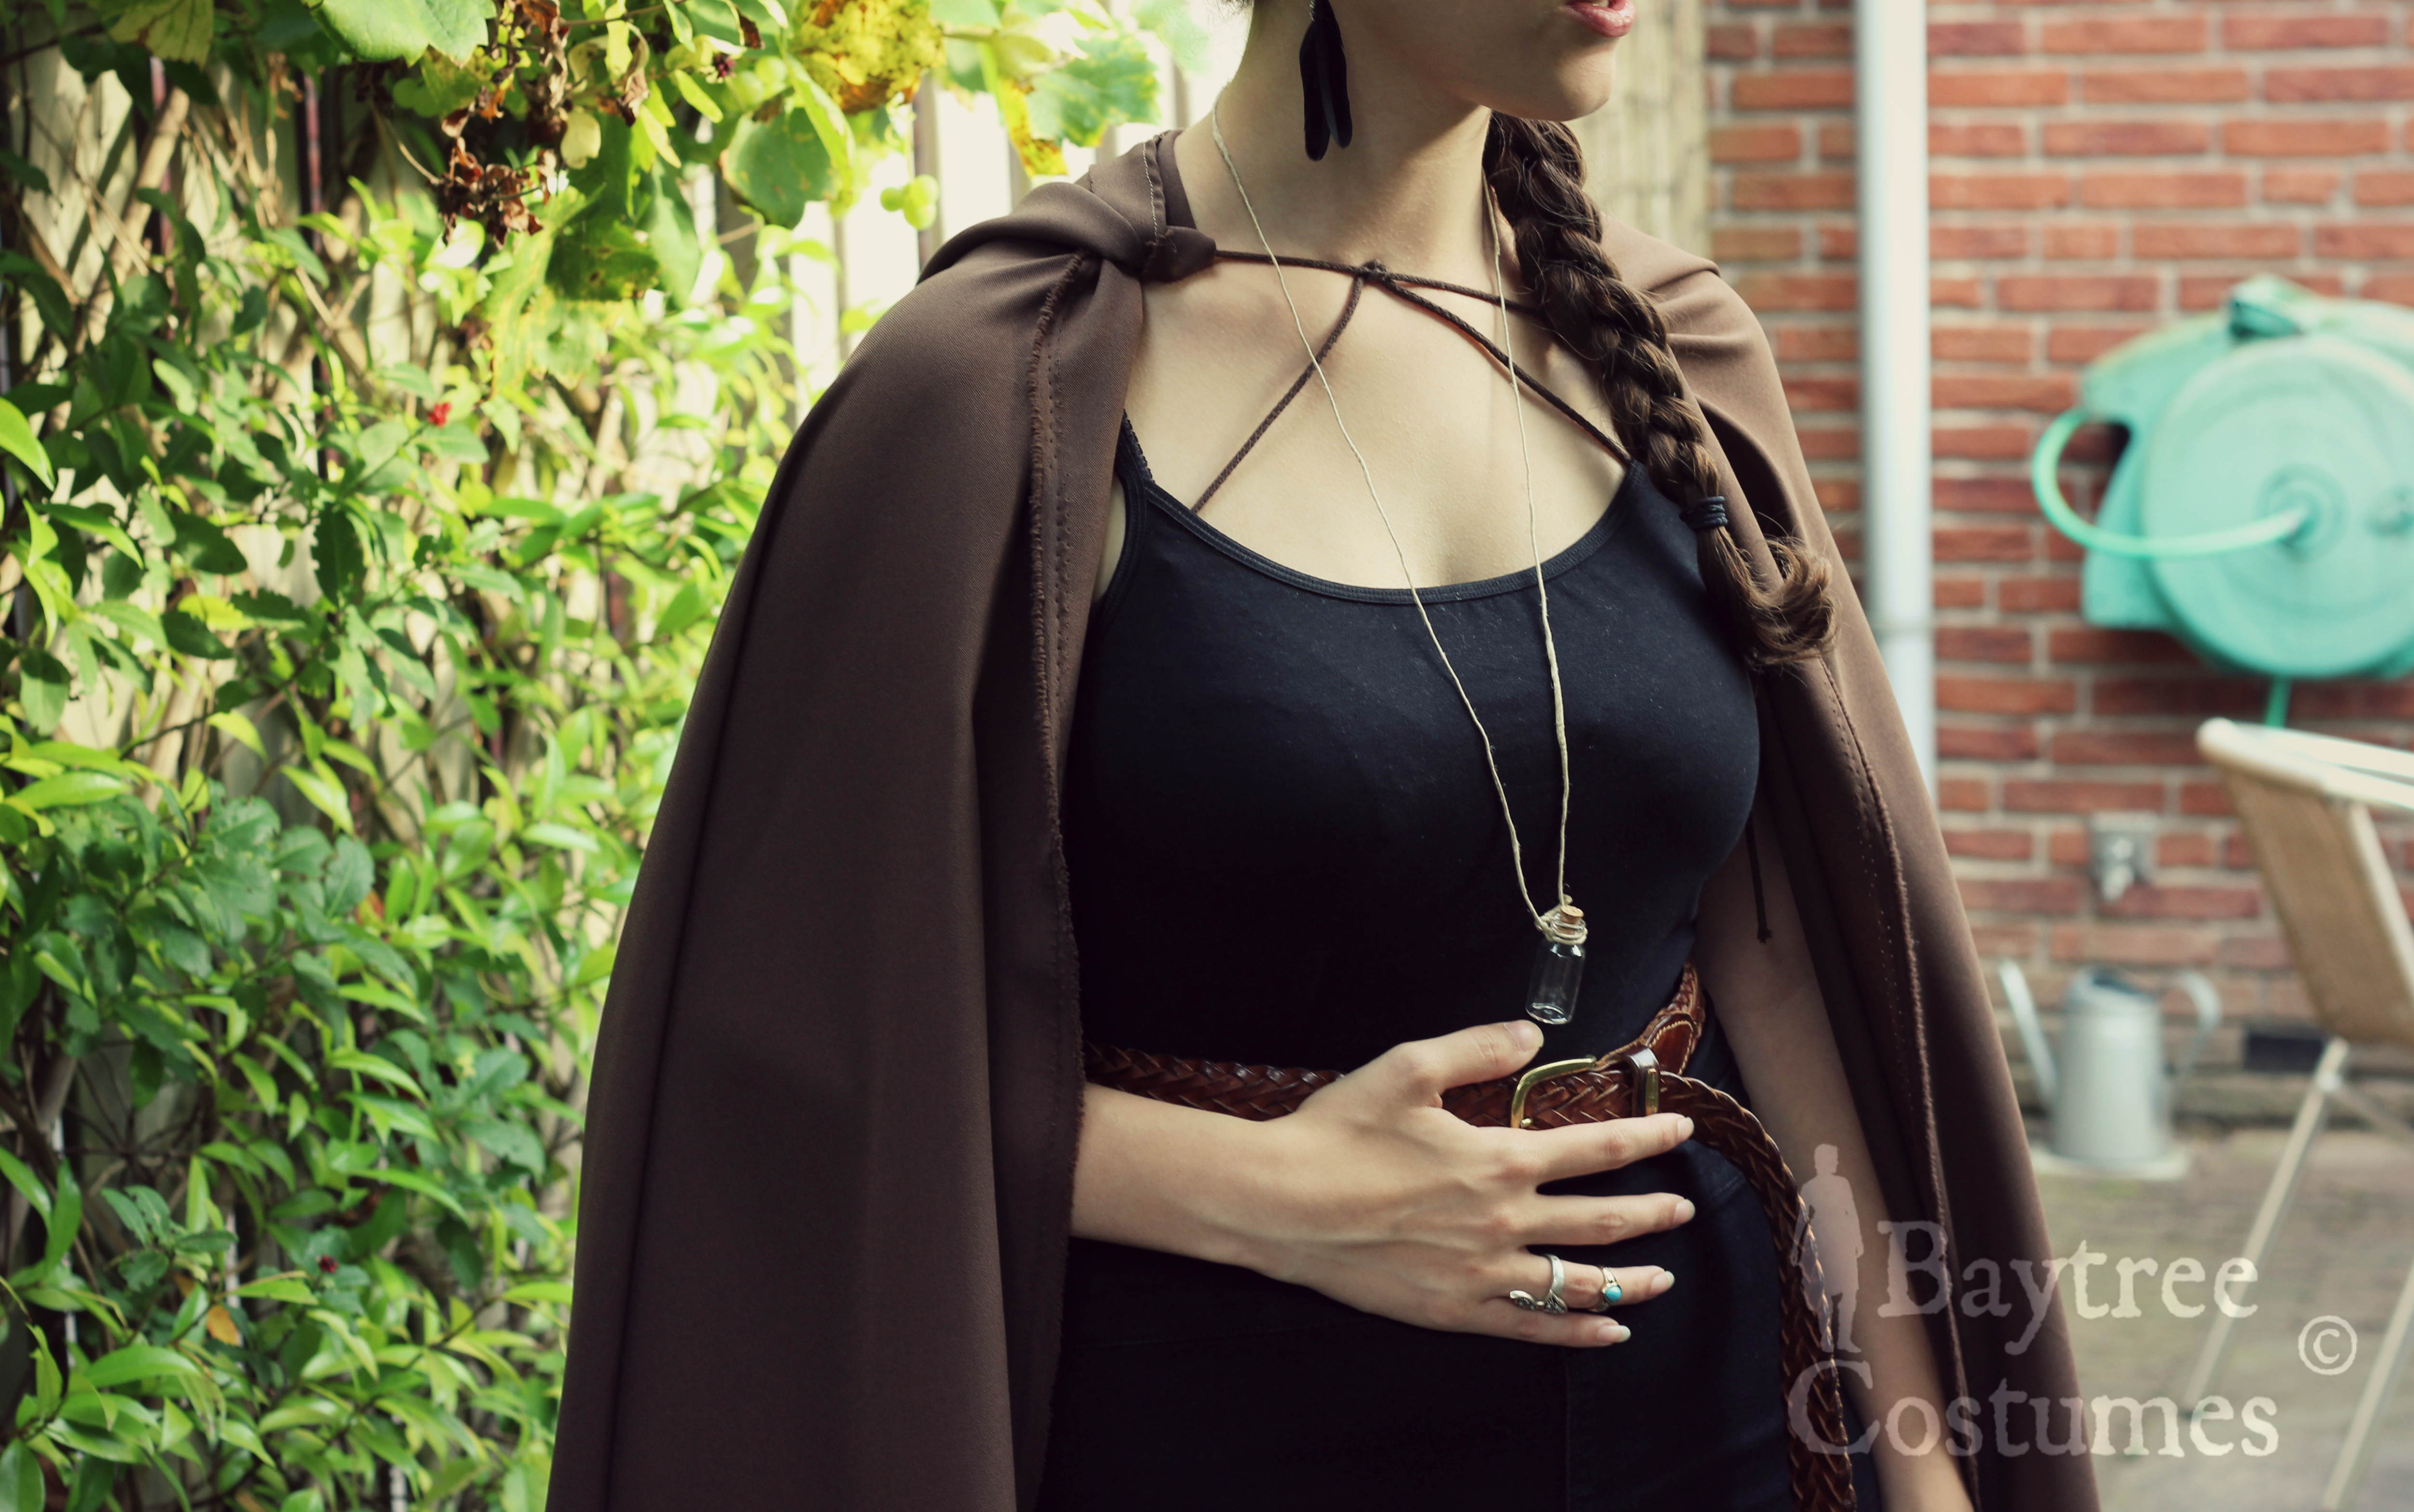 Simple normal black clothing, some accessories and a cloak

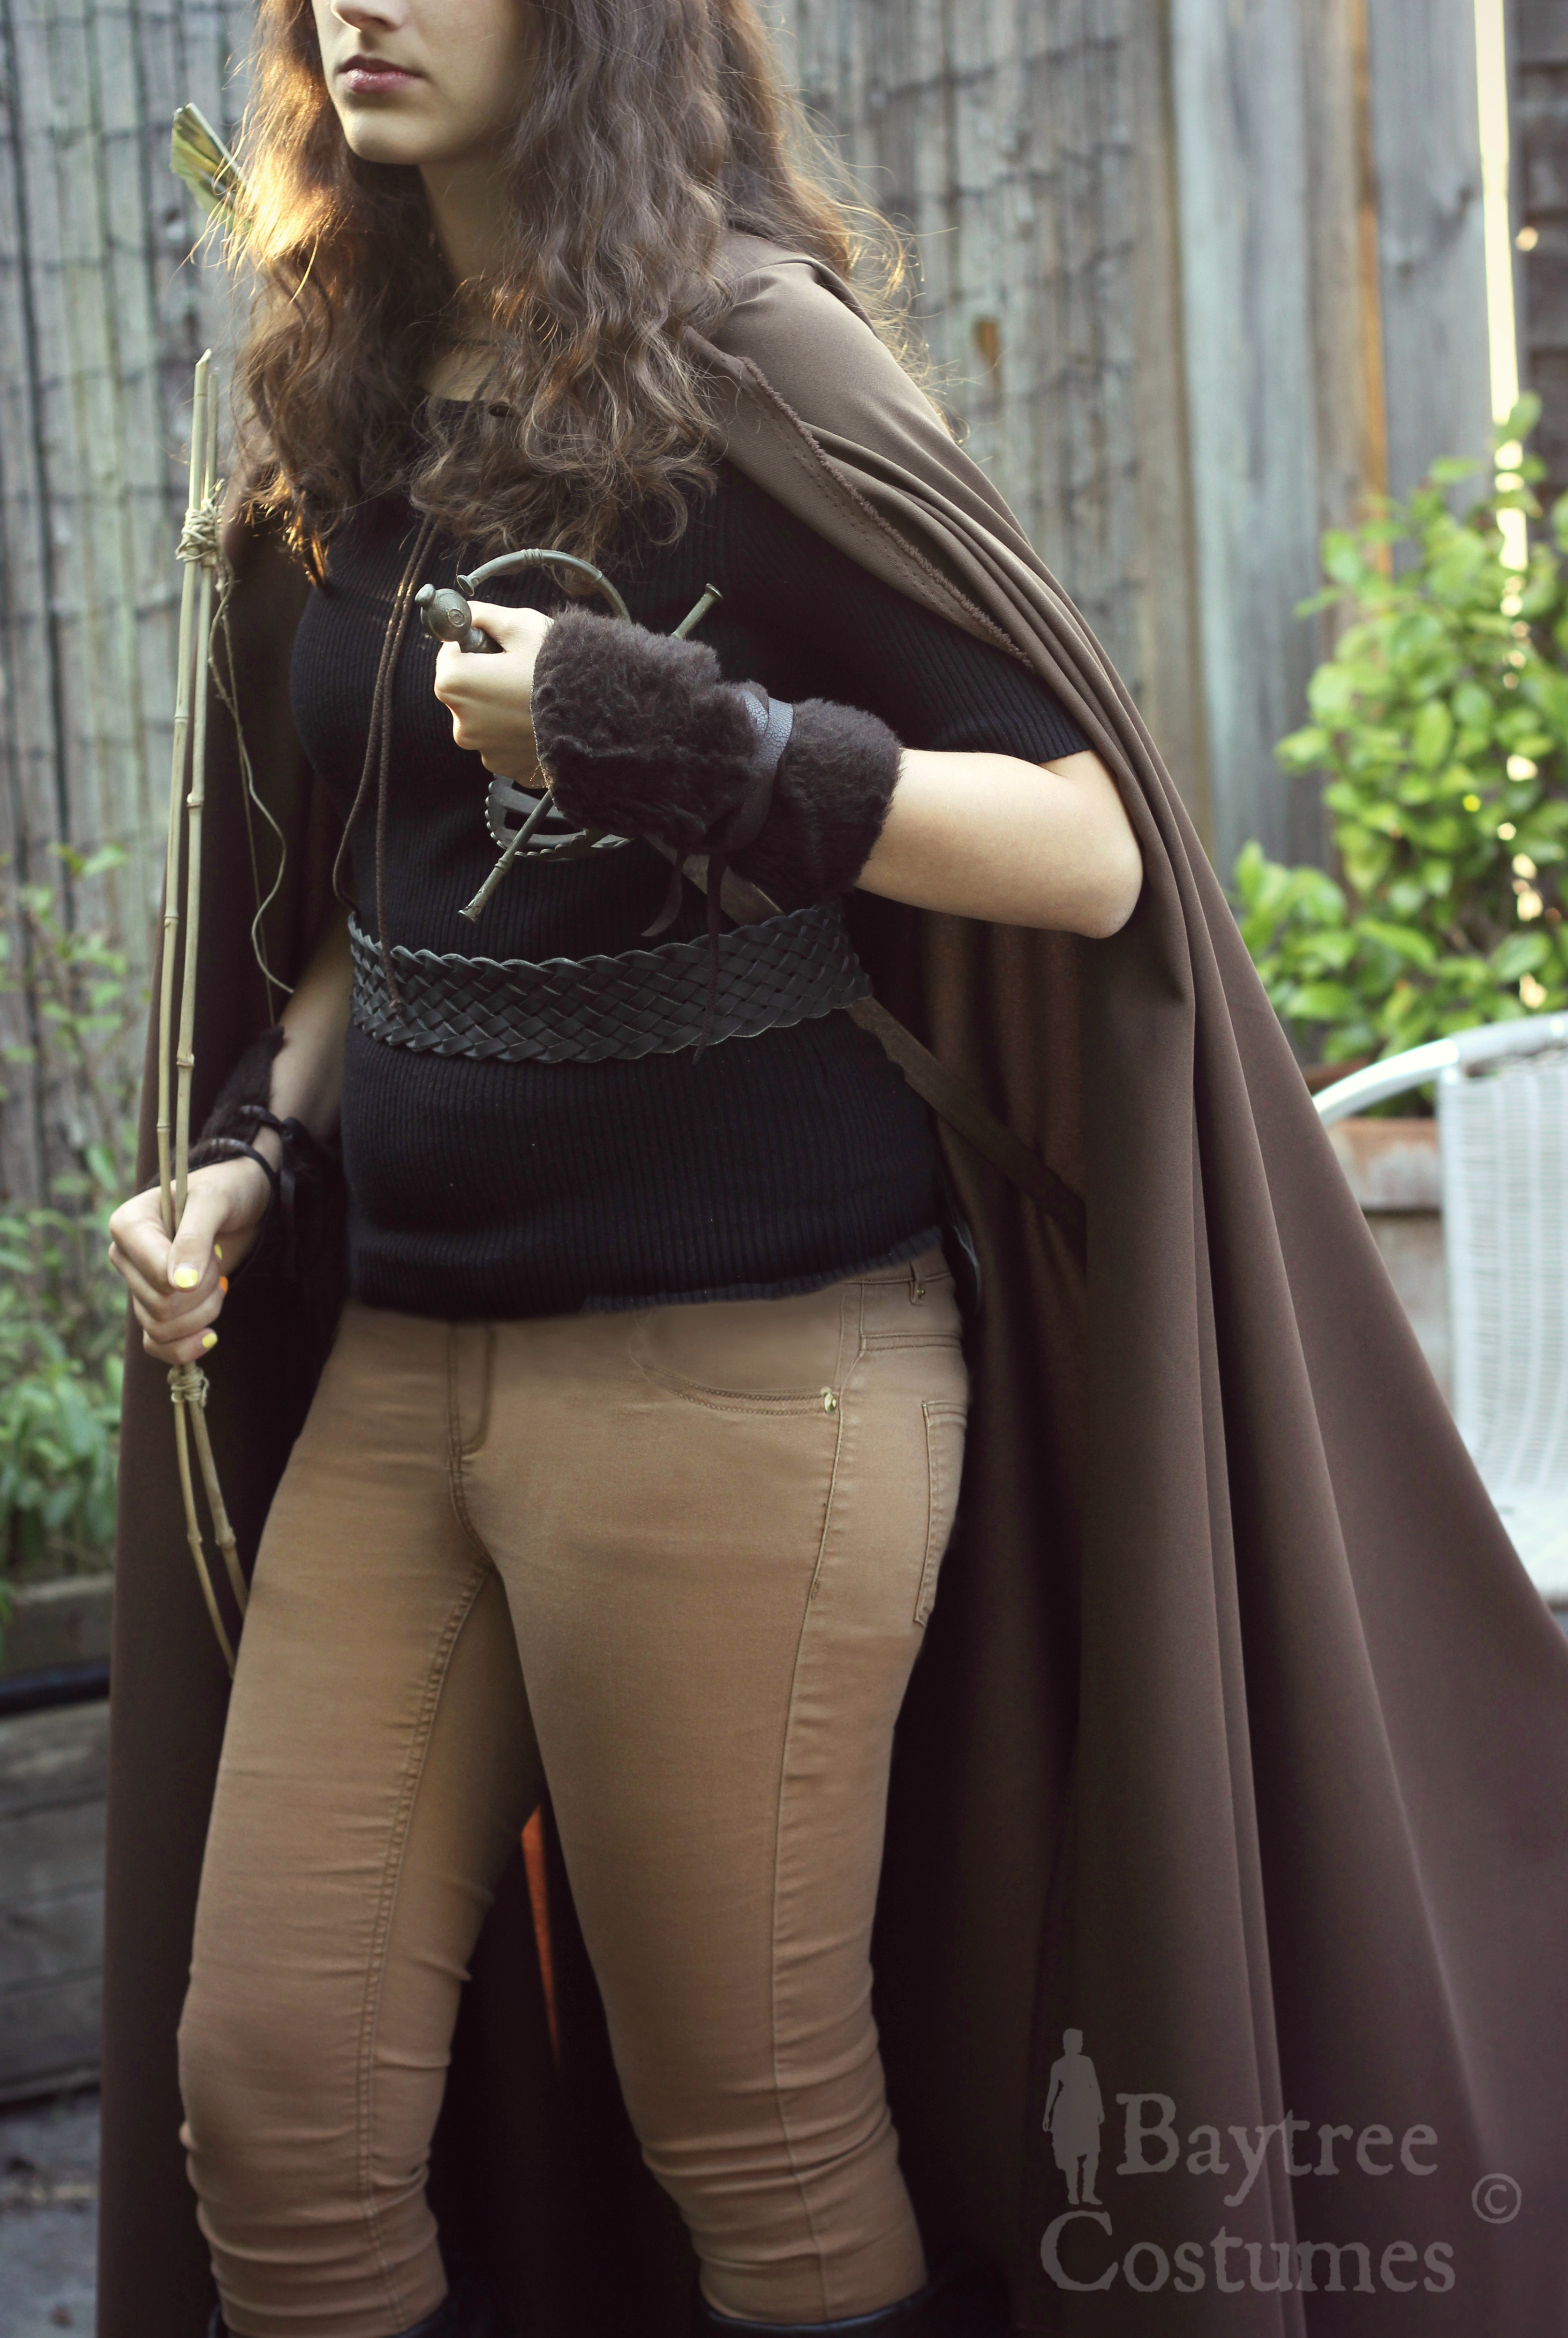
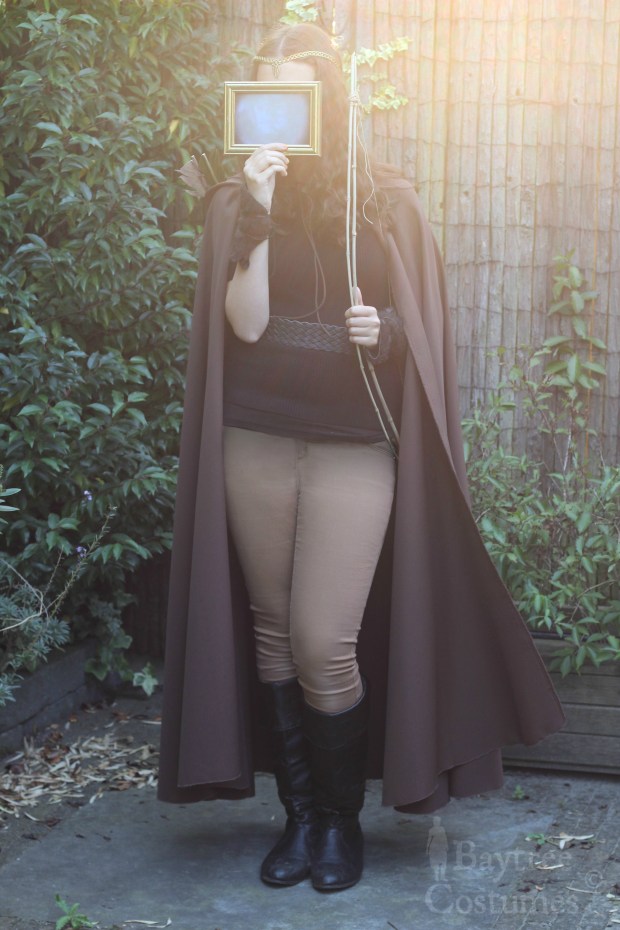
Interpretation two – Archer
My second interpretation of a cloaked character is Strider or an Elf with bow and arrow. Badass and masculine!
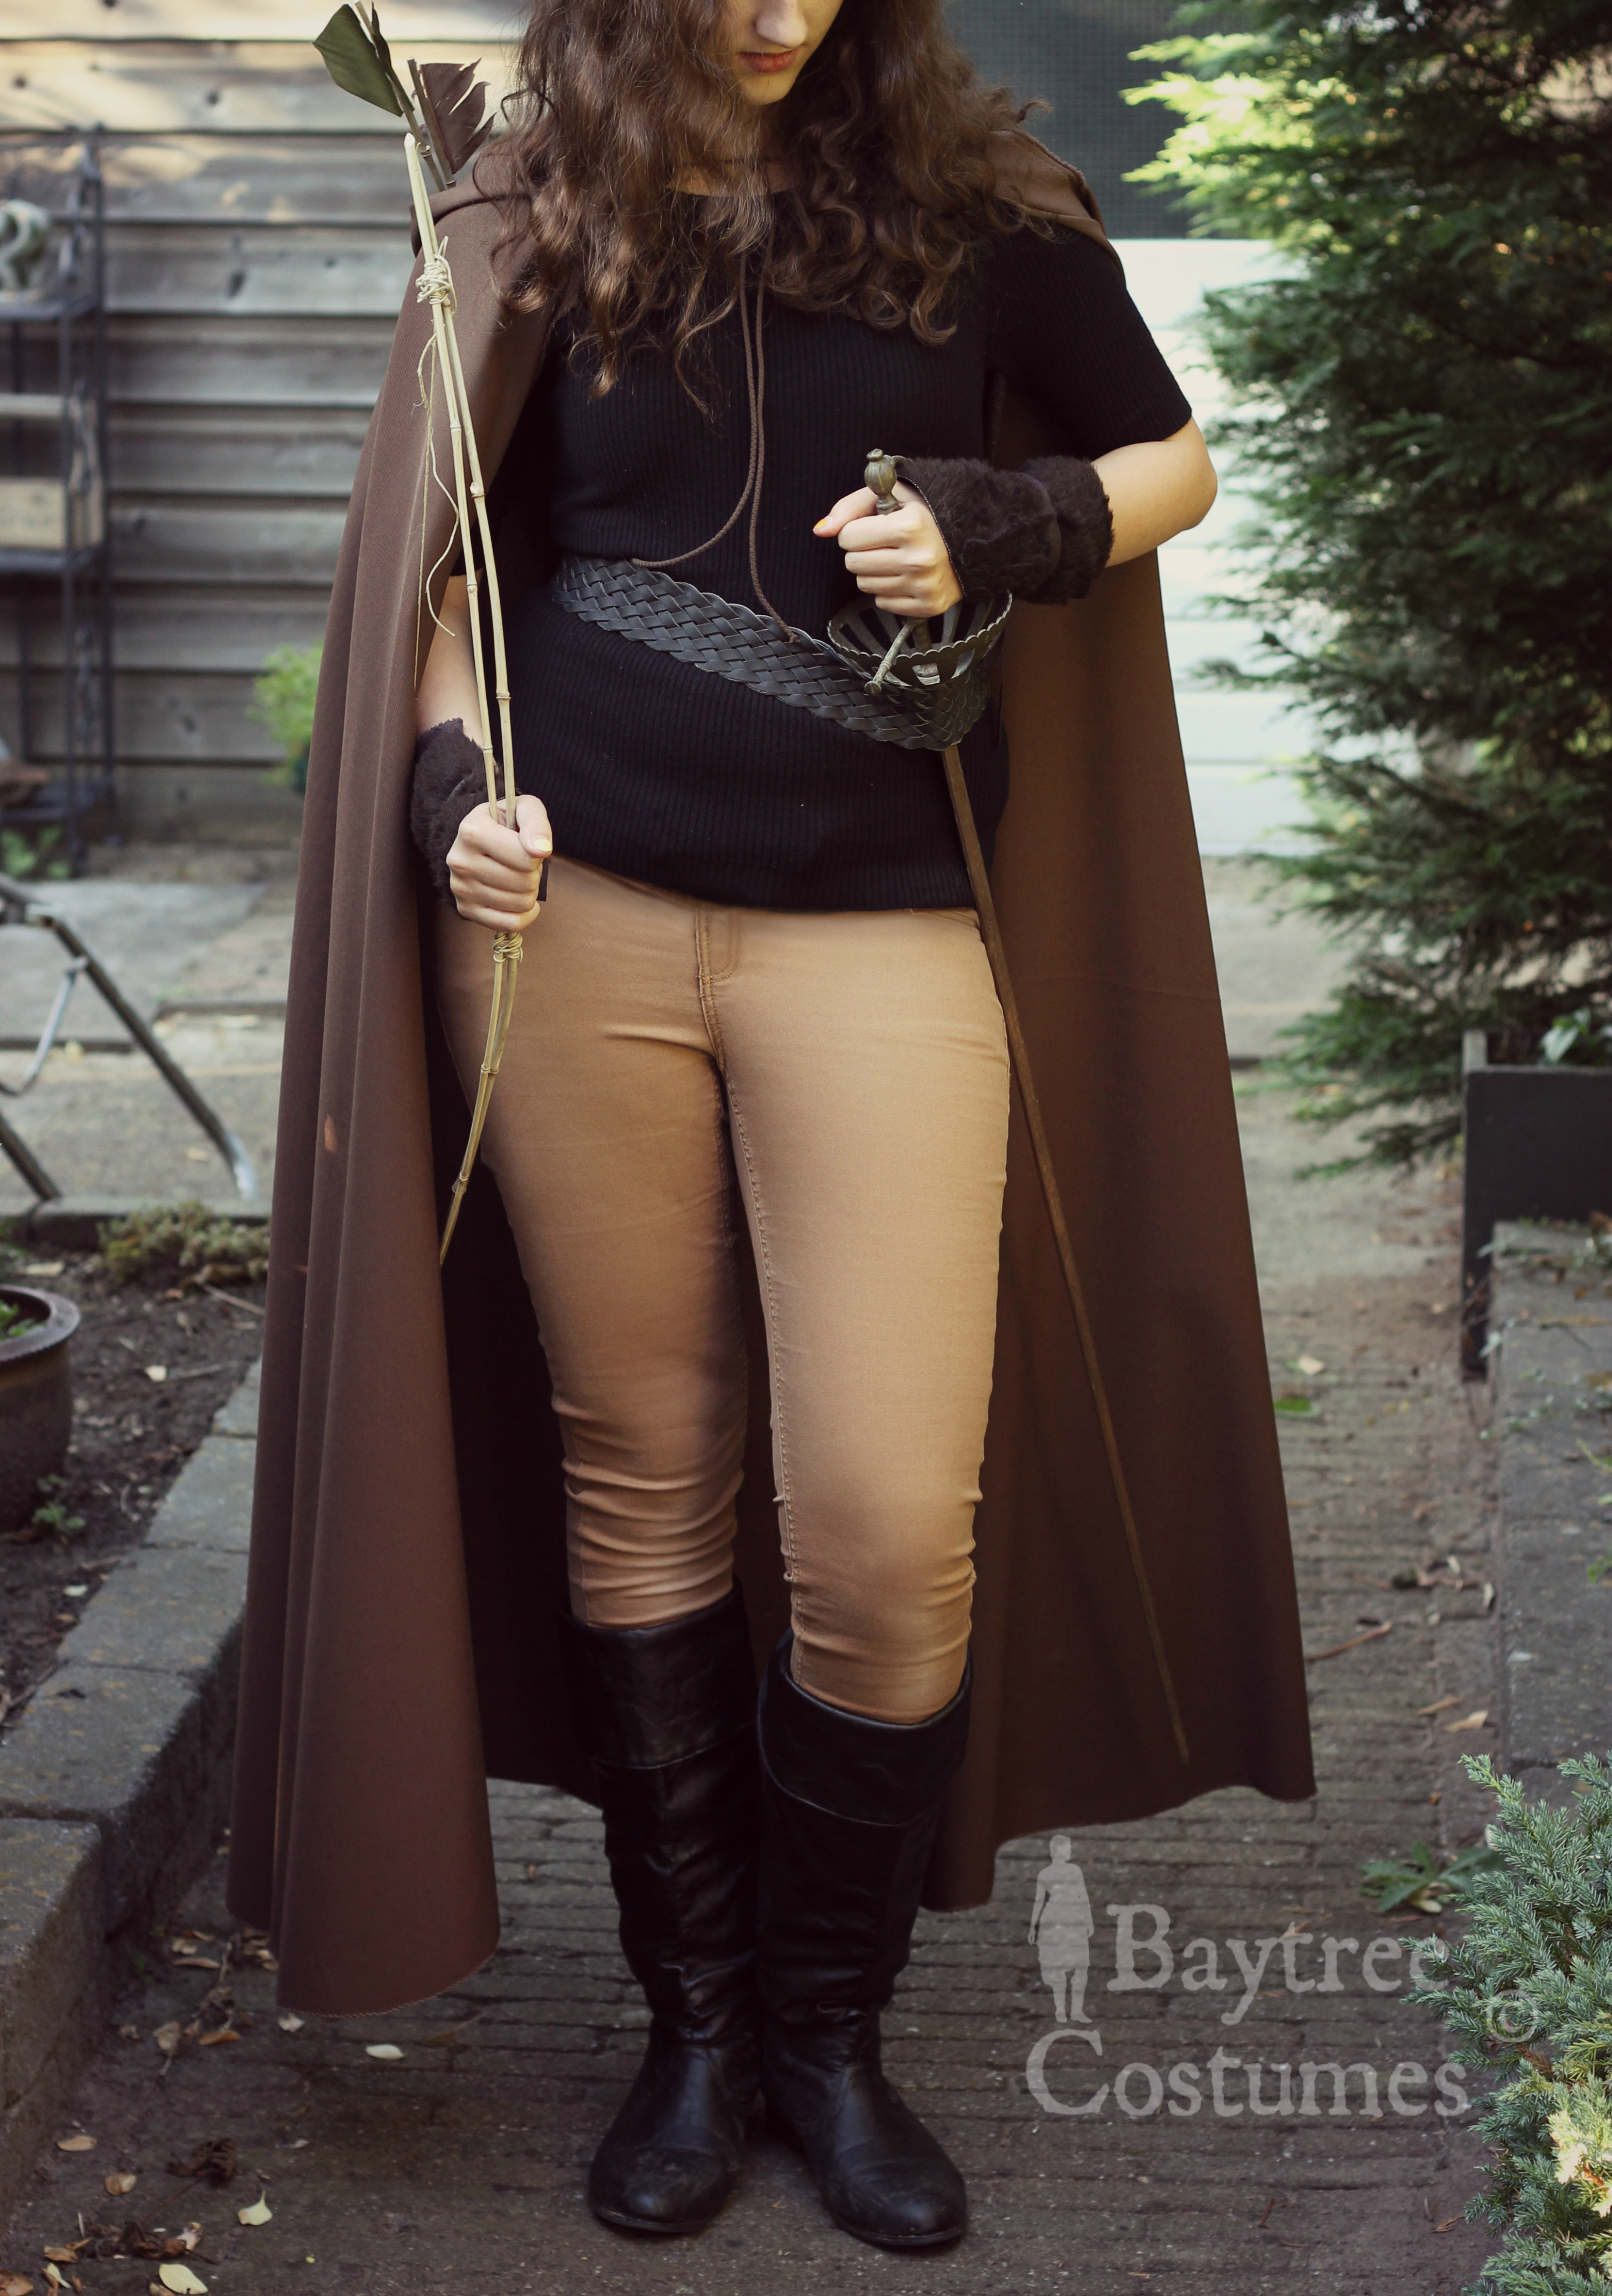
 See how much difference the boots also make.. You can start posing with all these attributes!
Interpretation three – Armed Elf
 The difference a circlet makes
Little touches are all you need to finish your costume. Turn your strider look into legit elf by for instance adding a purchased or self-made circlet. A belt, boots, bamboo bow 😉 .. It can all make a huge impact. 
Can you notice the difference?
Same outfit as strider, but plus a circlet = elf. Sigh I just love mixing and matching new costumes.
What is your interpretation? Please leave a comment and perhaps a link to your photo down below!
———————————–
And if you gave this article the time to read till the end, first of all: well done! ❤
Please leave a like if you are a WordPress user, it helps me out a lot. Also comment down below if this post helped you or if you have a question – it always makes my day. Also I’d love you to know that I have an official Twitter and YouTube account and I would love if you checked those out.
Have a lovely time and I already wish you lots and lots of fun for Halloween. And your next Ren Faire of course 😉
Cheers, Ava

Really, really awesome!!!
LikeLiked by 1 person
Thank youu!!
LikeLike
I love them all!! Thanks for sharing! 🙂
LikeLiked by 1 person
Awh thank you so much Abigail!! ❤
LikeLike