
I am literally so excited to share this tutorial with you – since this is a struggle so “easily” solved! I loved the process a lot, it doesn’t take a lot of time, doesn’t hurt any animals, doesn’t cost too much money and the result is just amazing.
Let’s celebrate easter with a new tutorial!
Make your own Jon Snow fur, viking fur, a rug or even a fashionable shawl within one day.

Jon Snow’s imposing coat and characteristic fur hide – Courtesy of HBO
On the internet, a few things became very clear about Jon Snow costumes and cosplays. Most of the time, the costumes are absolutely amazing and beautifully tailored, – You can hear it coming – But.. A lot of people tend to get stuck on the fur-part. Mostly because real fur is too expensive or because the fake fur is not realistic and big, fluffy and imposing enough. I made my Jon Snow costume alongside my Ygritte costume which tutorial you can find here, which is some time ago now. As you can see from the title, this is not going to be a full Jon Snow tutorial – yet. Ygritte’s costume was a big project, but oh boy, Jon Snow’s was even bigger! It is a very “mathematical” and precise project, and even though my work is half done, it is still not near as close as I want it to be. Alongside that is the fact that season 6 is already on the doorstep (april!) and from photos, we can see that Jon’s costumes will dramatically change next season. I’ll have to see whether the hype around Jon’s older costume is going to change, because if it does, I might not finish the costume..

But – why the tutorial on the fur? You can’t possibly make your own “real fur” now can you? …Can you? That was exactly my question during my own Jon Snow project. I started looking on the internet since everybody only suggested buying real or fake fur, which was not nearly good enough for me, and soon found that you can actually make your own – yes – real fur. How? HOW?
The process is called “fur felting” which uses the wet felting principle. It is a natural process in which you use wool and its natural adhesiveness to other wool under the influence of hot water. During the process, the wool will be washed and made into a pelt. This is much better than real fur considering that there was no animal harmed for the process.
Informative, wet felting: wool fibre is covered in tiny scales, similar to the scales found on a strand of human hair. Wetting and soaping the fleece causes the scales to open, while agitating them causes them to latch onto each other, creating felt. (source: https://en.wikipedia.org/wiki/Felt)
Get started! – Necessities
What do you need to create your own woolen Jon Snow fur or even your own rug, shawl or literally anything else?
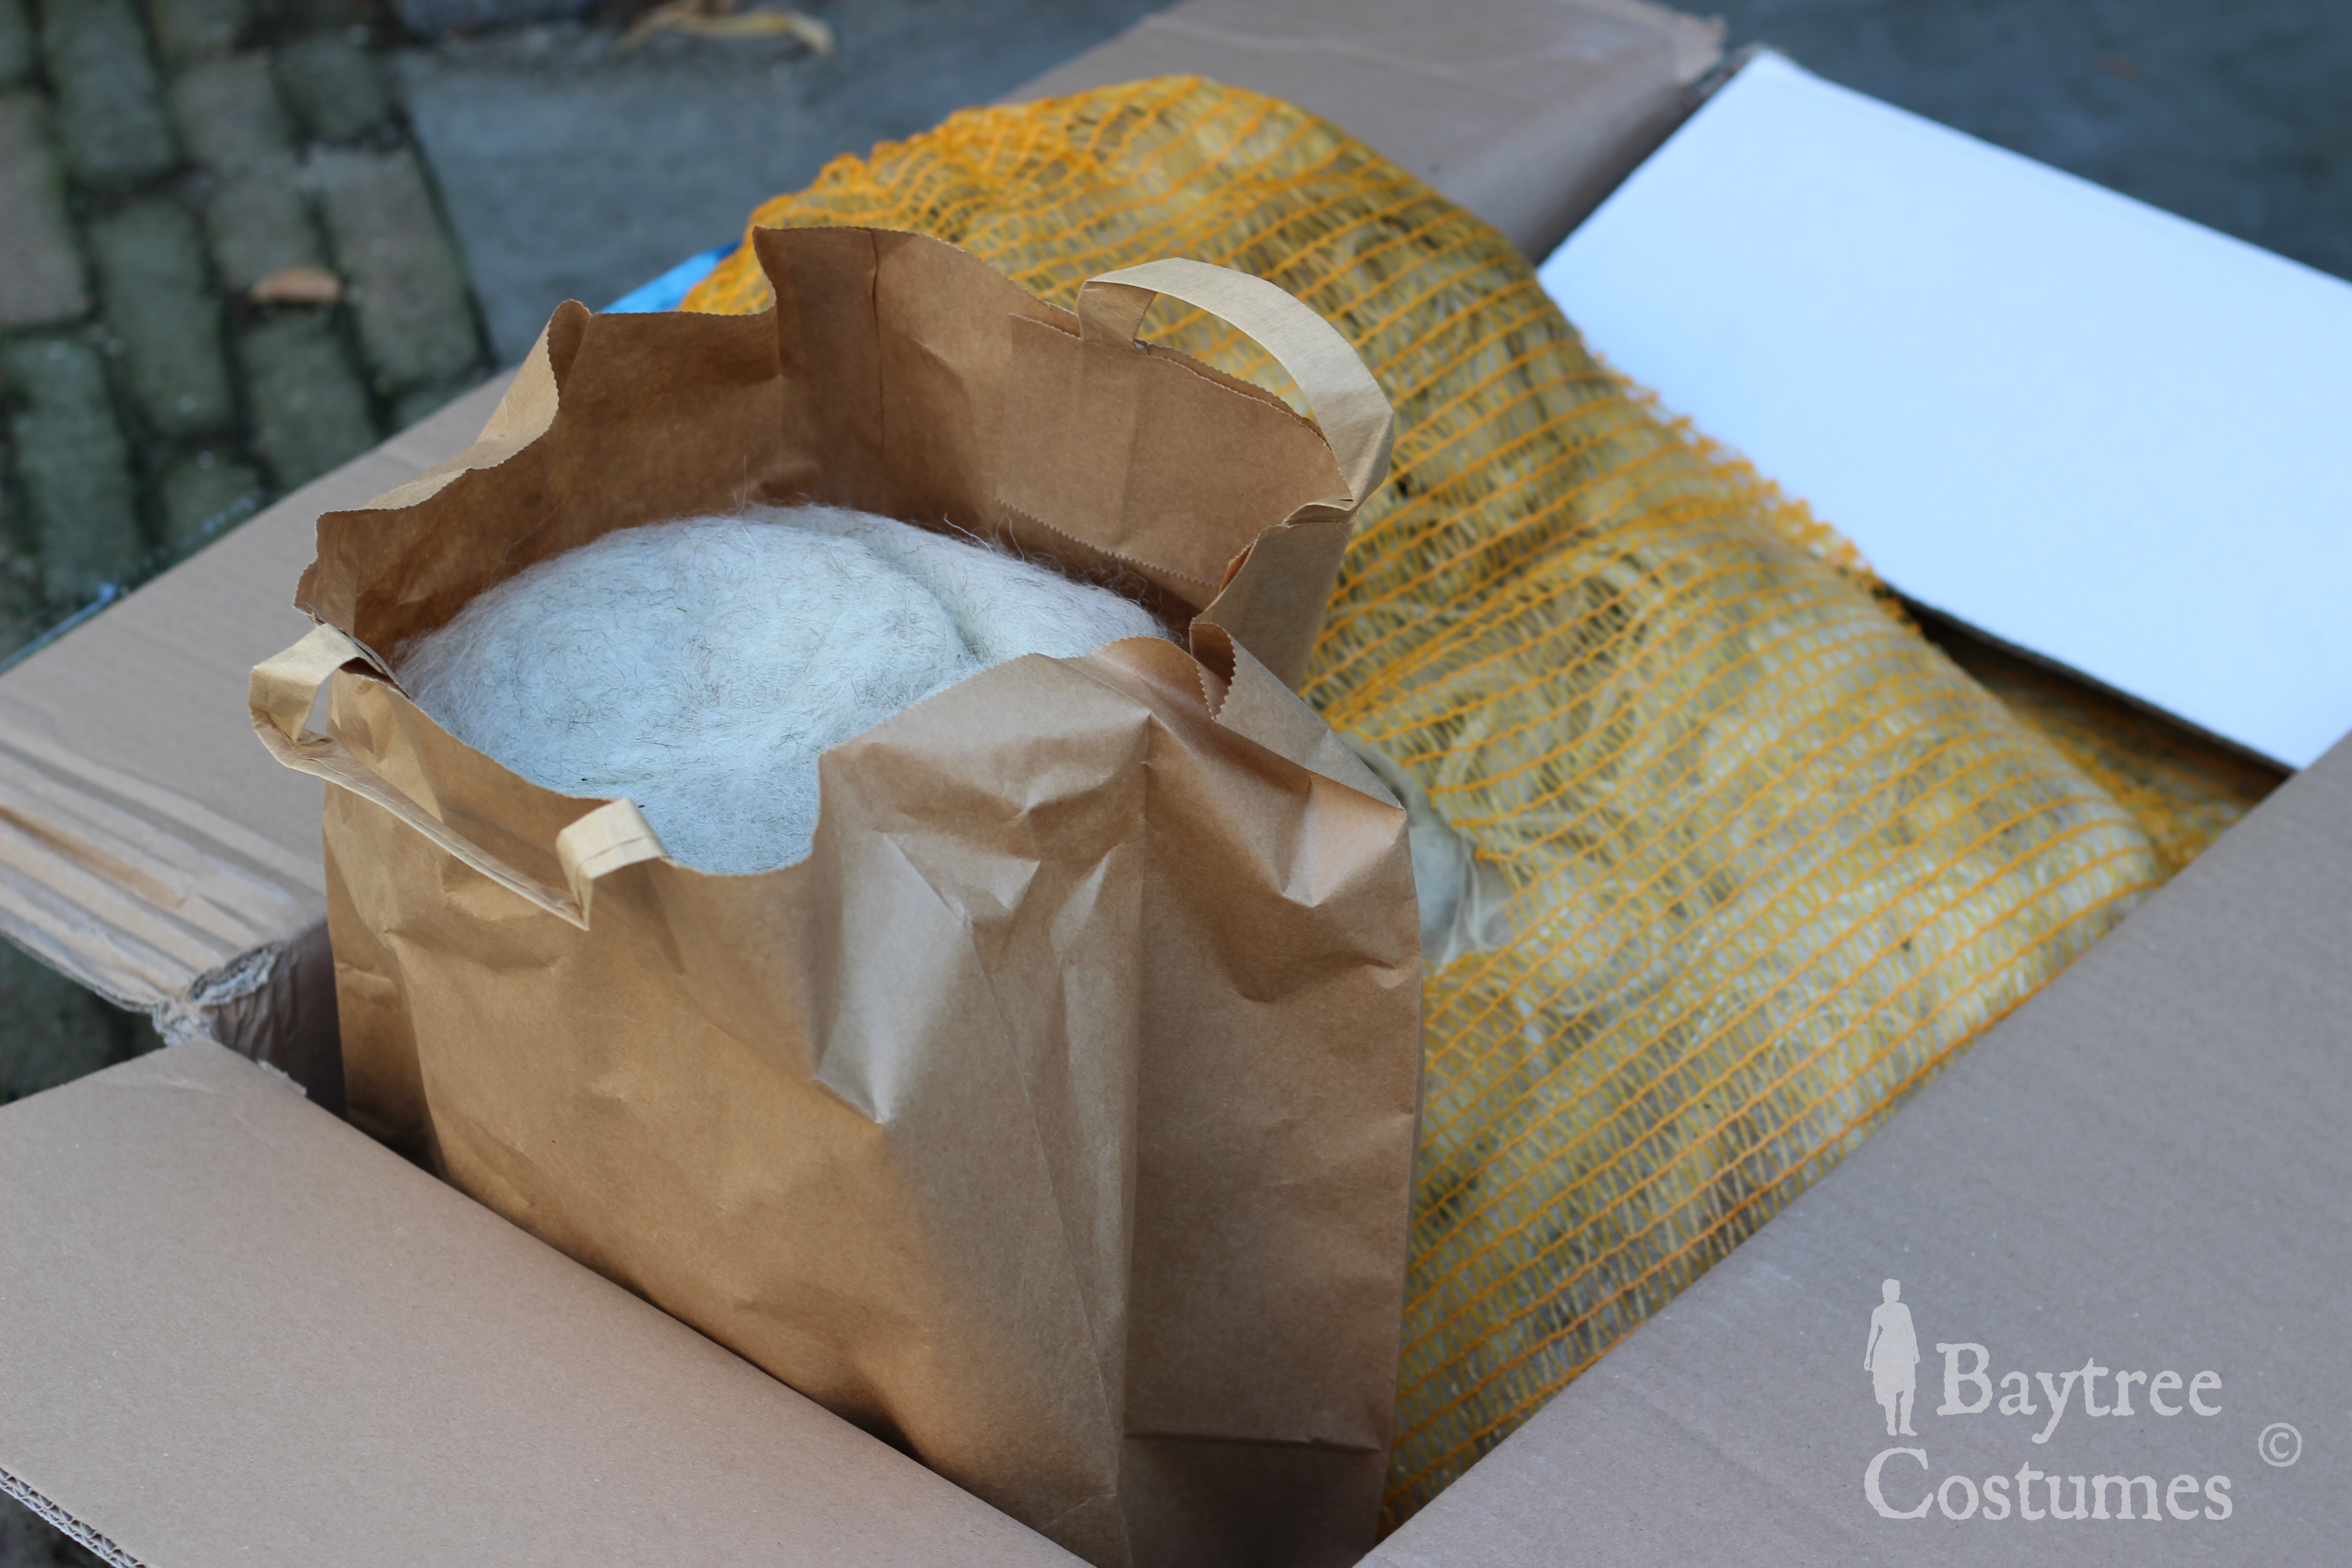
– Wool! I used about two quarters of an entirely freshly sheared woollen coat. I could only buy wholes or quarters, so that is why I went for two quarters. The wool is best if you can buy it somewhere where it has not been separated from each other (chunks of wool), so that the hairs are still mostly attached along the entirety of the sheeps coat. Where I bought it, the wool was freshly sheared and right off the sheep without any washing or interfering. Yes that means dried poo, dead beatles and what not – but they had plucked out the most imperfections such as grass and straw before sending it to me. Tip: Perhaps you could even visit a local sheep farmer and make an even cheaper deal. Of course the price entirely depends on what quality and what race wool you are going for. I went for ivory A-class “Drents Heideschaap”-wool (has a nice ring to it doesn’t it? 😉 ) which was for one quarter only four euros! This wool was perfect for Jon Snow since these sheep don’t really have woollen type hairs but more human like hairs. Because of that, their hairs are quite long and easy to work with. They look a lot like Jon’s long woollen fur.
No, it doesn’t end with wool, you are going to need a bit more.
If you want to go authentic for a Jon Snow fur hide, this amazing blog post states it is Mongolian wool. Most likely natural brown or black. *Cringing – why did I go for ivory*
– Carded wool (in the same colour). What? In Dutch, it is called “kaardvlies”. This will be the base for the fur you are going to make. The hairs of the loose wool will attach to this and it will eventually be the fake skinside. I also got this at the webshop I bought my wool. It basically is washed and carded / combed wool from a sheep race of choice to create this fluffy and airy woolen blanket. I bought a bag of 80 cm (≈ 31,5 inches) wide, 500 grams carded wool. I used about half of it I think, but it is always good to have a bit spare for other projects! I bought 500 grams of Ivory “Kaardvlies” from the Drentse Heideschapen for €12,-. It is considerably more expensive than the loose wool, but still below our spending limit. My ecologically produced carded wool was kind of very loosely stuck together just as the wool I bought. It’s perfect to store away or pull of some of the wool to lay it together as a base.
– Hot water! I used it straight from a boiler, but in many tutorials they used bottles with holes in the cap filled with hot water to then squirt over the wool. You can do that too, since it is probably much more accurate and I didn’t really knew what I was doing that much ;).
– Something to roll your fur in to stimulate the wet felting process. I used an old vacuum cleaner wand but that wasn’t the best choice although it was my only. You can best use a swimming noodle (that word made me laugh – I didn’t know you called them that) or something like that! I needs to be longer than the piece you are making. Let’s say at least twice the width of the piece you’ll make.
– Dye, if you want to. I wanted to dye mine black, but – a huge but -, since the oils of the natural wool kind of keep the dye out, I would suggest you should get natural colouring or even food colouring to see if that is any better. Really – colouring with aggressive clothing dye is (sigh) terrible. If it gets in or on anything, you are dead. As least that’s how I consider it! Yes, I’ve got my share of experience. With my dumb head I made the concoction in the kitchen with a wooden floor on a wooden board. If it gets on anything.. Remember: it never gets out! Thankfully I only limited my stupidness to the wooden board, an old vest and some splashes outside. A lot of scary late night dipping things in the dye and watching everything turn black – O my God the fright. Please just use natural dyes or food dyes!
– Bubble wrap. You need to cover the area of your project twice. You’ll need the bubble wrap to roll your project in and to cover your surface. The actual wet felting will take place between those layers. The bubble wrap will prevent the water from going out too much and it will prevent your fur from felting onto itself (we only want it to felt itself to the base layer!).
– (Liquid) green soap. Green soap is a natural soap that will help you get rid of all the dirt without destroying the wool. It will also help you felt the wool together better, since it will be poured over the bubble wrapped surface to work the water into the wool with your hands. It also won’t sting your skin if you go for the green soap. But always keep in mind you might be allergic to green soap or any other soap.
Step-by-step process
I got most of my information from this video. The only problem: it is entirely in Dutch. Therefore, I have laid out the process in my own steps below – as detailed as possible. If you are Dutch or if you understand the language, you might want to watch it for it is very informative!
Pro tip: the work is even more fun with this song 😉
Step 1: use a non-absorbing, flat surface to work on. I used a plastic (too small) table outside, since the stench can get a little too heavy for the indoors. Mind that! Make sure your surface is bigger than your project, that makes things a little easier. Remember, this surface (and probably the ground) is going to get very wet. Cover the surface for your project with bubble wrap. In the video that I used for guidance, they first lay a rubber mat (such as a yoga mat) on top of the table. It has profile, which is better for the felting process, and it does not absorb the water. They then lay bubble wrap on that mat and on those layers you start working. I had no mat, so I only used the bubble wrap. Make sure the bubble wrap surface is larger than your project. Also mind that the bubble profile should be faced up to give the process more of a working surface.
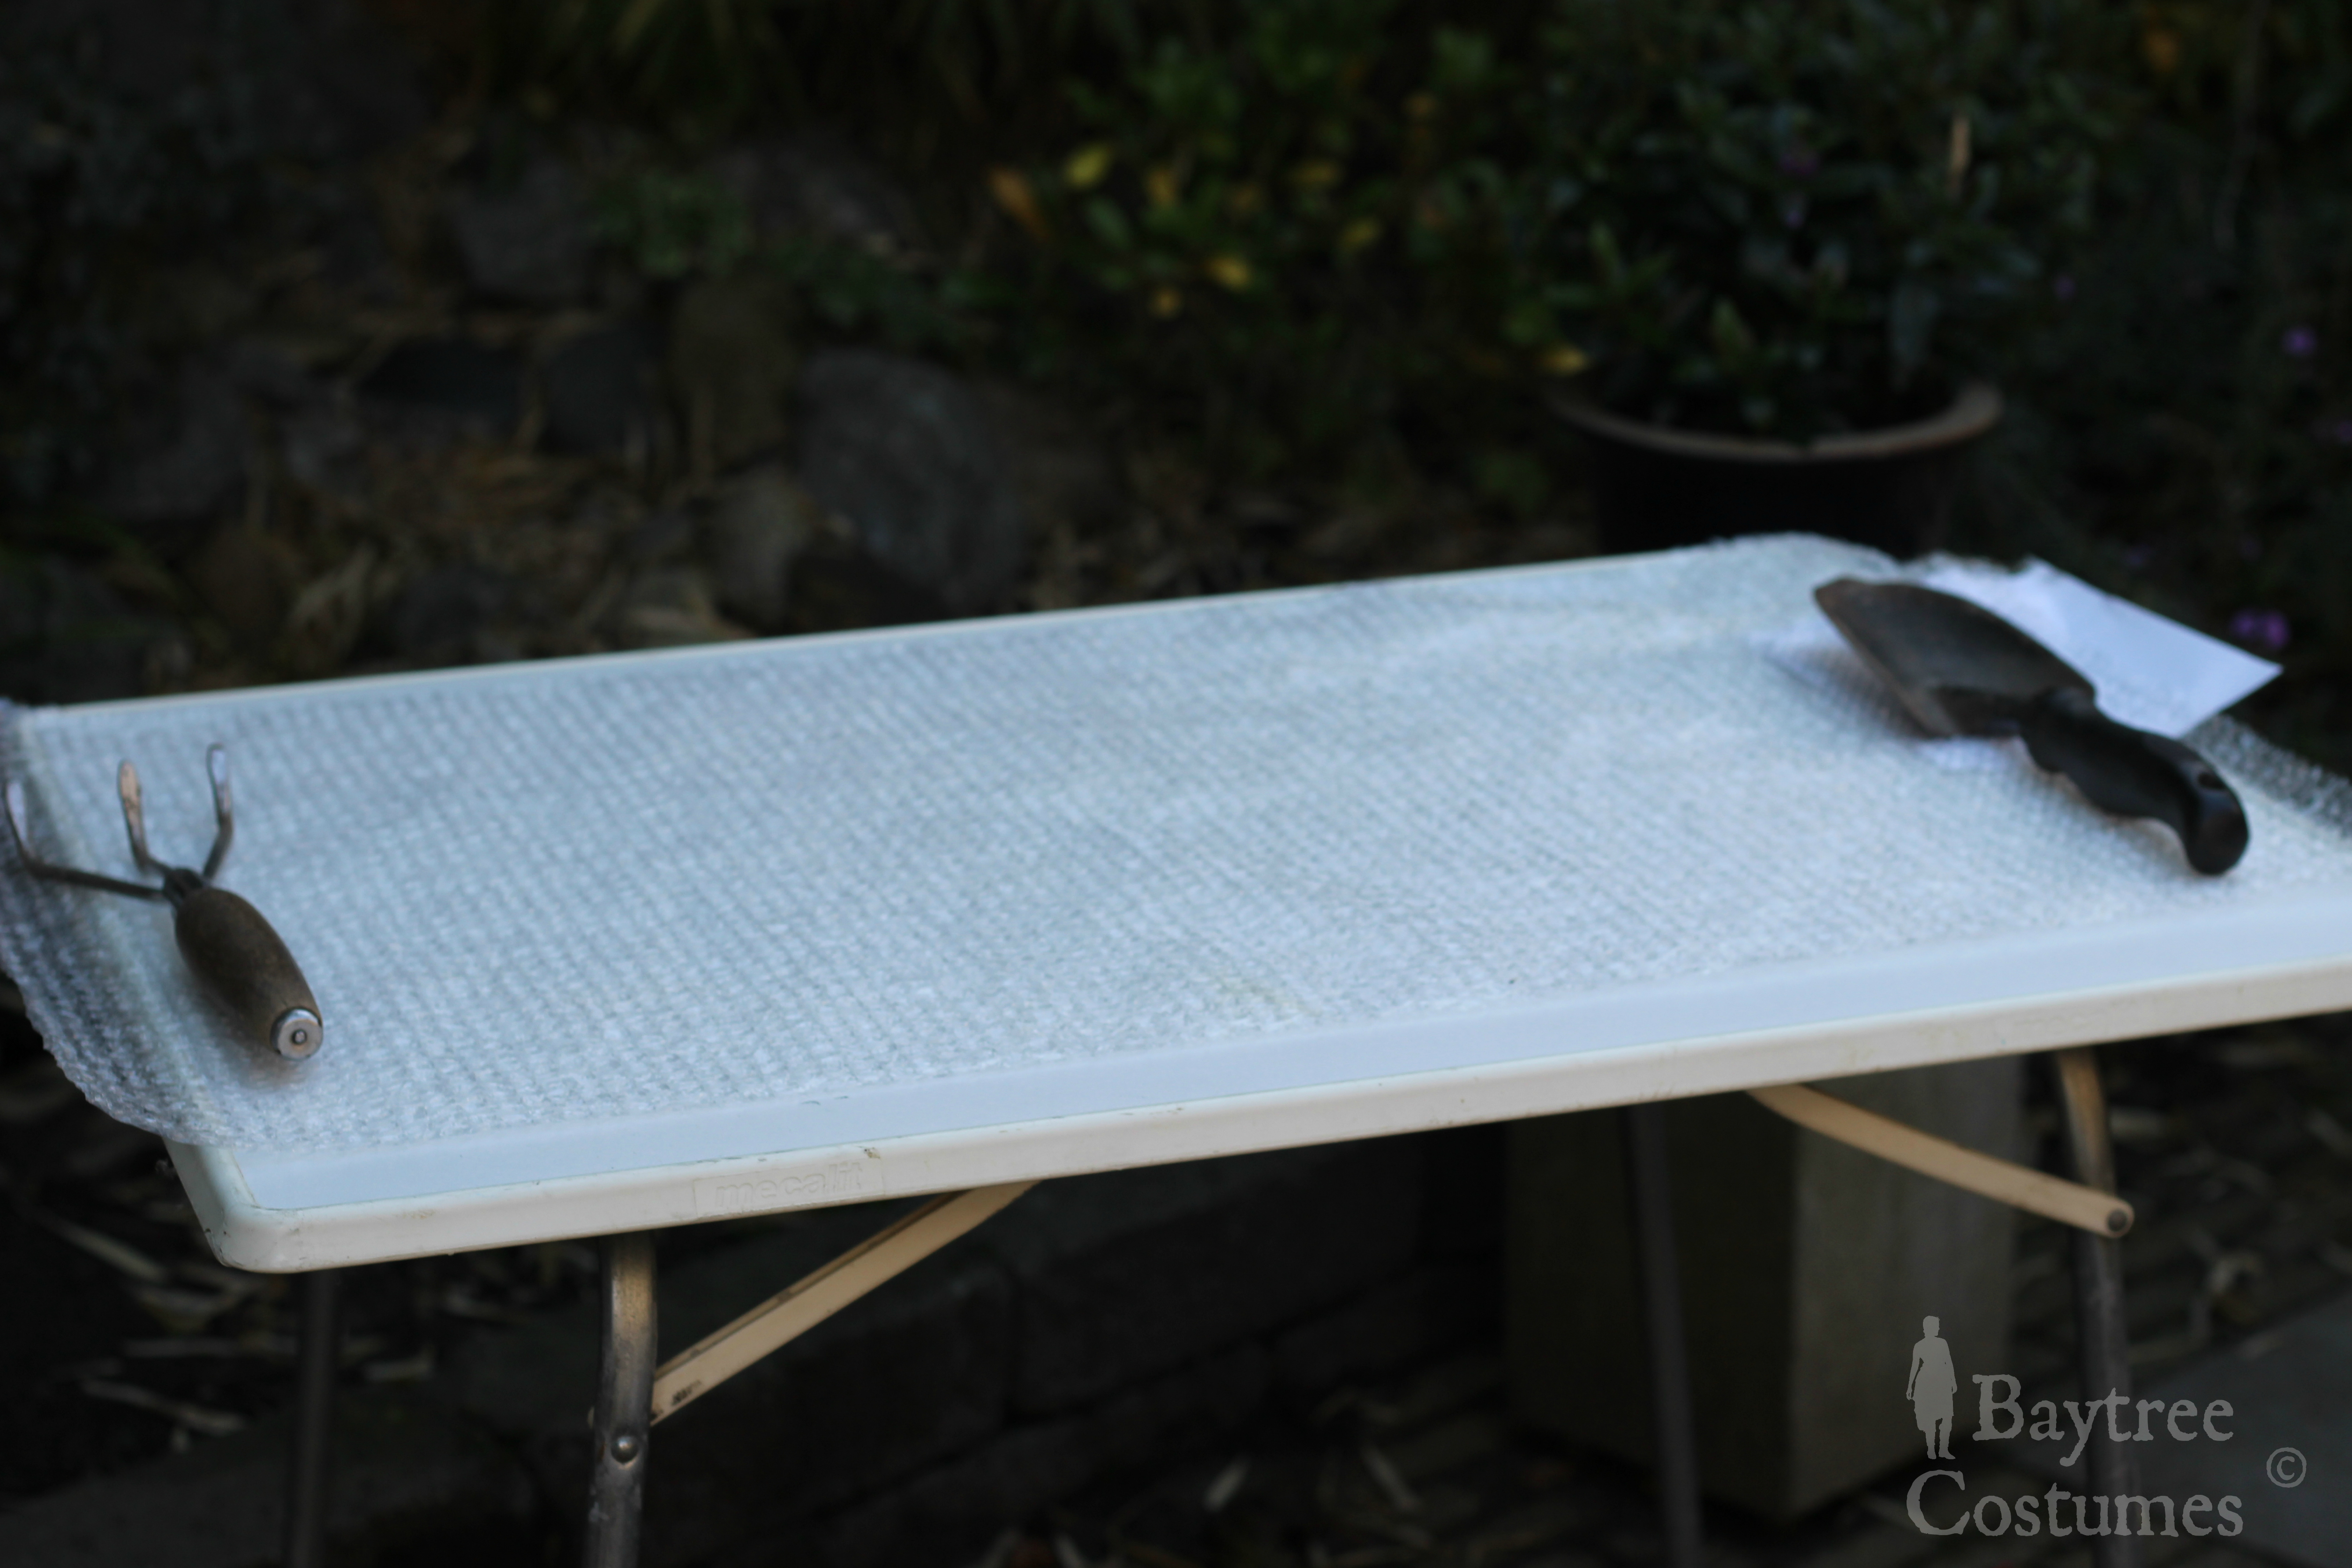
Non-absorbing surface with bubble wrap + fashionable additions to keep it from flying away yes, yes
Step 2: Lay out your pattern in the shape you want using the carded wool. This will make your base. For me, the fur was going to lay on the shoulders, so I made a pre-pattern using newspaper and just kind of intuitively lay it out as symmetrical as I could. It is nice however to make it look as natural as possible. Don’t make the layer too thick or too thin, just go with what feels right. Don’t press the carded wool down to make the surface flat, leave it as airy and poofy as possible, this will make the attachement process later easier for the wool. Also remember that your felt will shrink about 10% to 30% in size after the felting process. For me however, it didn’t shrink that much. In the video I used, they first lay out a layer of “naaldvilt” / needle felt, which is a sort of pre-felted felt. On top of that they lay the carded wool. I didn’t have the money and means to buy the naaldvilt, so I only went with a thicker layer of carded wool which worked as well. Instead of using the carded wool as a layer in between, you’ll felt the carded wool into felt along the process.
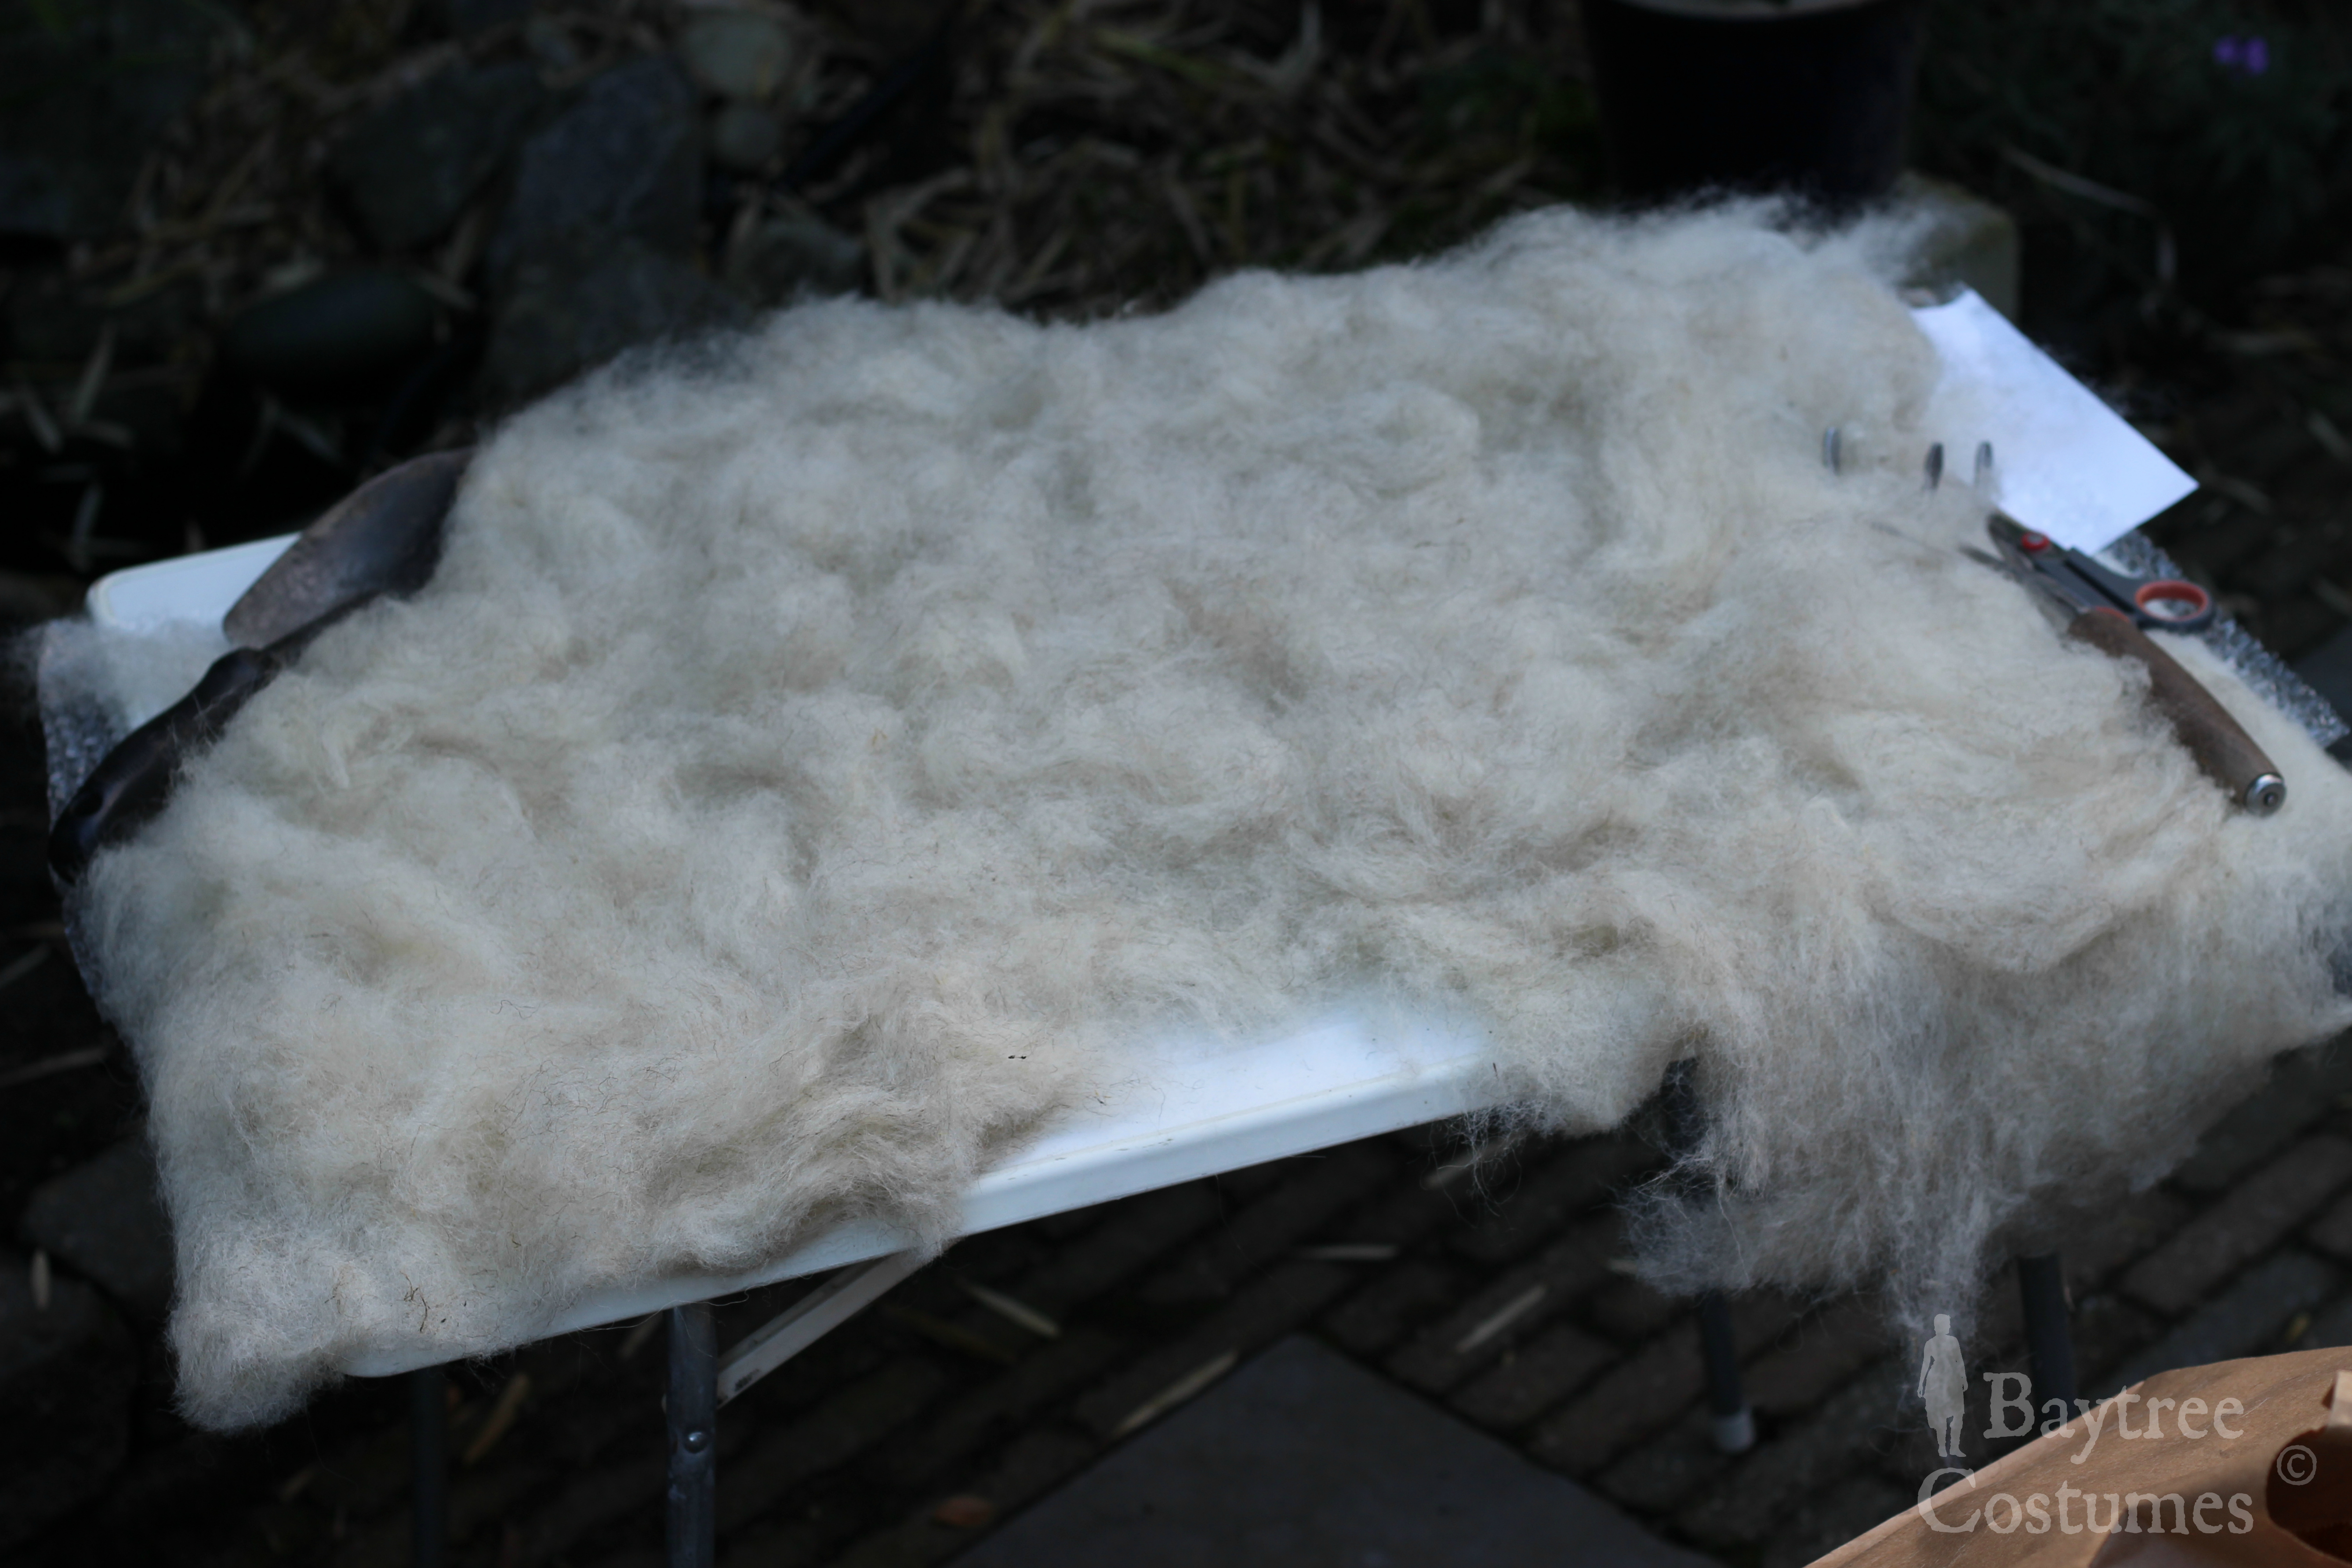
The carded woolen base – lookin’ fluffy
Step 3: Get your wool. Try to keep the wool together the best you can, which means leaving the still attached parts together. Wool has two sides. On one side you’ll probably have the longer hairs and on the other side there is the sheared side, the side were the wool had been attached to the sheep. This side is characterized by a flat look. The sheared side is very important since only those hairs (the hairs that were attached closests to the sheep) will attach themselves to your base. The tips of the locks won’t.
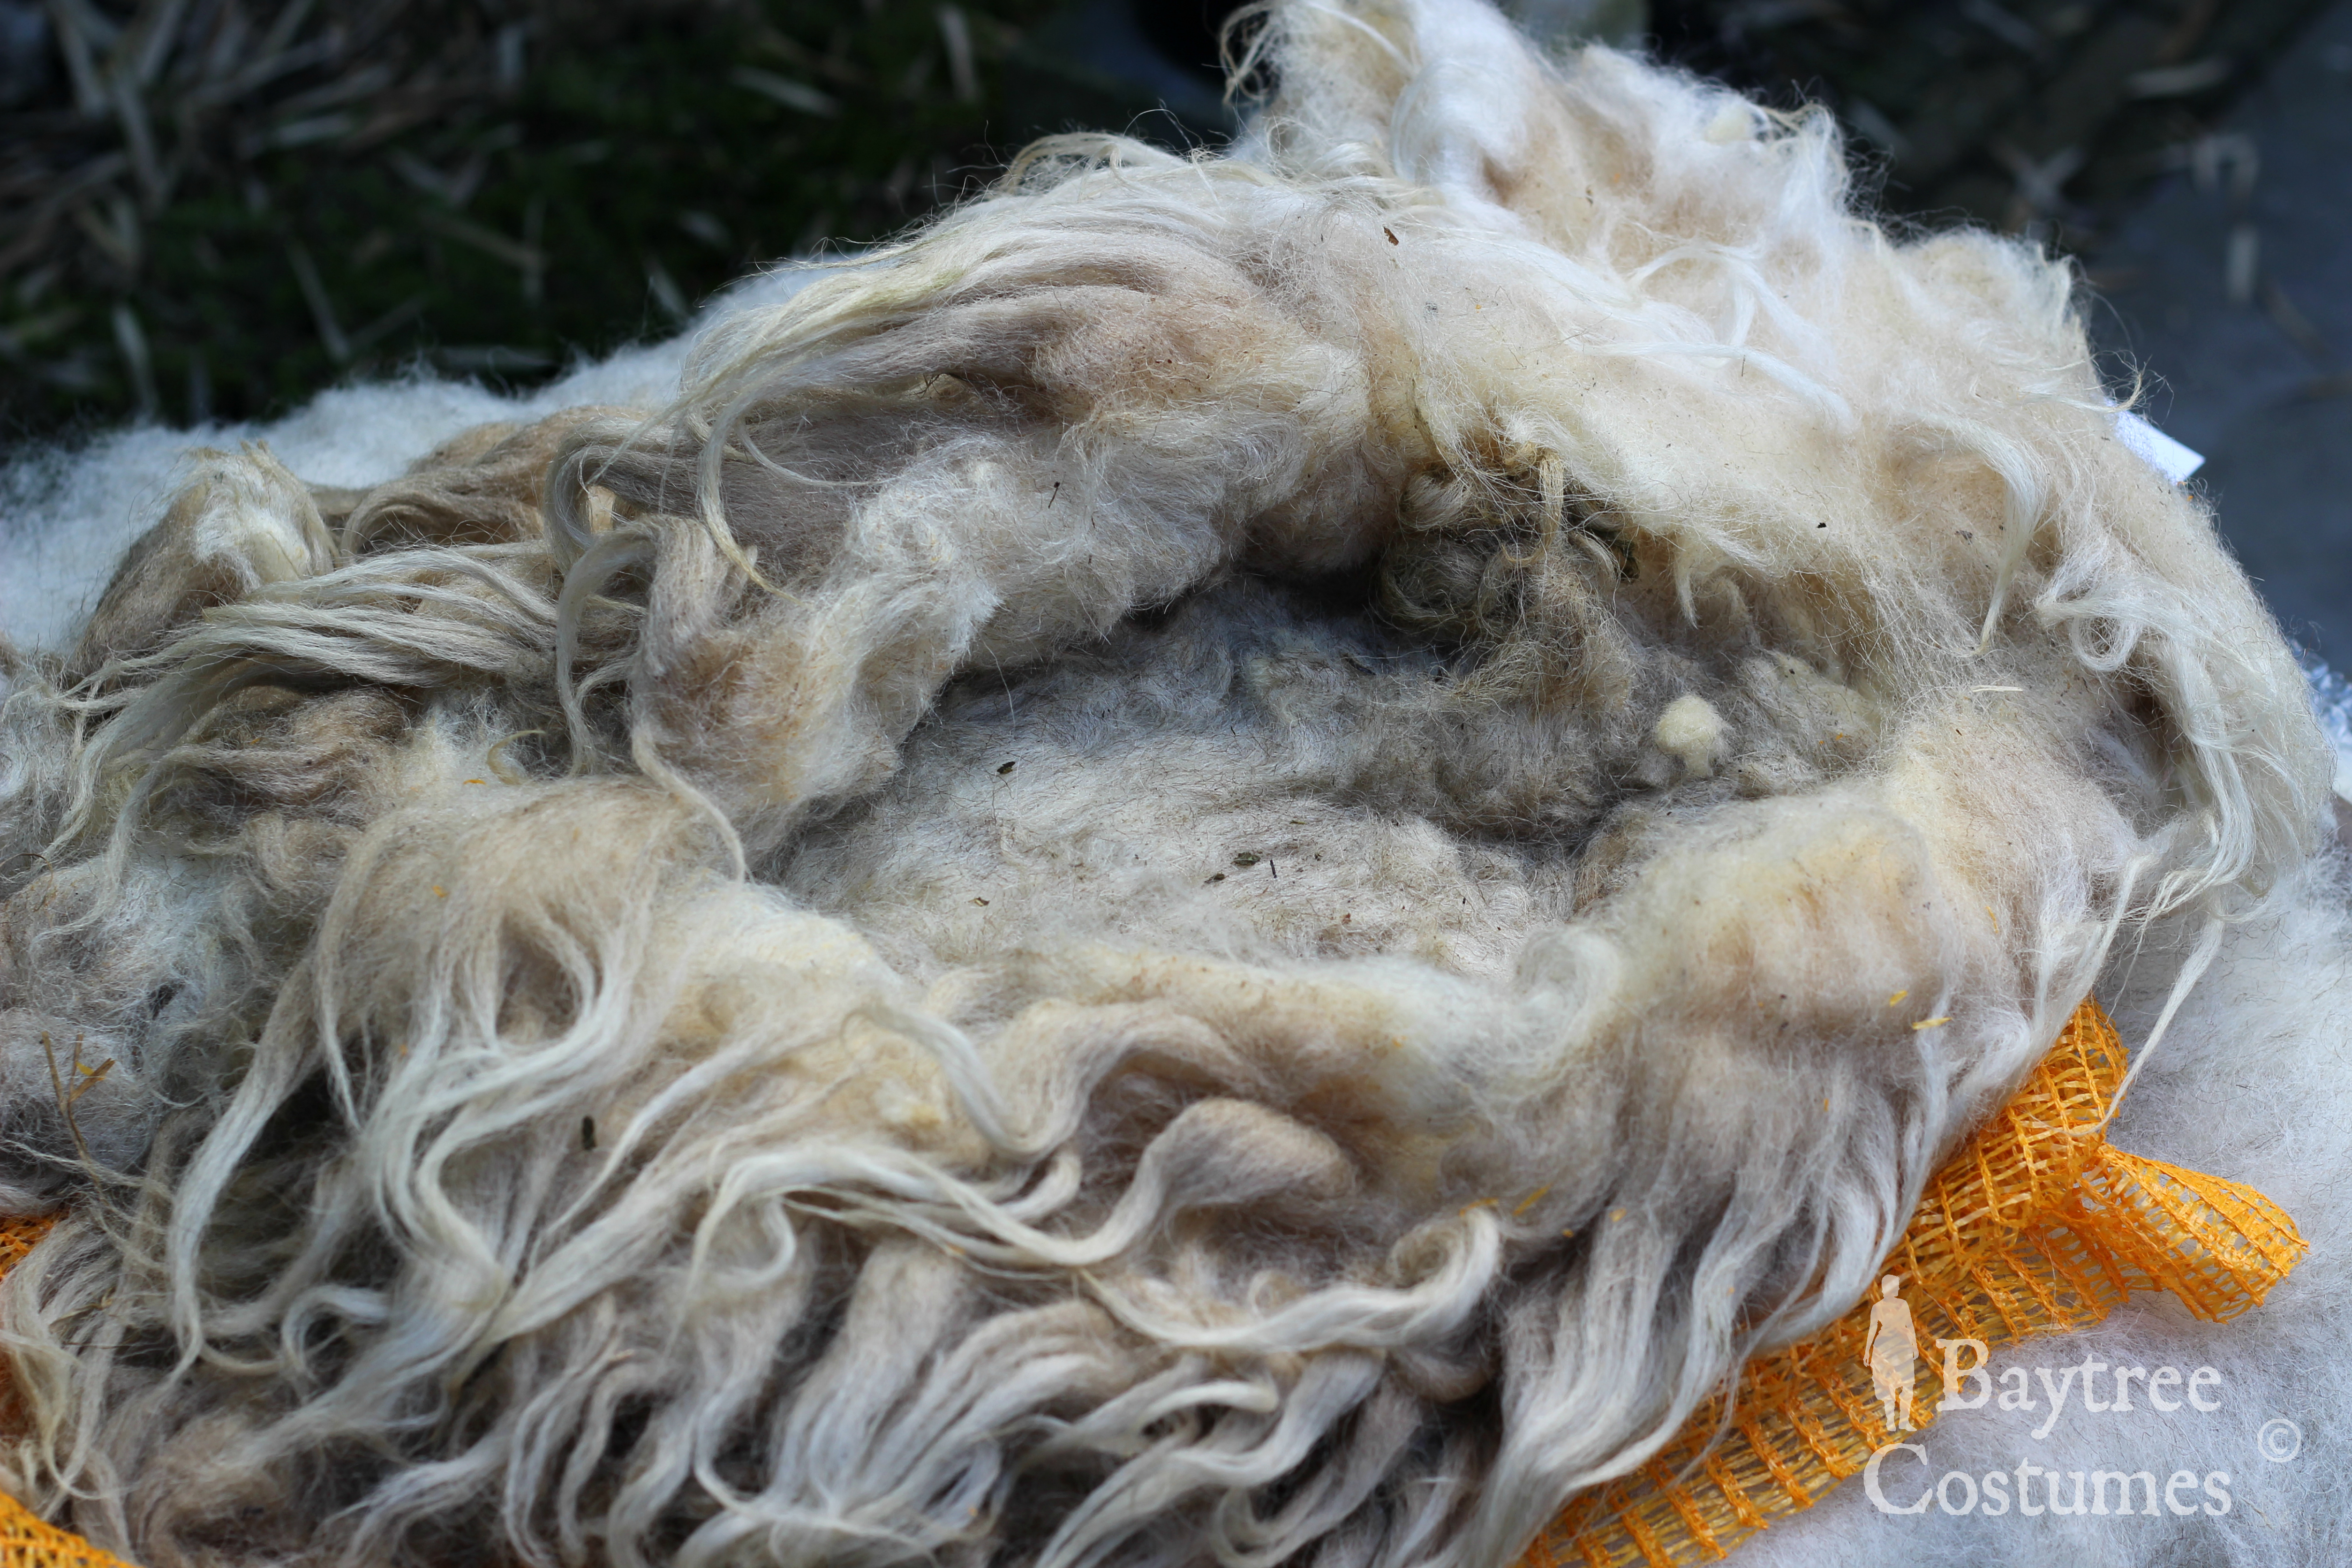
Both sides of the wool
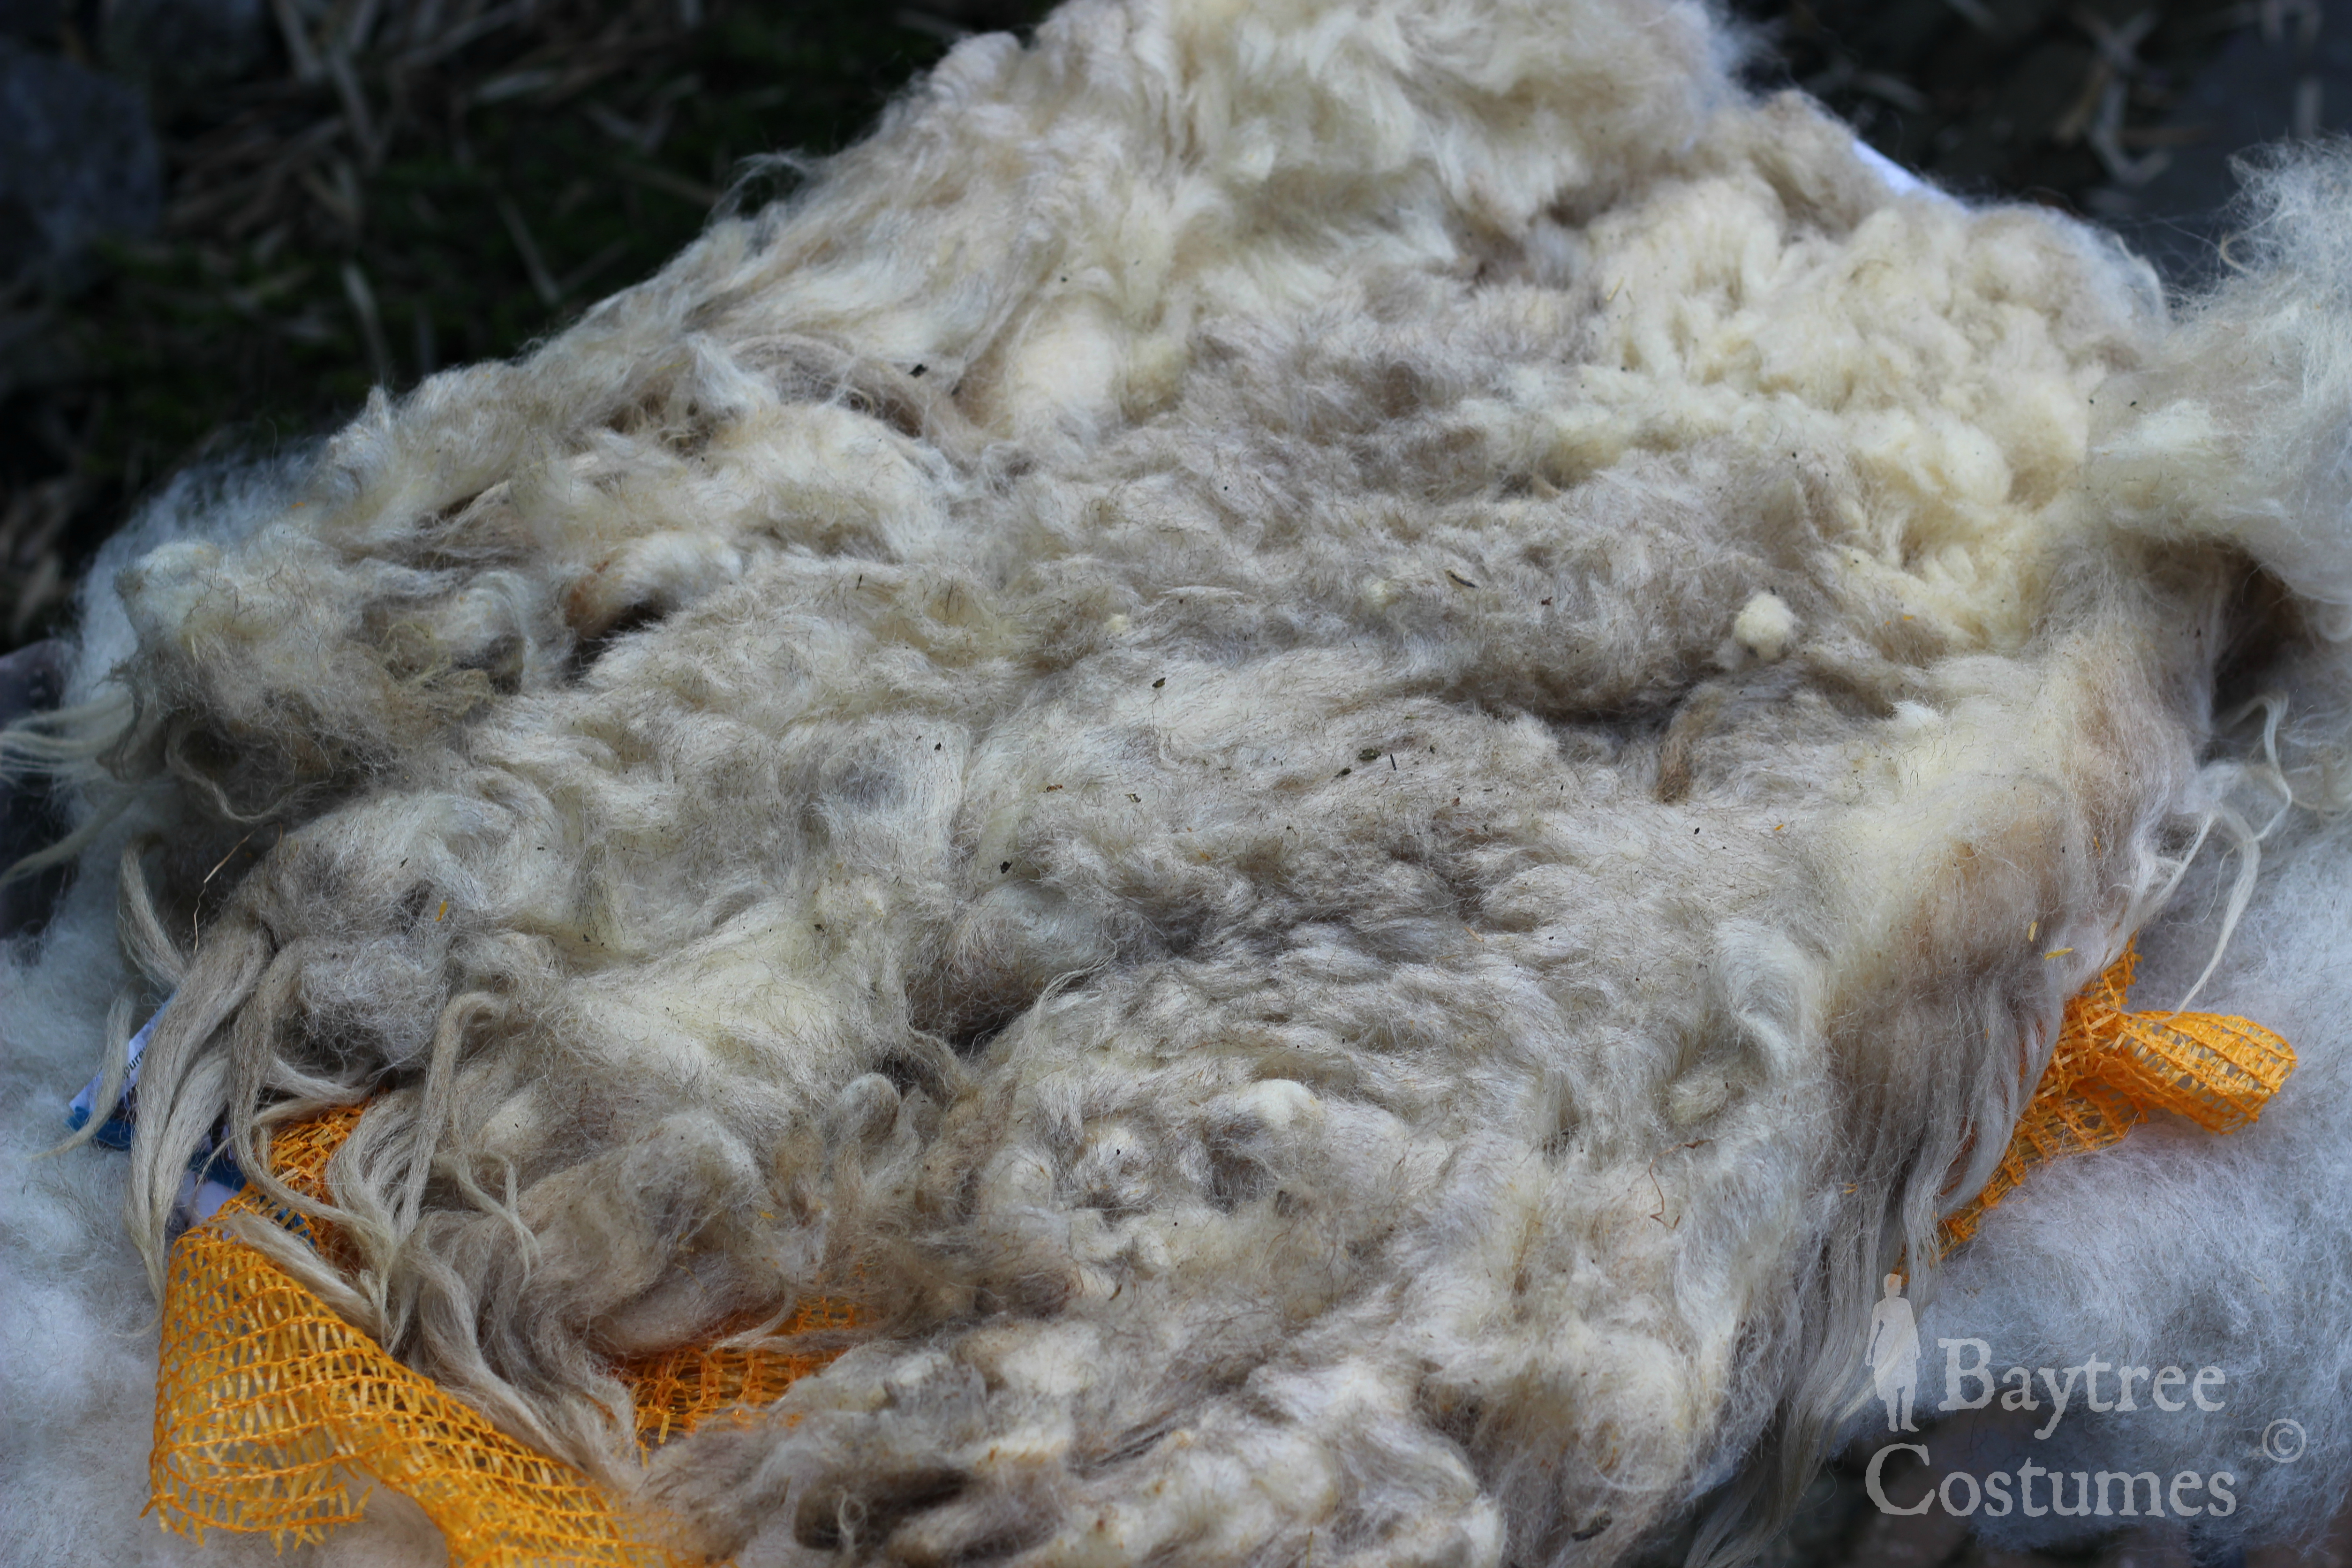
The sheared side
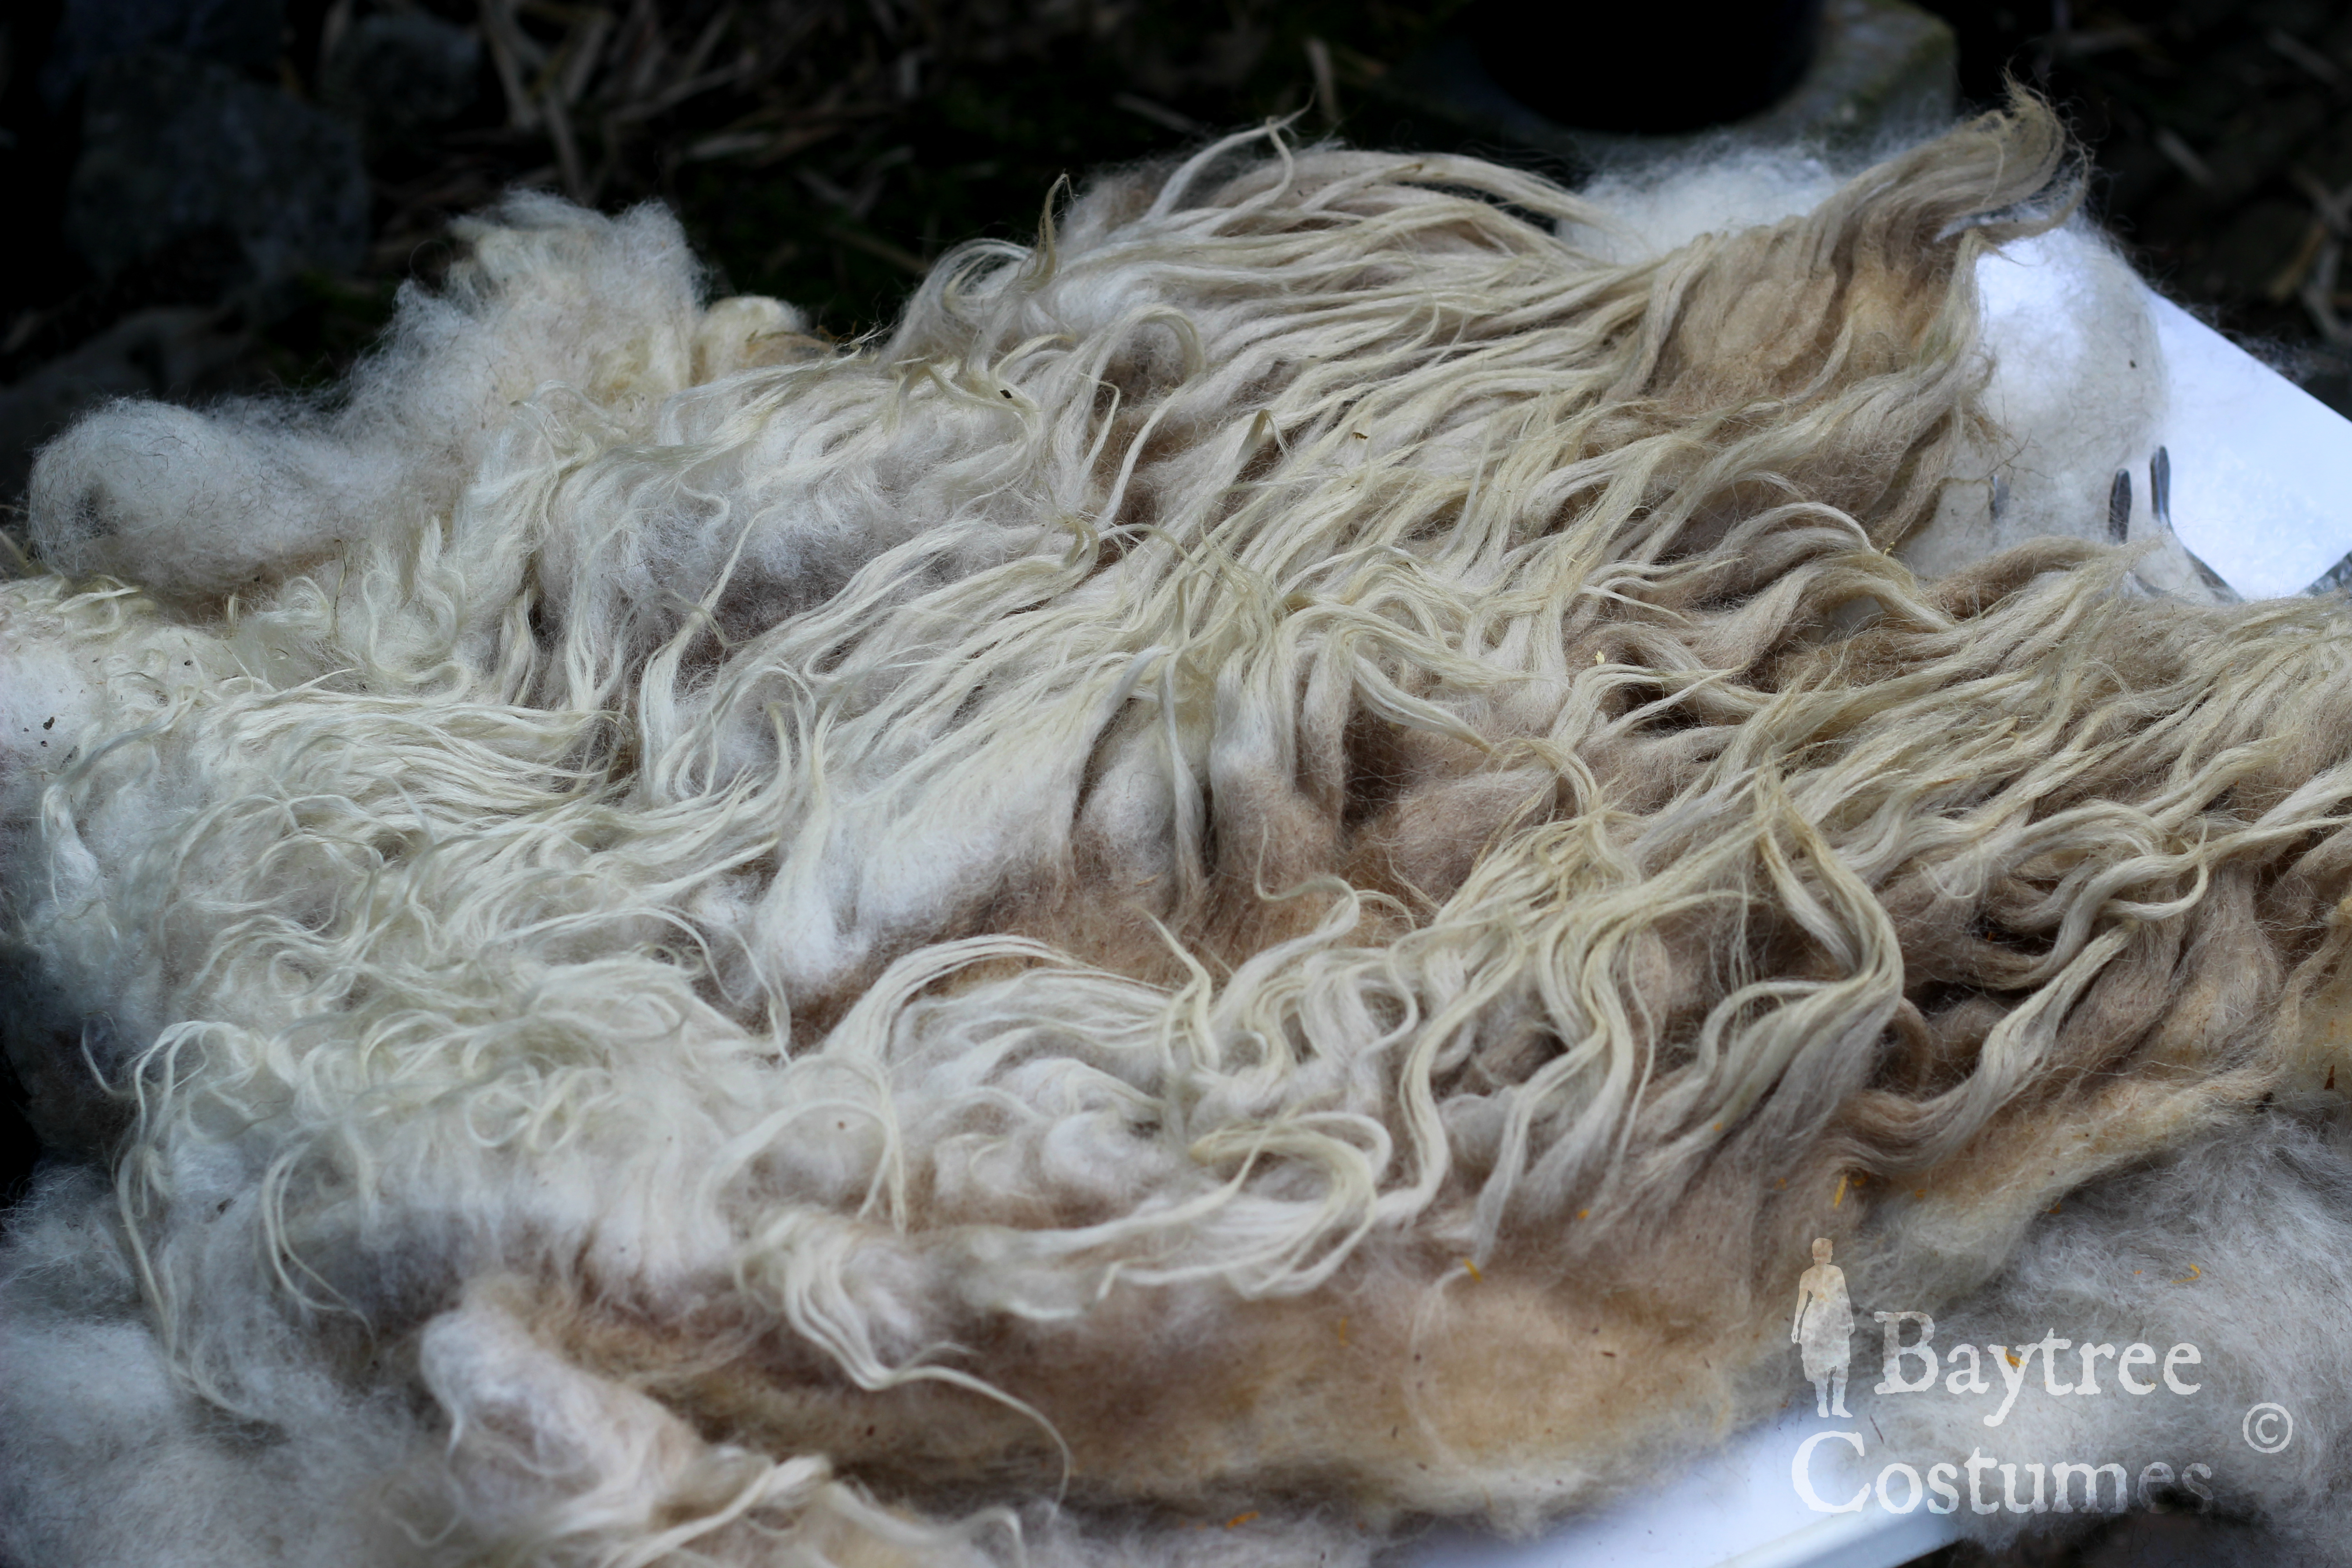
The hair side
Lay out your wool over your carded wool, don’t press it down – just gently lay it on top. You can detach some parts from the attached wool if you need to fill up some parts, but try to do this as little as possible. This will give you the most natural results since the natural colours will be as much side by side as they were on the sheep. Just have fun! Are your fingers greasy yet? Don’t forget a sheep’s coat is covered with lanolin.
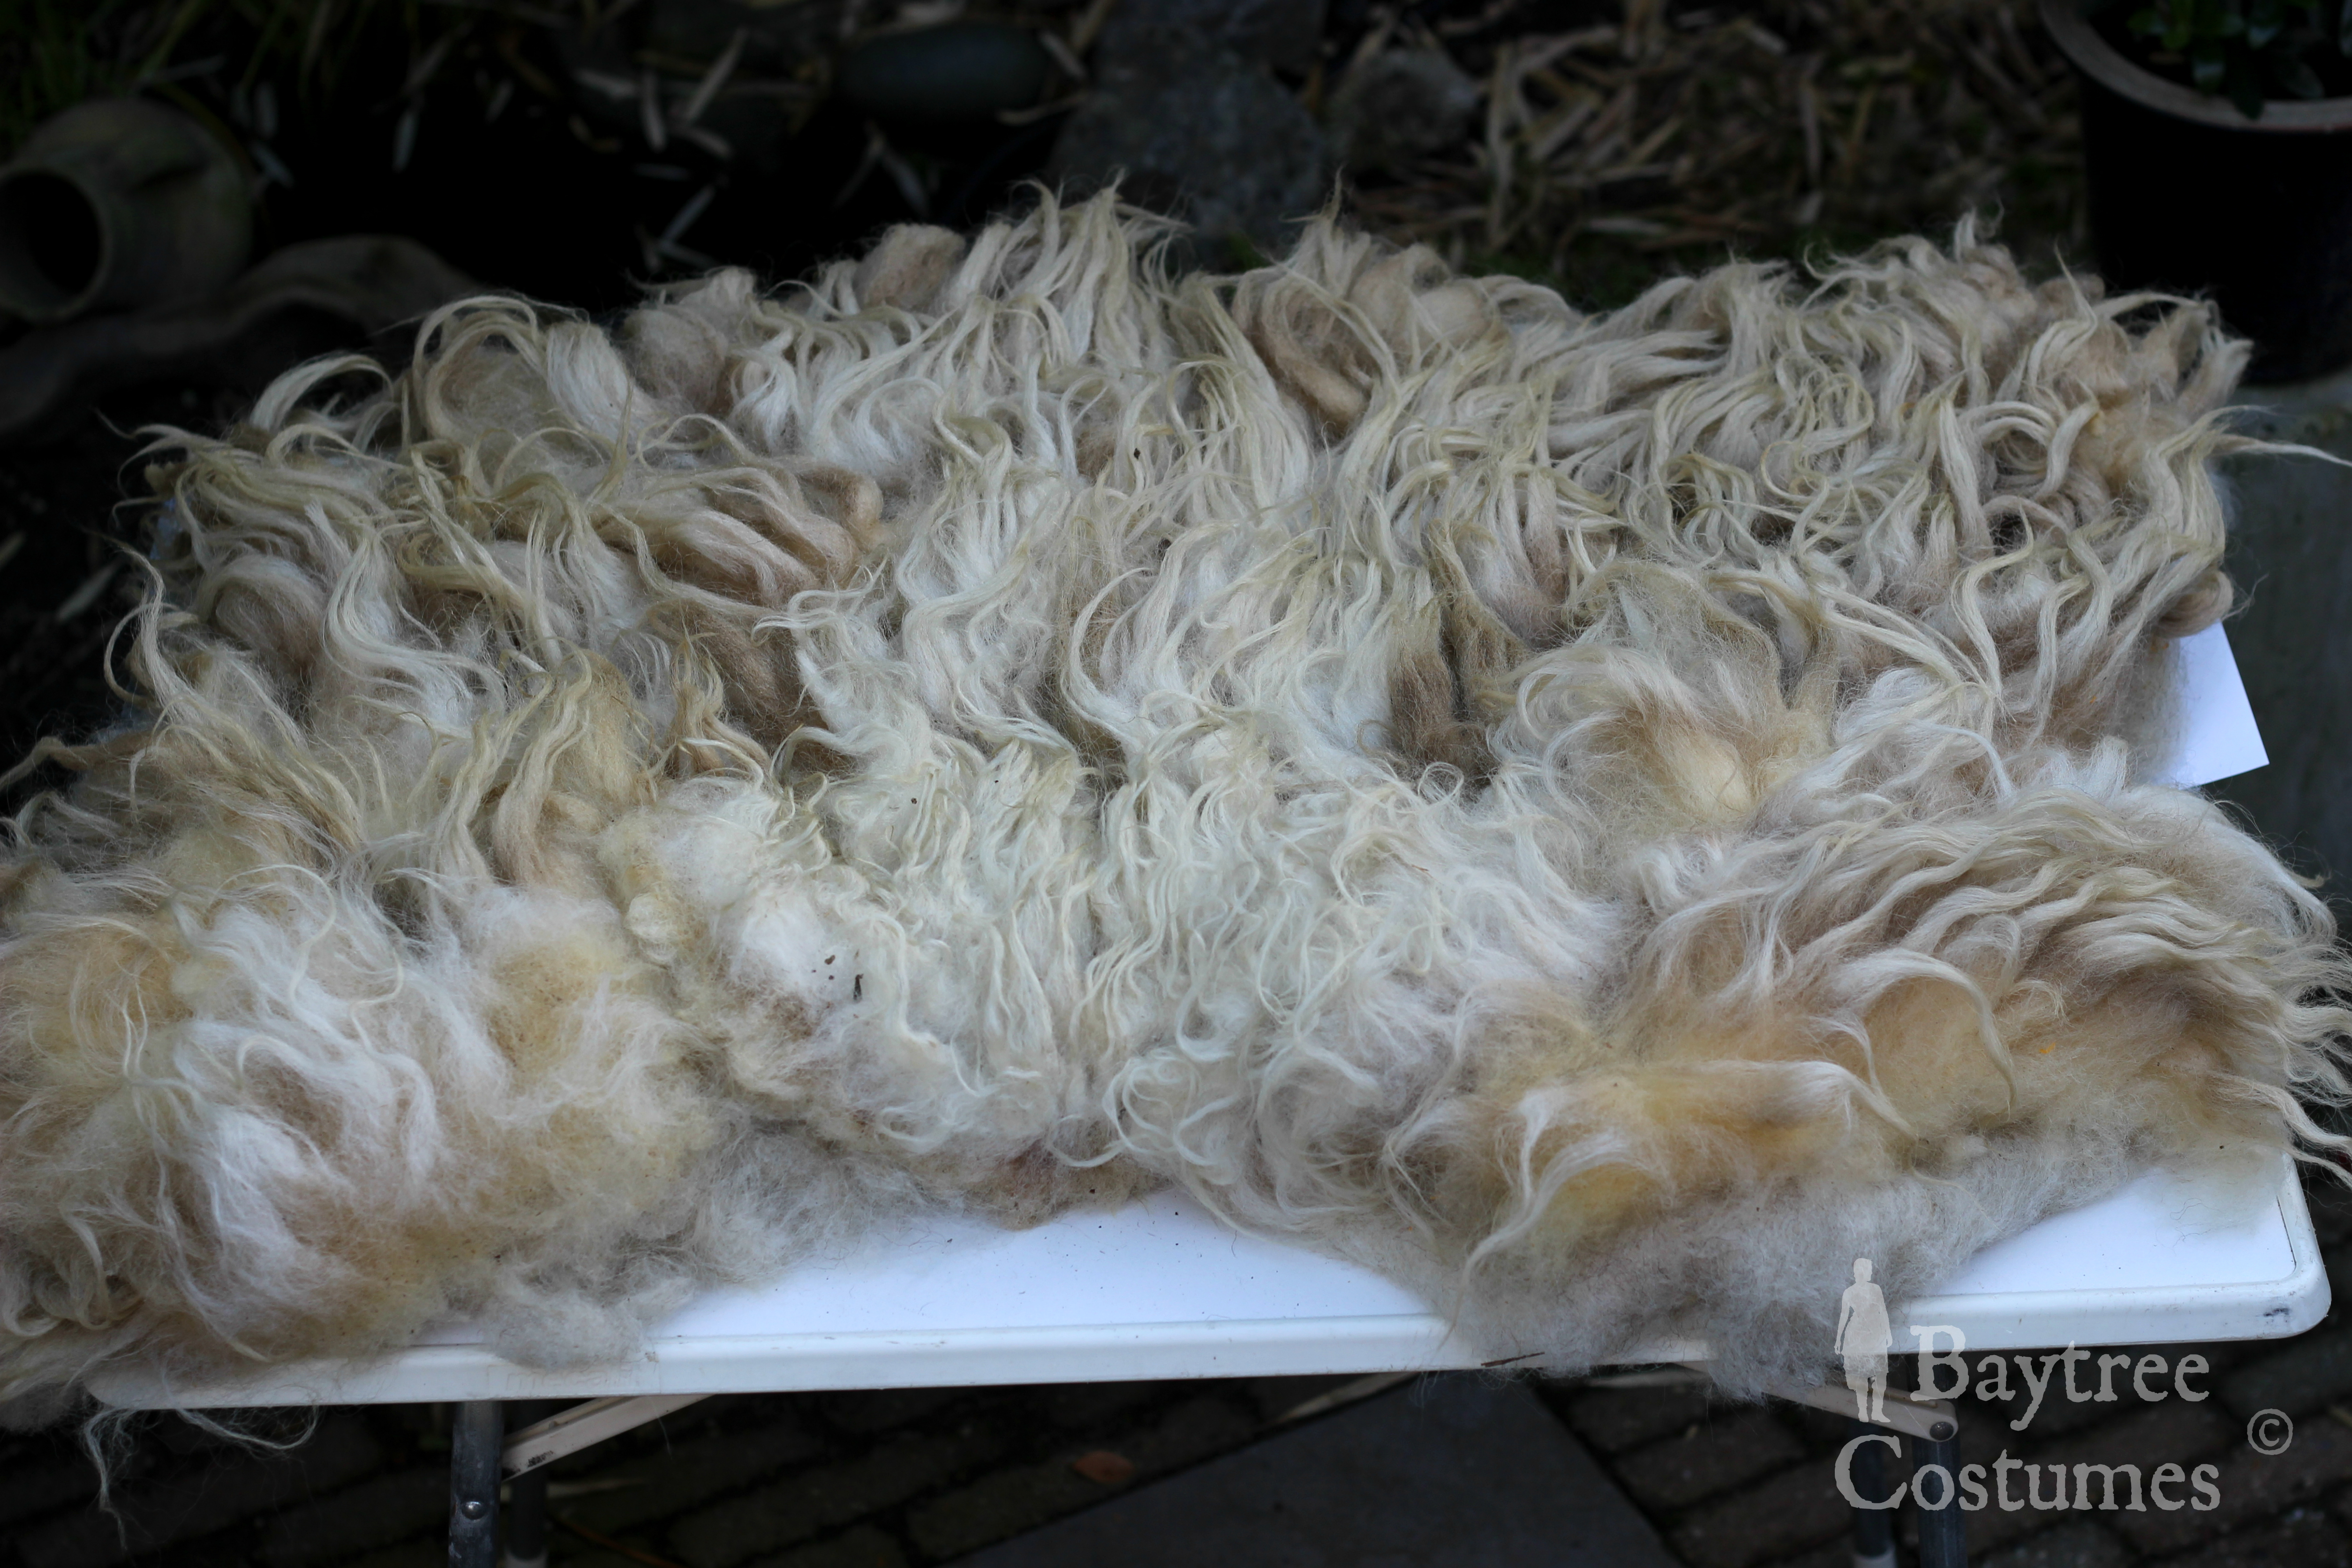
Looking already like a Jon-worthy piece | I love the long hairs on this piece of wool
Step 4: Now that your own fur is looking quite legit, let’s start the real part. This part is a little more intense. Depending on the size of your project, this might take an hour up to a few. This is where the wet felting is going to start. Boil some hot water and fill up as much of a bottle with holes in the cap as possible. Squirt the hot water all over the surface of your project. Now quickly cover your project with a nice large layer of bubble wrap. Get your green soap and pour a little over your bubble wrap layer, use a little leftover of your hot water and pour that over the soap. Now that your fur is still hot, start rubbing the soap and water over the bubble wrap. But what are we doing then if not washing the wool? Are we.. washing the bubble wrap? Basically, you are massaging all the hot water into the felt. Between your hands and your fur however, is a layer of plastic. This is because your hands can better massage the fur without interfering with the process. The soap will make the massaging easier for your hands since the surface will get slippery. It doesn’t matter if a little soap gets into the wool now, but we will wash the wool later. Don’t make the wool too hot though! Your wool might “die” – it then won’t felt anymore. Do you already smell what hot water + fresh wool conveys? 😉 I actually quite liked that sheepbarn smell.
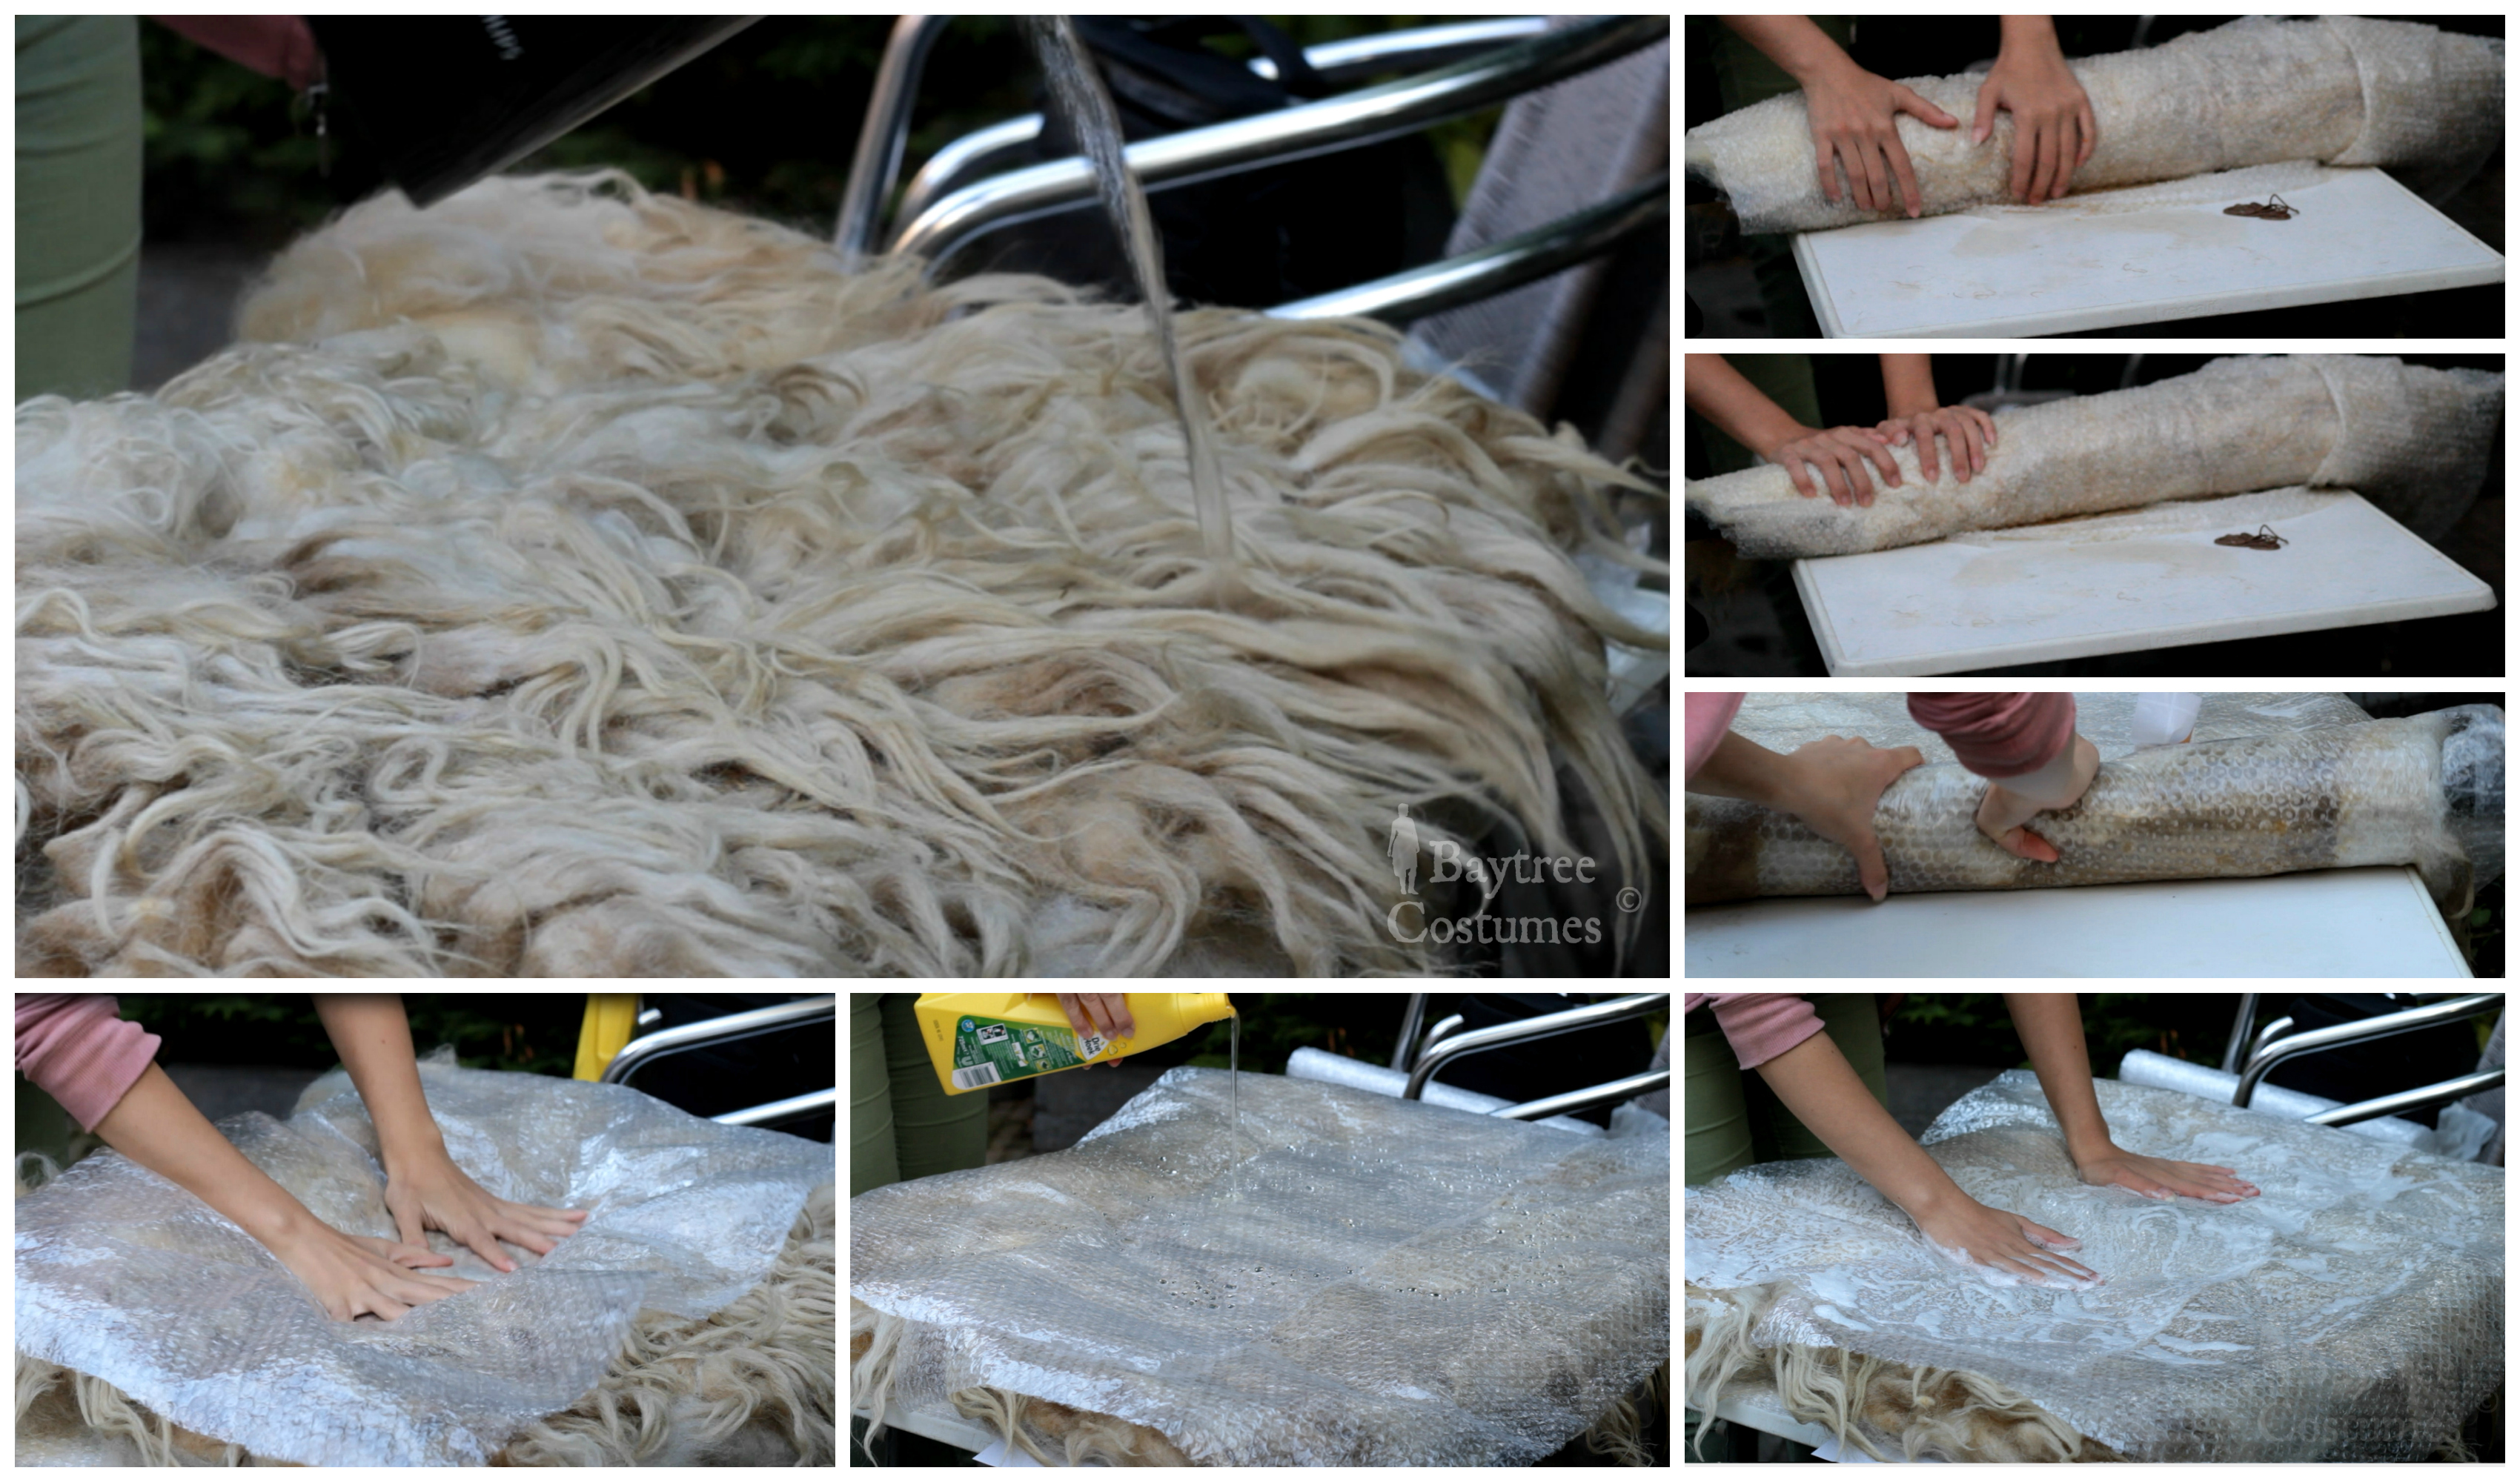
Working, working – Oh yes, I am a hypocrite: I just poured the hot water over the wool and didn’t use the squirting method as described. Good job me.
Step 5: Once you feel like you have massaged the water into every inch of your project – and the wool is still hot, roll it up (the wool sandwiched by the two bubble wrap layers) in the swimming noodle or other cylindrical long object. Start rolling the wool using the base of your hands and push it out a little everytime. Don’t unroll the wool however. You are basically pressing every inch of the wool into the carded wool base. Once you have done this for a while, roll it out and test if the hairs are starting to get stuck on the base. If you have done the rolling too shortly, the wool might come off. If you have done it for too long, the wool might start to attach not to the base but to other hairs. You can separate it a bit with your hands if you see this happening. Try to pull strands a little to test how much attached they are already. Don’t worry if it all looks flat and things are still a little loose – you have only just begun! You can try to turn the wool around and roll it again. Once you feel like things are starting to attach nicely, you can wash it with some hot water and green soap in the sink. Gengerly rinse it and get back to rolling it again. You can repeat these steps over and over again until you feel like everything is as much attached to the base as possible. Always check if the hairs are starting to attach to one another – we don’t want that! Only let it attach to the carded wool. You will start to see that the carded wool has become a flat and strong base, just as if it was the skin side of real fur. But this way much more ecological. In the video, they roll it for a while, wash it without soap first, then they roll it again in towels, then they wash it again – this time with soap.
Even though the video is in Dutch, from 11:12 you can easily follow the water and rolling / washing process
Step 6: Once you have rolled it numerous times upside down and right way up, left, right, with some more hot water if you feel necessary and if it has been washed a few times, you are starting to get your finished product! More professional felters use all kinds of tools to make the wool attach better in some places (needles) or to make other parts of the projects go easier – but I don’t really have that knowledge. I just know that even without any tools, it still came out great. Leave it out to dry! Once it has dried, don’t try to comb the wool. If there are some ugly tangles, untangle them by hand. After all this trouble, you will want to keep the natural structure of the wool intact.
Step 7: Optional: dye. I’m not a professional in this field, but what I can say is what I have already said: don’t use synthetic or “ordinary” clothing dye. It won’t stick to the wool, probably because of the natural lanolin, it will get on everything, it will ruin everything, and it will just not be worth the shot. Even more so, since it doesn’t stick to the wool, every drop of water will liquefy the dried dye and start staining everything around itself. Just… GREAT xD. So, I’d recommend you experiment with food dye and natural dyes. I would recommend trying that out on a piece of leftover wool or a small piece of your project before you use it on the entirety.
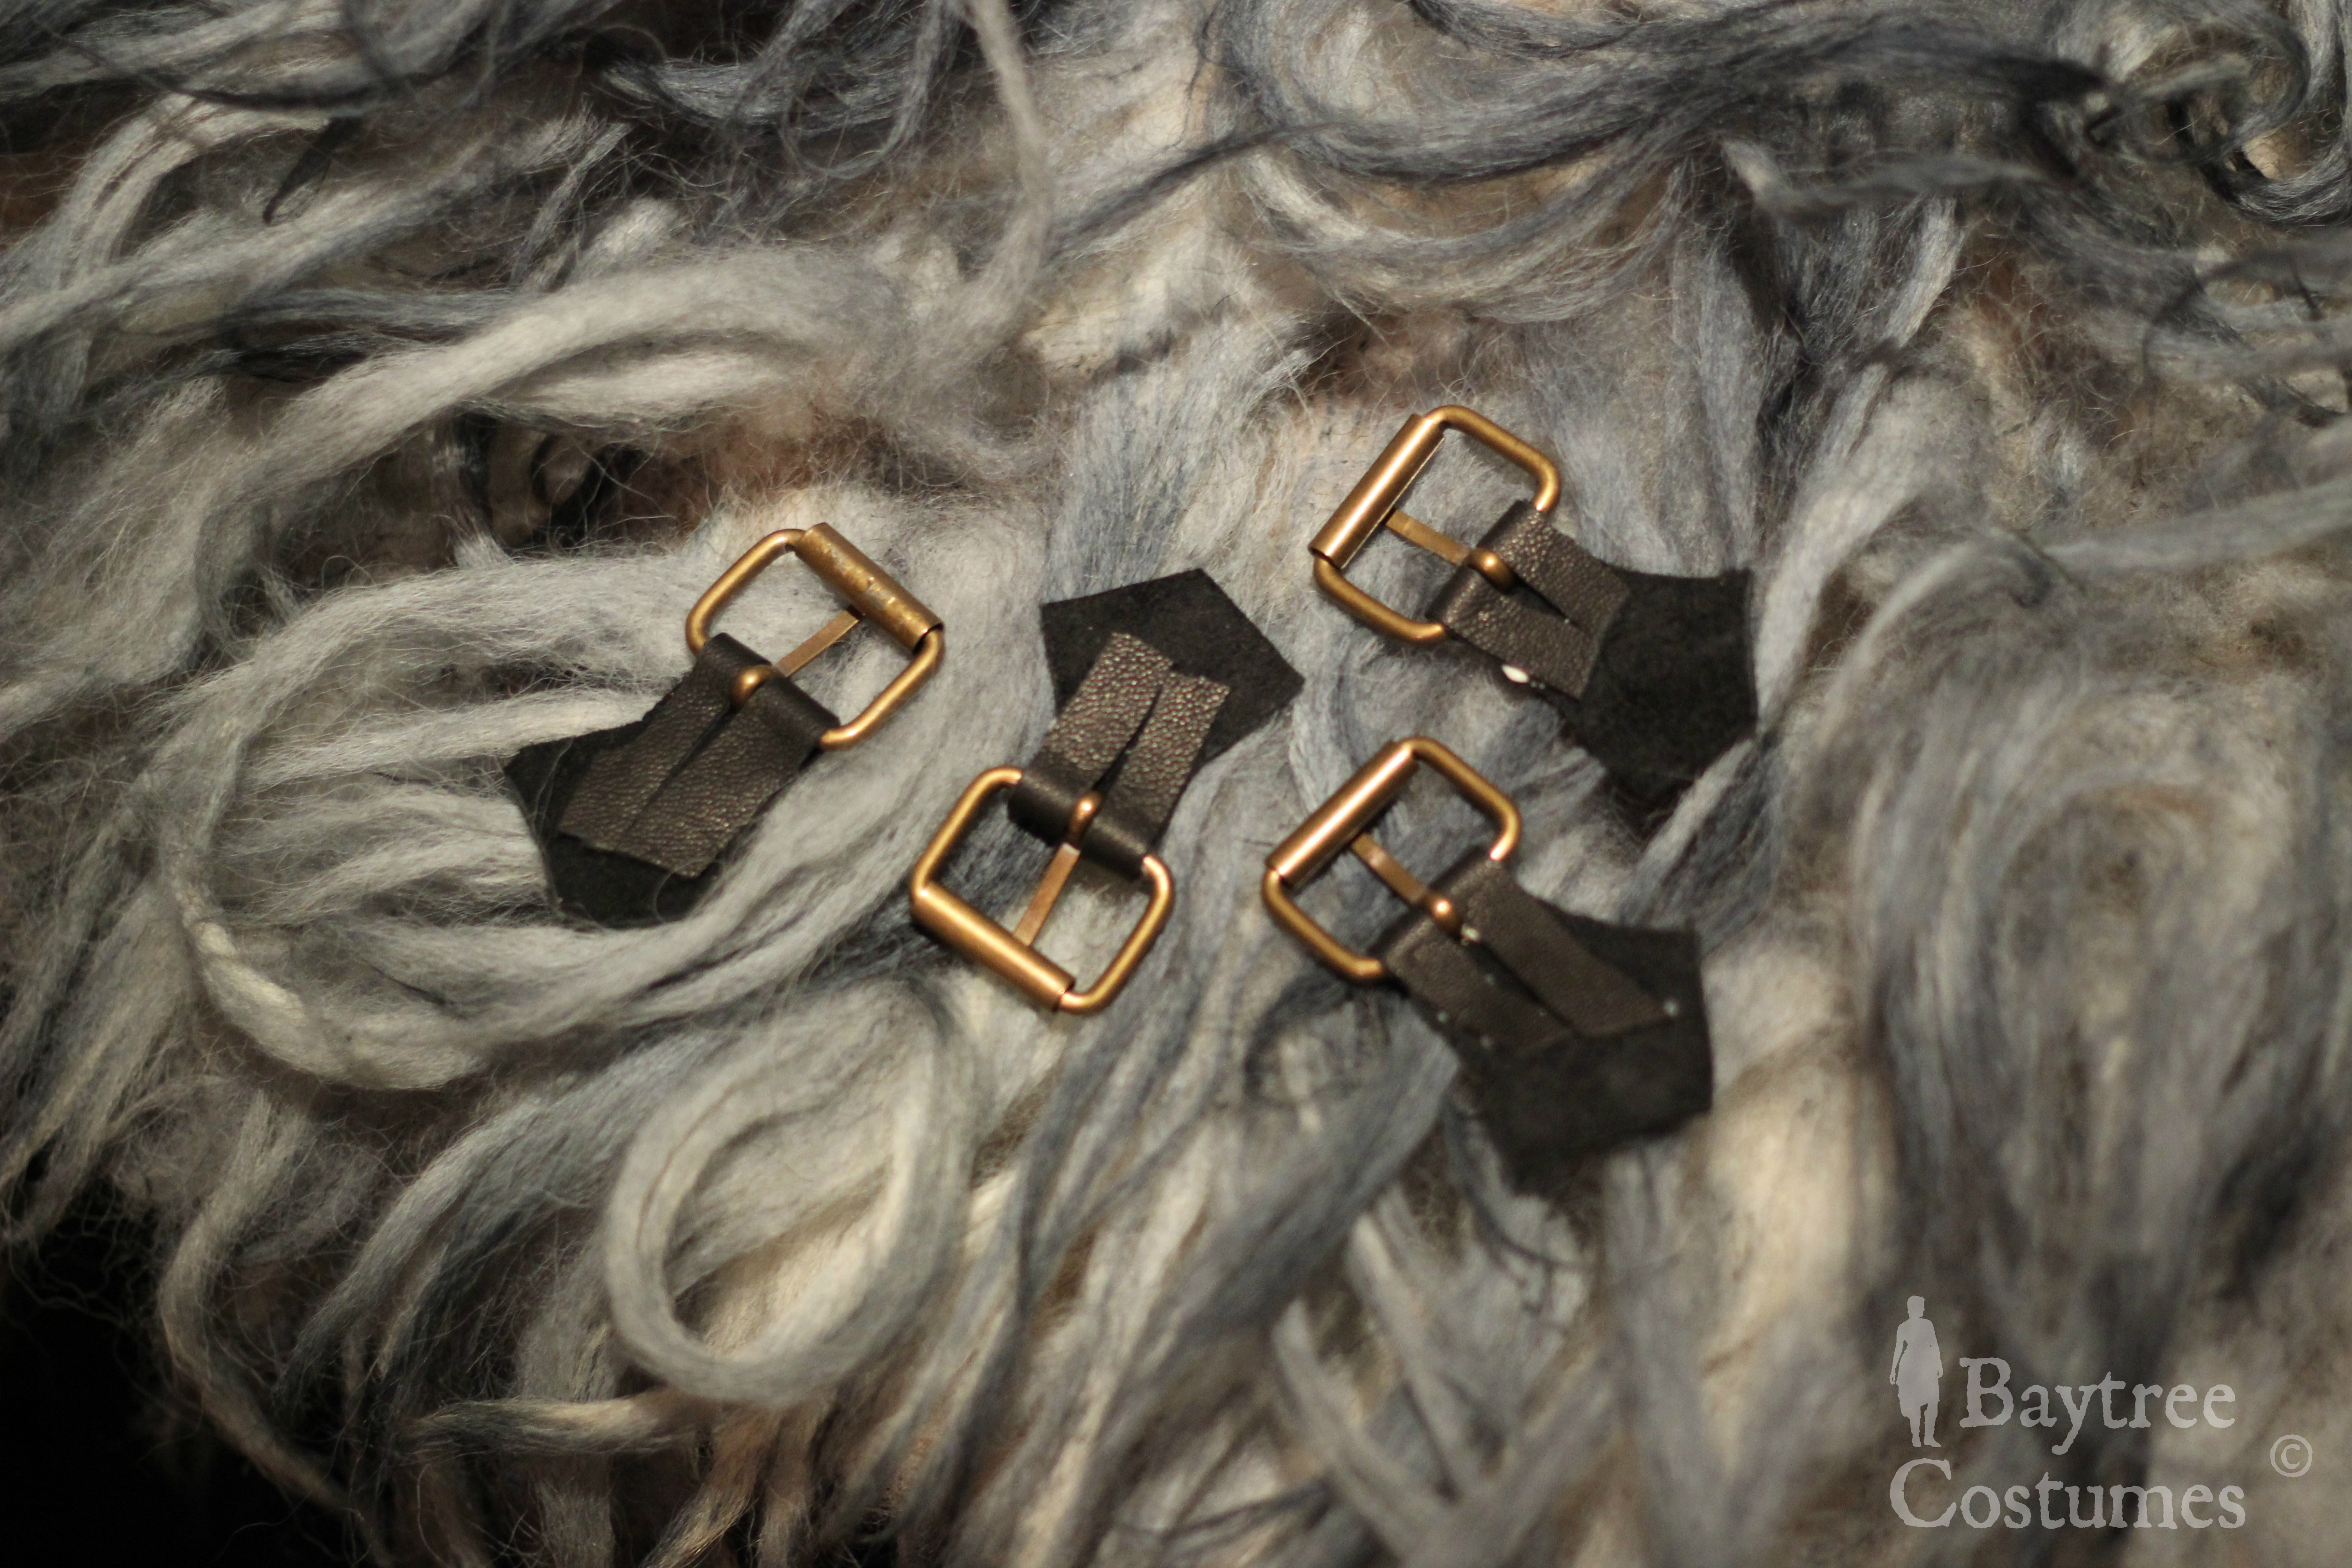
The buckles I was making for the jon Snow costume on a backdrop of dyed wool
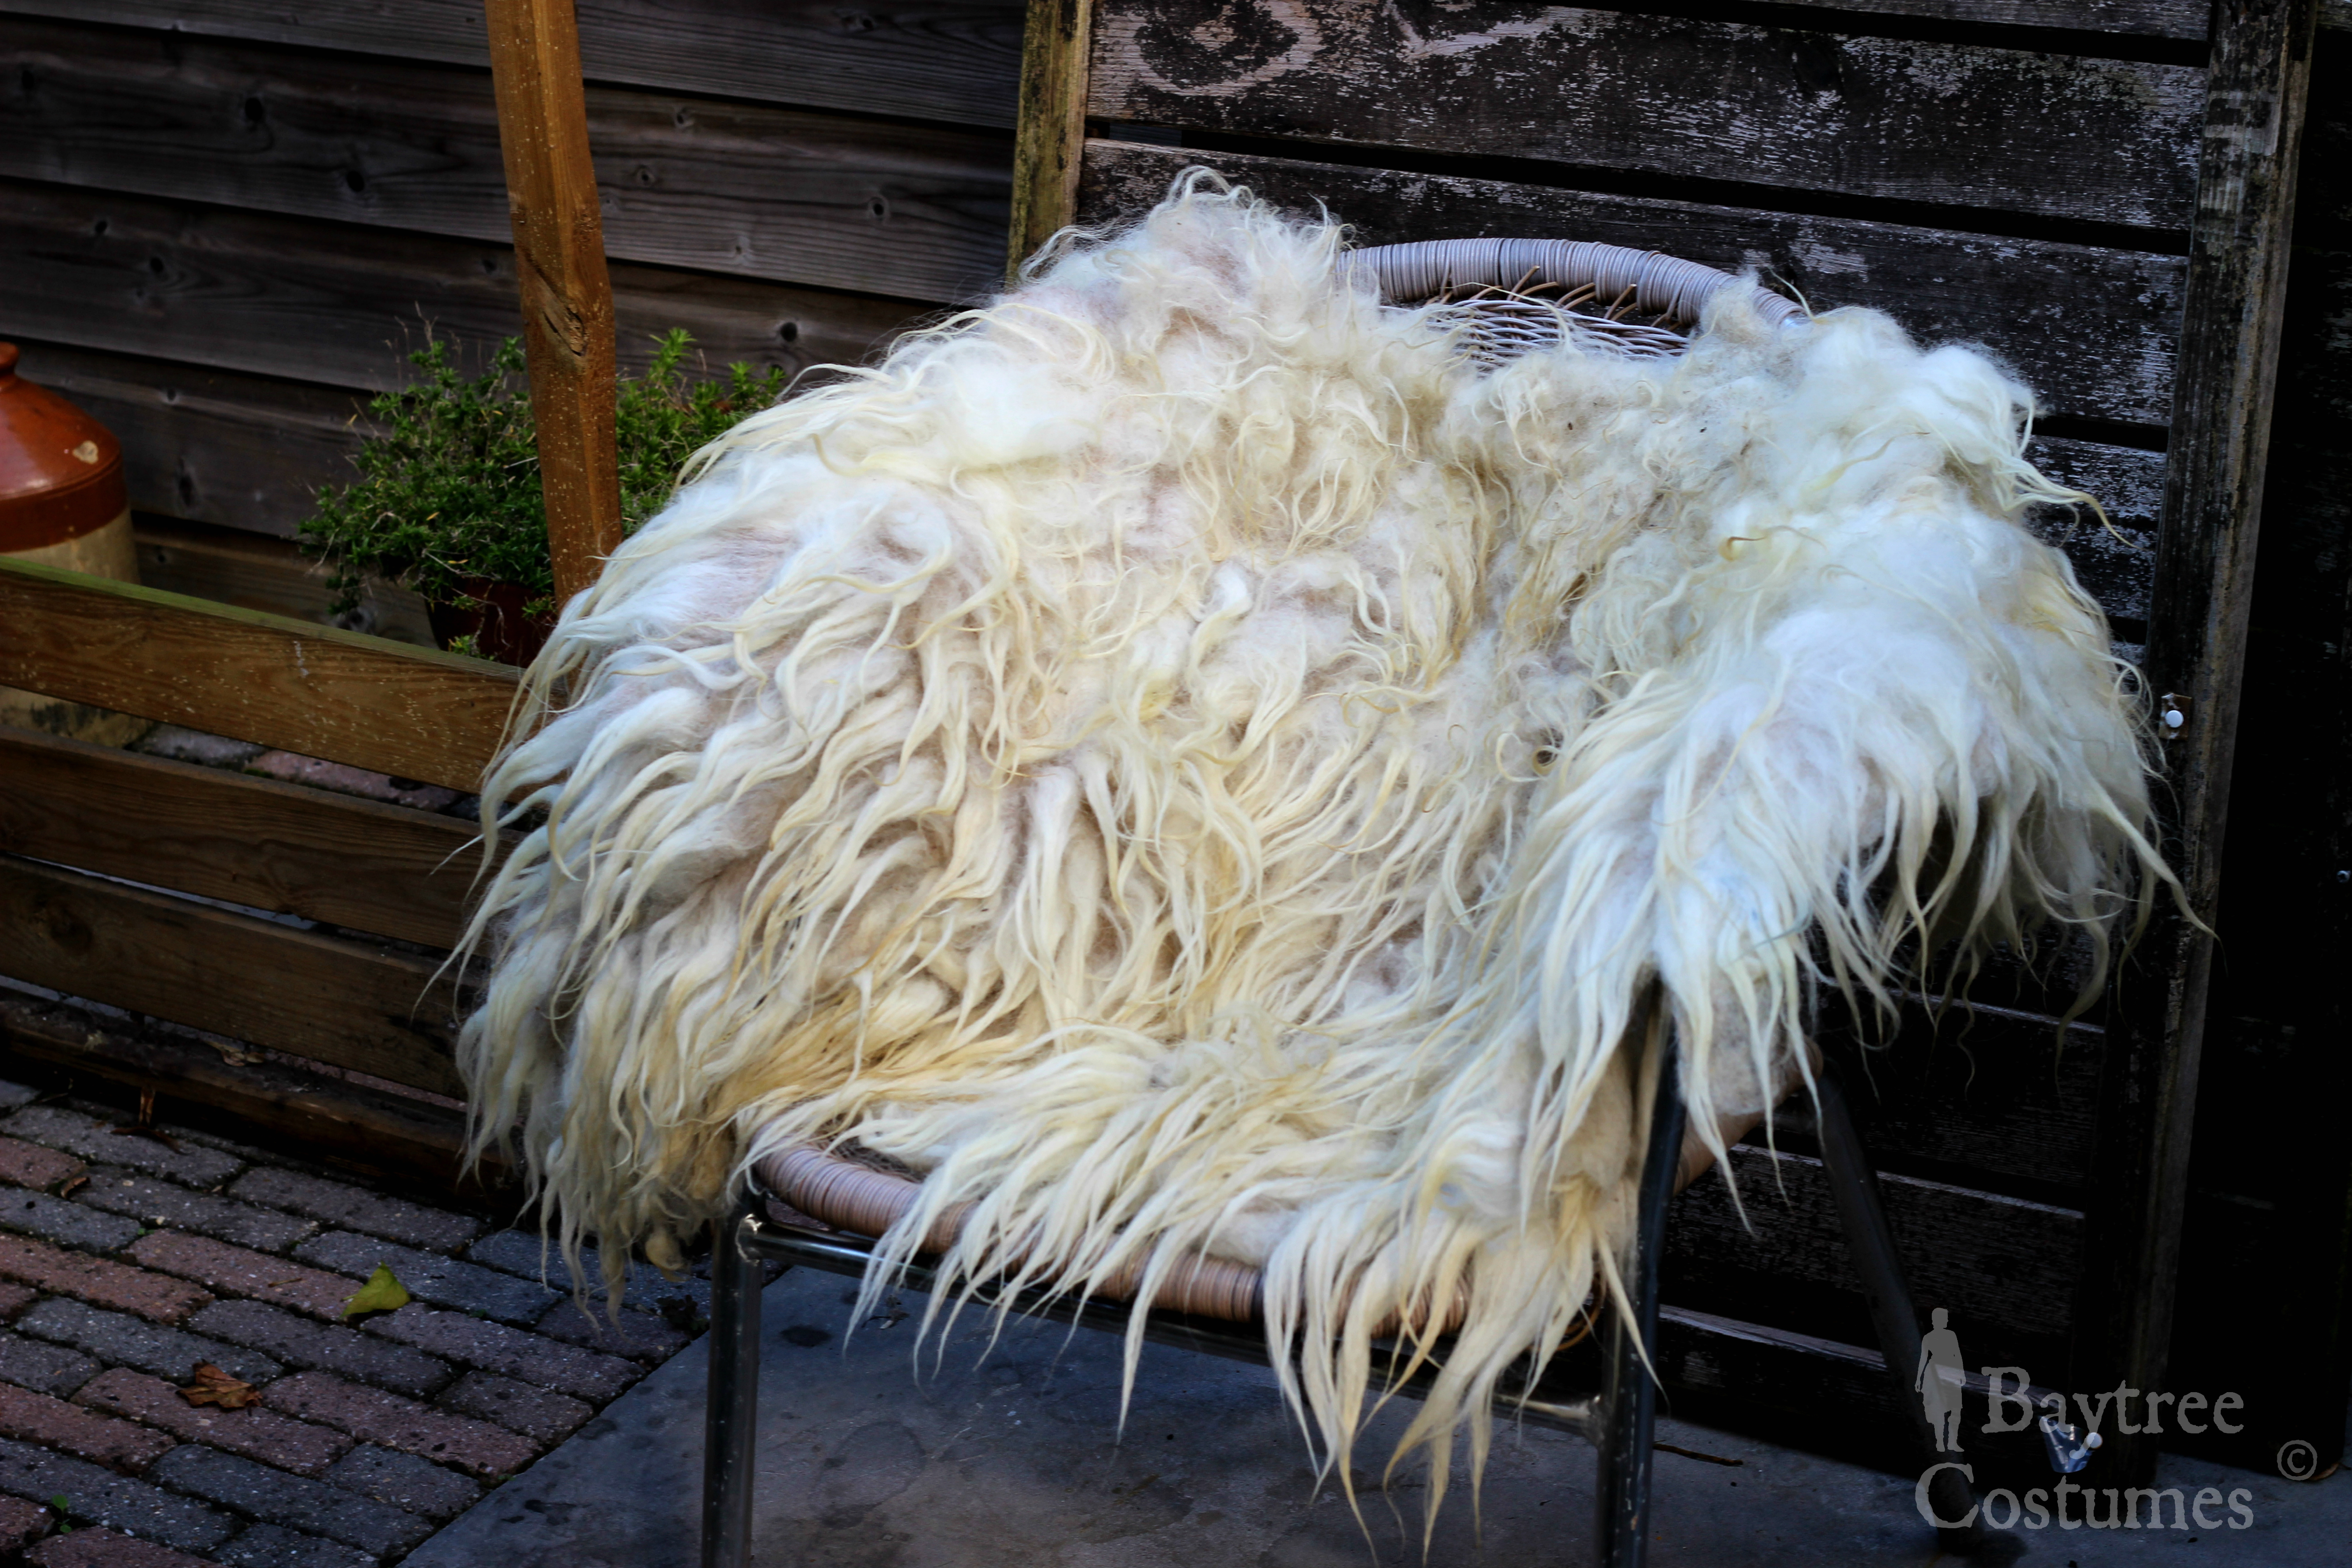
My finished product
Estimated time (for the actual felting).. About 5 hours. Without the drying part and without all the pre-research and buying. Also without the dyeing. You can wash it in the washing machine once it’s done.

Let me know if you’ve ever done this and also if I made any mistakes in this article or during the process. Let me know if you’ve tried this tutorial!
I’d be glad to help with anything! Like, comment and subscribe for more – your support is everything to me.
Cheers and have a lovely, lovely day! ❤

What a lot of work you’ve put in this and how creative! Very nice to see how you’ve made this fur costume….
LikeLiked by 2 people
Thank you so much!
LikeLike
Great job! You are brave to tackle that for your first project!
For wool you should get acid dye – Ashford is more common in Europe, I think. Otherwise food coloring is great and fix it with vinegar as well 🙂
May I ask where you got the sheared wool fleece?
LikeLiked by 1 person
Thank you so much Nadia! Wow, thanks for the tip, that’s actually really really helpful. Do you mean the carded wool? All wool products I bought at purewol.nl – a Dutch webstore. I see you make and sell felted wool yourself too! Looks amazing!
~Ava
LikeLike